Old-Fashioned Peanut Butter Balls
These Old Fashioned Peanut Butter Balls are about to be the best and most-requested treat. With just four simple ingredients, this just means that you can easily make them anytime that you want! This peanut butter ball recipe is the perfect grab-and-go treat.

Save This Recipe!
Enter your email below and get it sent straight to your inbox. Plus, you get more tasty recipes every week!
The best part of these chocolate peanut butter balls? Rich peanut butter filling with a little crunch for texture rolled into two-bite size balls and then dipped in chocolate. Quite a mouthful, right? Just wait until you have that bite in your mouth! Heavenly!
It’s safe to say that the hardest part about making these peanut butter balls is “patiently” waiting for the chocolate to dry. But trust me on this one – it’s totally worth the wait.
You can easily make these buckeye balls for a holiday treat or just anytime that the sweet tooth is talking. They’re fast and easy and are excellent for sharing. (or keep it all to yourself!)
The next time a peanut butter and chocolate craving hits, it’s time to whip up these chocolate-covered peanut butter balls!
What is the difference between Buckey balls and peanut butter balls?
There’s actually no difference besides the fact that the buckeye balls leave a tiny area where the peanut butter shows through.

Ingredients And Substitutions
Peanut butter – I recommend using smooth peanut butter for this simple chocolate treat.
Icing sugar – Excellent for adding the perfect amount of sweetness to every bite and firming up the mixture with a little powdery goodness that acts a little like flour in this recipe. Icing sugar is also often called powdered sugar.
Rice Krispies – Adding Rice Krispies gives the perfect amount of crunch!
Semi-sweet chocolate chips – This will be used as the outer coating of the buckeye balls!
How To Make Old Fashioned Peanut Butter Balls
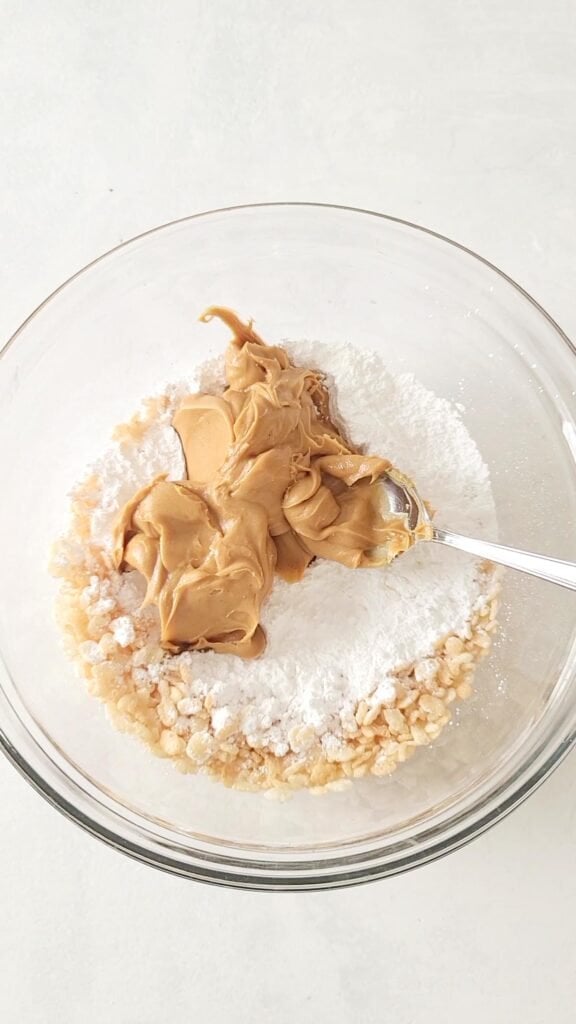
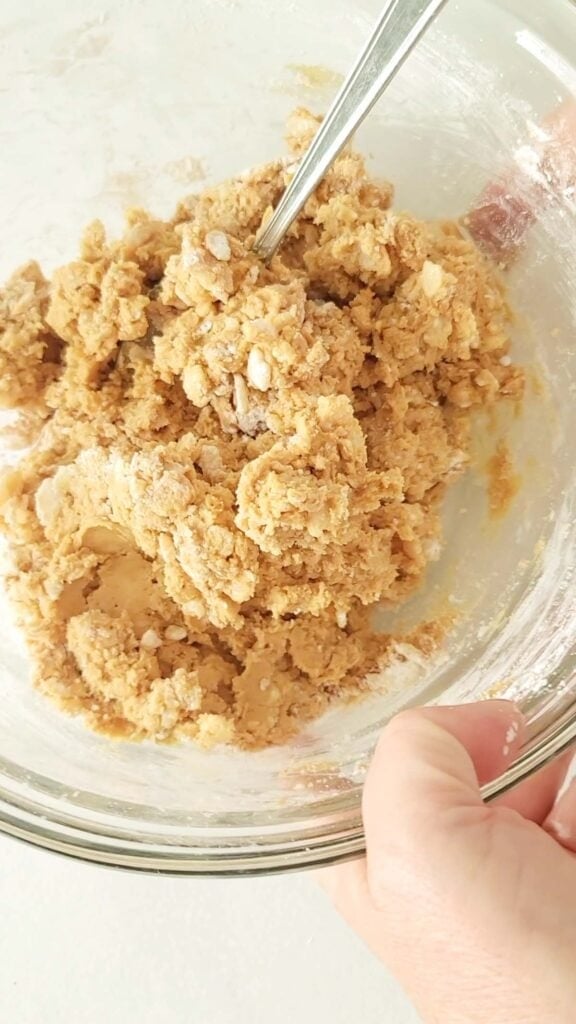
- In a large bowl, combine peanut butter, icing sugar, and Rice Krispies.
- Place the filling in the fridge covered for 10 minutes, so it firms up a bit to make it easier to roll into balls.


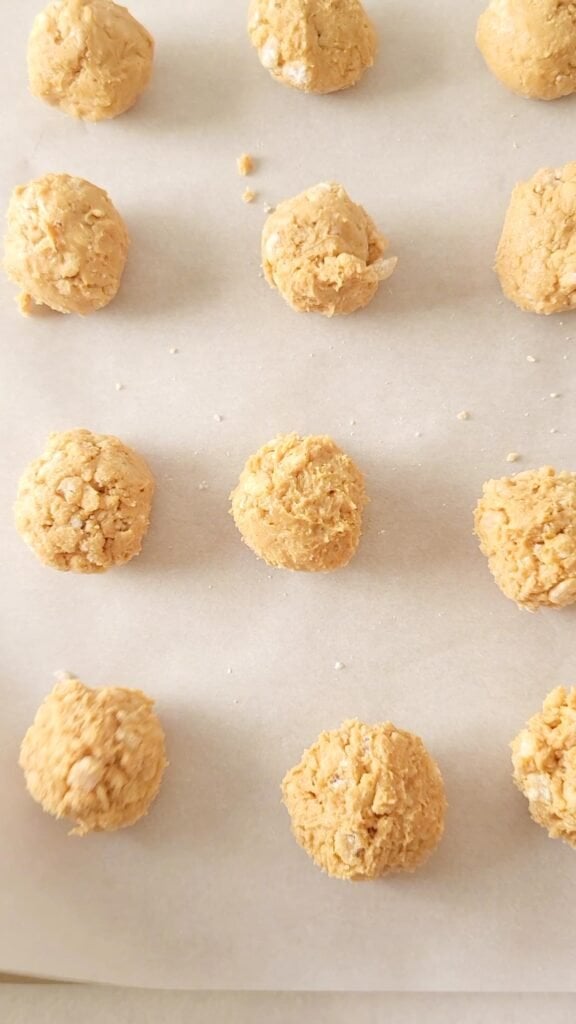
- Roll filling into small balls, pressing to ensure the balls are firm and won’t fall apart. Roll each ball into a smooth round ball. Place on a lined cookie sheet.
- In a microwavable bowl, melt chocolate on low using the “Melt Chocolate” setting on your microwave. Alternatively, place the chocolate in a heat-resistant bowl over a pot of simmering water and gently melt the chocolate.
- Make sure no water splashes into the bowl. I like to put my bowl inside of a vegetable steamer so it sits nicely above the simmering water.


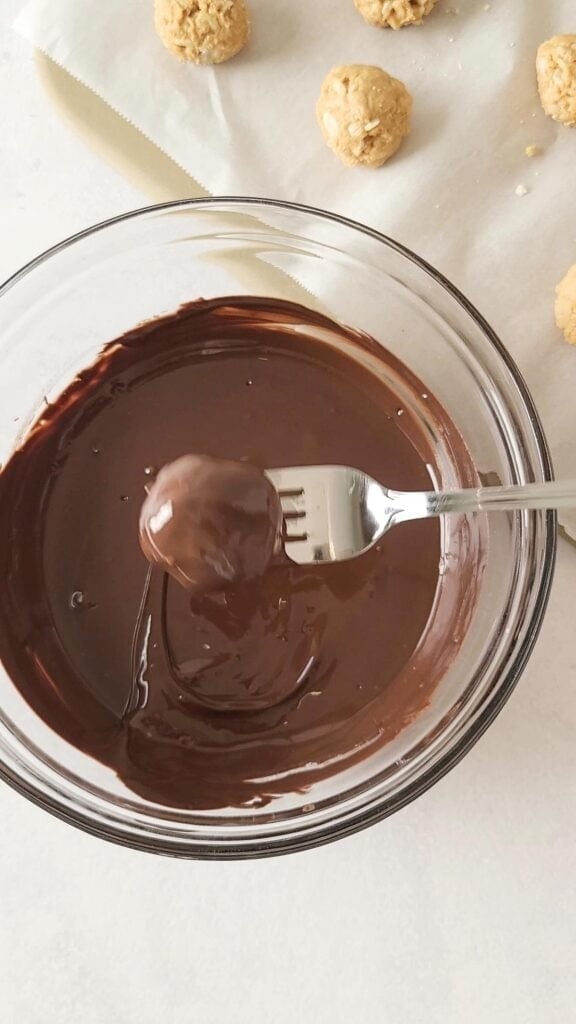
- Dip rolled peanut butter balls into the chocolate one at a time and roll around to ensure evenly coated. Place the chocolate-covered ball back onto a lined cookie sheet.
- Once all balls are dipped, place an uncovered cookie sheet into the fridge for about an hour to ensure the chocolate sets before eating. Or you will get really messy!
How To Store
Keep this peanut butter ball recipe with Rice Krispies covered in chocolate stored in the fridge until you’re ready to serve. You’ll also want to keep any leftovers in an airtight container in the fridge.
Can you freeze Peanut Butter Balls With Rice Krispies?
You bet! Simply store the peanut butter balls in a freezer-safe bag and store them in the freezer. To unthaw, move them to the fridge and give them a few hours.

Tips
- Once you have made the peanut butter filling, cover and let sit in the fridge for about 15 minutes, so the peanut butter stiffens up a bit and is less sticky. This makes it easier to roll with your hands into a ball.
- Use a small cookie scoop or melon baller to scoop out the filling to roll into balls. This way, you know every piece will be the same size.
- Rest the peanut butter balls with Rice Krispies on top of a fork and dip them in the chocolate and use the fork to gently roll the ball around in the chocolate to coat evenly. Lift out gently by placing the fork under the chocolate-coated ball and place it gently on a lined cookie sheet.
- Once all the balls have been dipped in chocolate, let them rest uncovered in the fridge for an hour, so the chocolate hardens. Then you can put them in a covered container and store them for later.

Creative ways to decorate
You can easily add some fun toppings or decorations to these delicious peanut butter balls!
- Add to molds for a fun shape
- Use colored chocolate
- Sprinkles
- Peanuts
- A chocolate drizzle
- More crispy rice to the top
- A little bit of course salt
- Sprinkle with edible glitter
- Double dip twice in the chocolate (after the first layer has hardened!)

What peanut butter is best to use?
For the best outcome, regular creamy peanut butter is best. Natural peanut butter tends to separate from oil because it has not been emulsified. This will prevent these chocolate peanut butter balls from setting properly and may lead to an oily mess.
Crunchy peanut butter will work fine and can be a good substitute for the crunch created by using Rice Krispies. If using crunchy peanut butter I would leave the crispy rice out of the recipe.
Can Nut-free butter be used?
Absolutely. You can literally play with this simple dessert recipe and find an option that works best for you and your needs. Almond butter, cashew butter, sunflower seed butter…they will all work well just be aware of brands where the oil has separated or again you will end up with a mess.

More Tasty Bites To Try!
- Four Ingredient Chocolate Fudge
- Chocolate Covered Graham Crackers
- Brown Sugar Fudge (Penuche)
- Out-of-this-World Oreo Truffles
- Almond Mocha Bliss Balls

Old-Fashioned Peanut Butter Balls
Ingredients
- 1 cup peanut butter smooth
- 1 cup icing sugar
- 1 cup Rice Krispies
- 2 cups semi-sweet chocolate chips
Instructions
- In a large bowl combine peanut butter, icing sugar and Rice Krispies
- Place filling in fridge covered for 10 minutes so it firms up a bit to make it easier to roll into balls
- Roll filling into small balls pressing to ensure the balls are firm and won’t fall apart. Roll each ball into a smooth round ball. Place on a lined cookie sheet
- In a microwavable bowl melt chocolate on low using the “Melt Chocolate” setting our your microwave. Alternatively place the chocolate in a heat resistant bowl over a pot of simmering water and gently melt the chocolate. Make sure no water splashes into the bowl. I like to put my bowl inside of a veggetable steamer to it sits nicely above the simmering water.
- Dip rolled peanut butter balls into the chocolate one at a time and roll around to ensure evenly coated. Place chocolate covered ball back onto lined cookie sheet
- Once all balls are dipped place uncovered cookie sheet into the fridge for about an hour to ensure the chocolate sets before eating. Or you will get really messy!
Video
Nutrition
Notes
The information shown is an estimate provided by an online nutrition calculator. It should not be considered a substitute for a professional nutritionist’s advice.
Pin It For Later!


