


Simple Homemade Apple Pie
This post may contain affiliate links. Read our full disclosure policy.


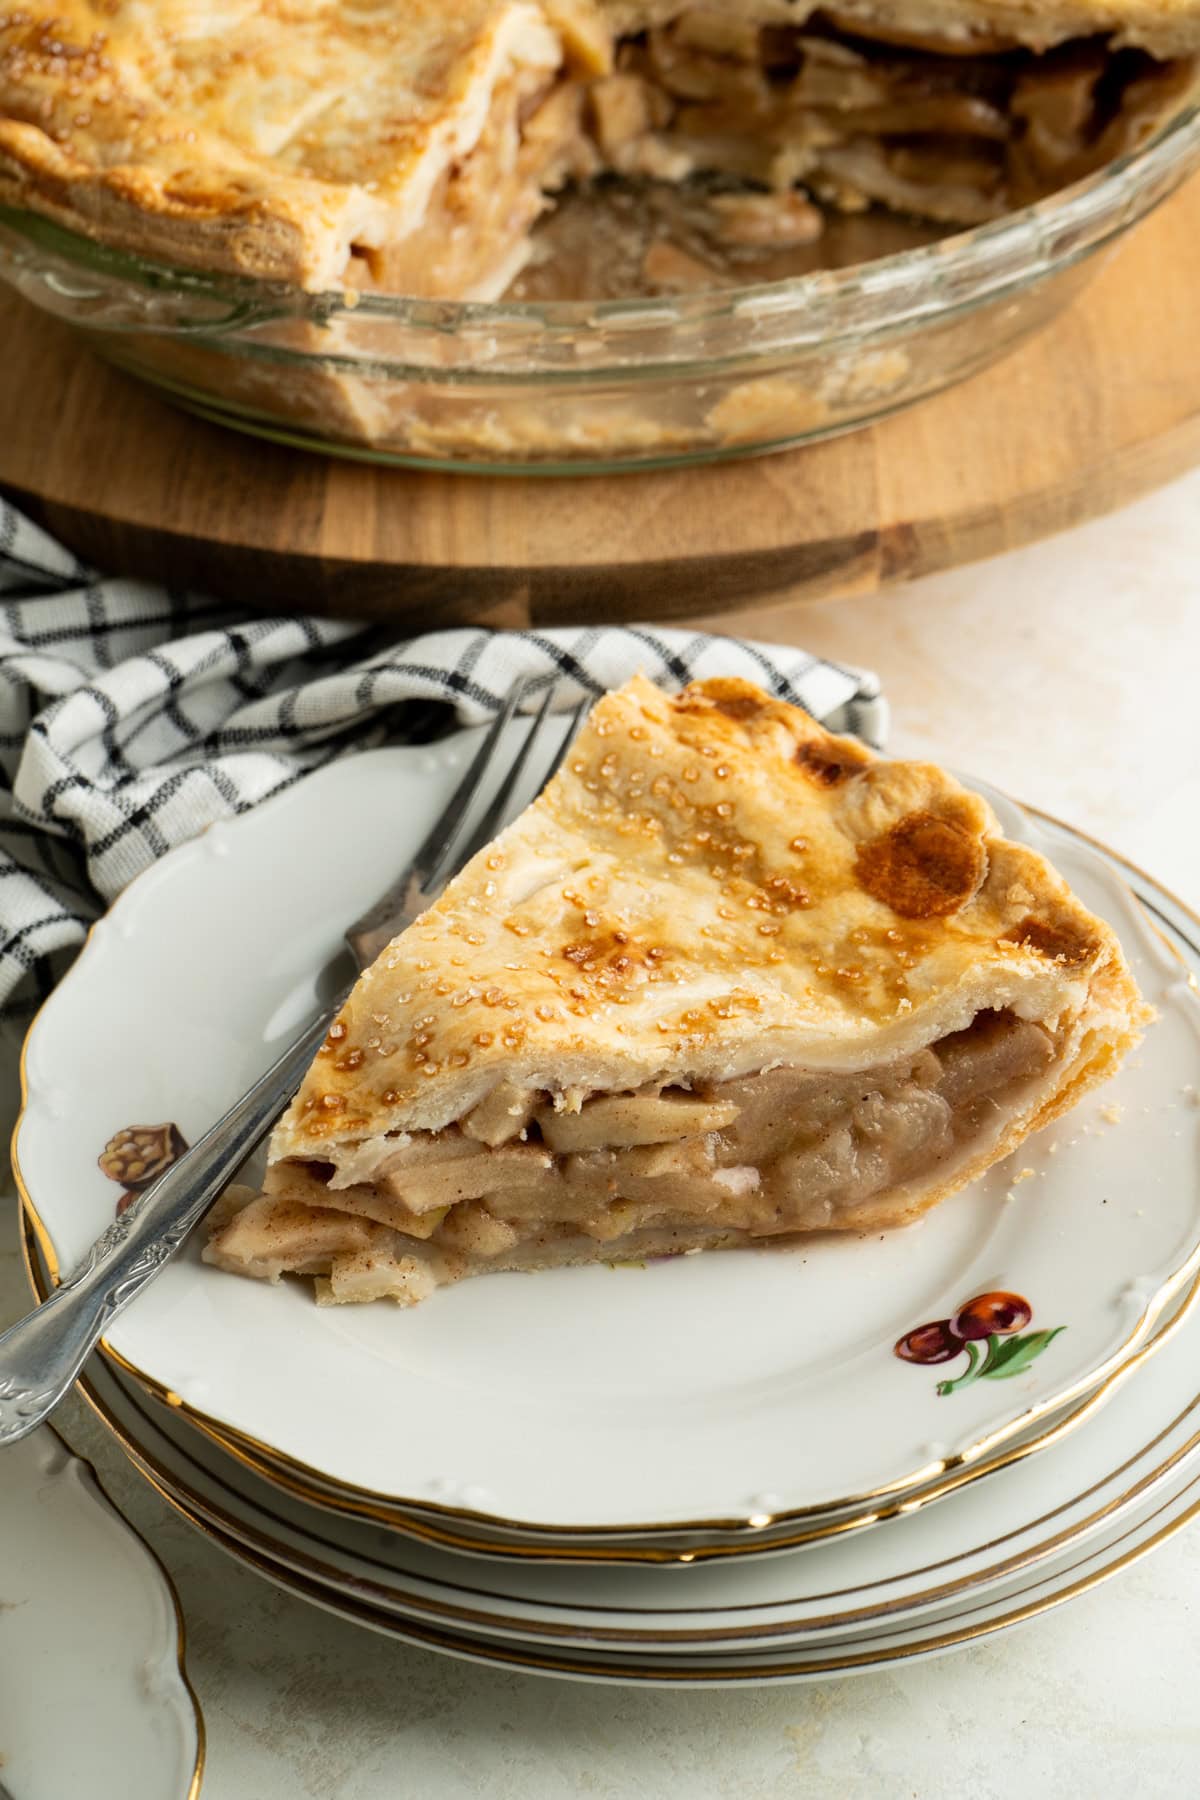
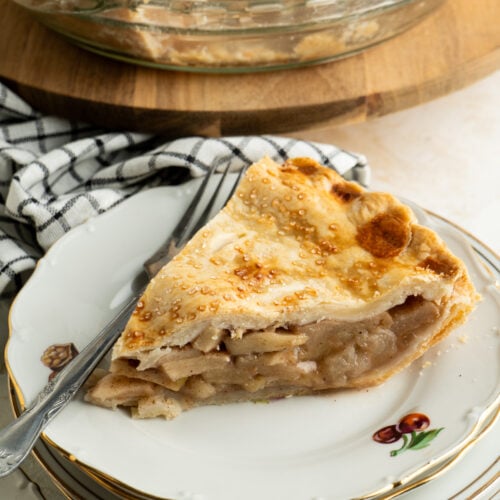
Dessert doesn’t get easier than this homemade apple pie! Sliced Granny Smith apples tossed in cinnamon sugar and piled high inside a flaky pie crust. A simple pie recipe that never grows old.
Save this Recipe!
Get this recipe sent to your inbox, plus get new recipes from The Delicious Spoon every week!
Nothing says fall baking season around here like the smell of apple pie drifting out of the oven (and everyone suddenly hanging around the kitchen asking when it will be ready). The cinnamon apple filling is the star here, so I keep it easy and let the apples do the talking. If you love a good fruit pie, my Old Fashioned Blackberry Pie should be next on your list. For days when you want all that cozy apple flavor without rolling out dough, my Gluten Free Apple Crumble is a great backup plan.
Star Ingredients
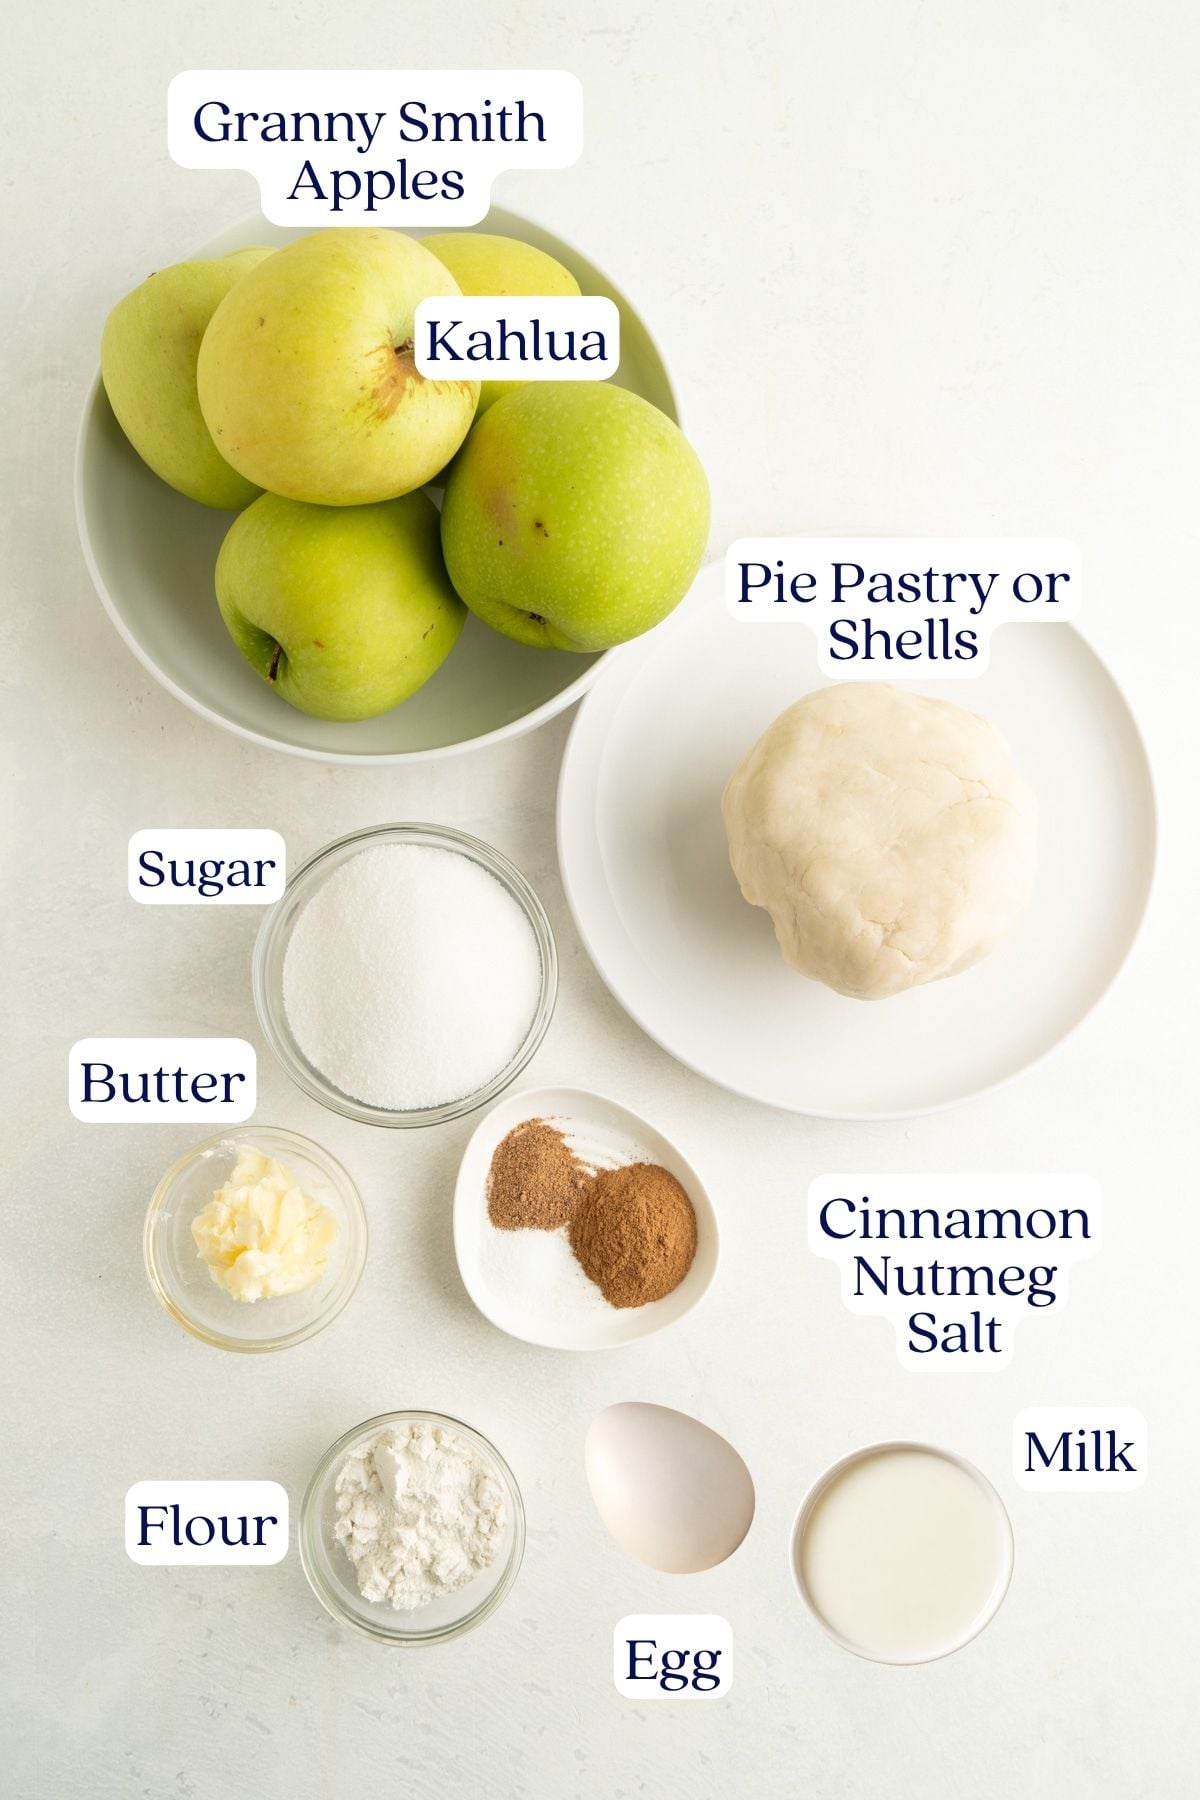
- Apples – I prefer to use Granny Smith apples in my pies because they are firm and hold their shape even when baked. They are also a little tart, which balances out the sugary filling. Braeburn or Honeycrisp apples are other good choices. But if you prefer a mushier filling, you could swap out some or all of the Granny Smith apples with McIntosh, Golden Delicious, or Cortland apples that bake down to a softer, mushier filling.
- Pie Pastry – My grandmother’s Tenderflake Pie Crust recipe is what I use for all of my pies because it’s the flakiest pie crust I have ever eaten, but I can also trust it to hold its shape. Just half of the recipe makes a top and bottom. Or if you are short on time, you could use store-bought pastry shells.
- Spices – Cinnamon, nutmeg and salt is all this pie needs. Simple warm spices that allow the apples to be the star.
Step-By-Step Made Simple
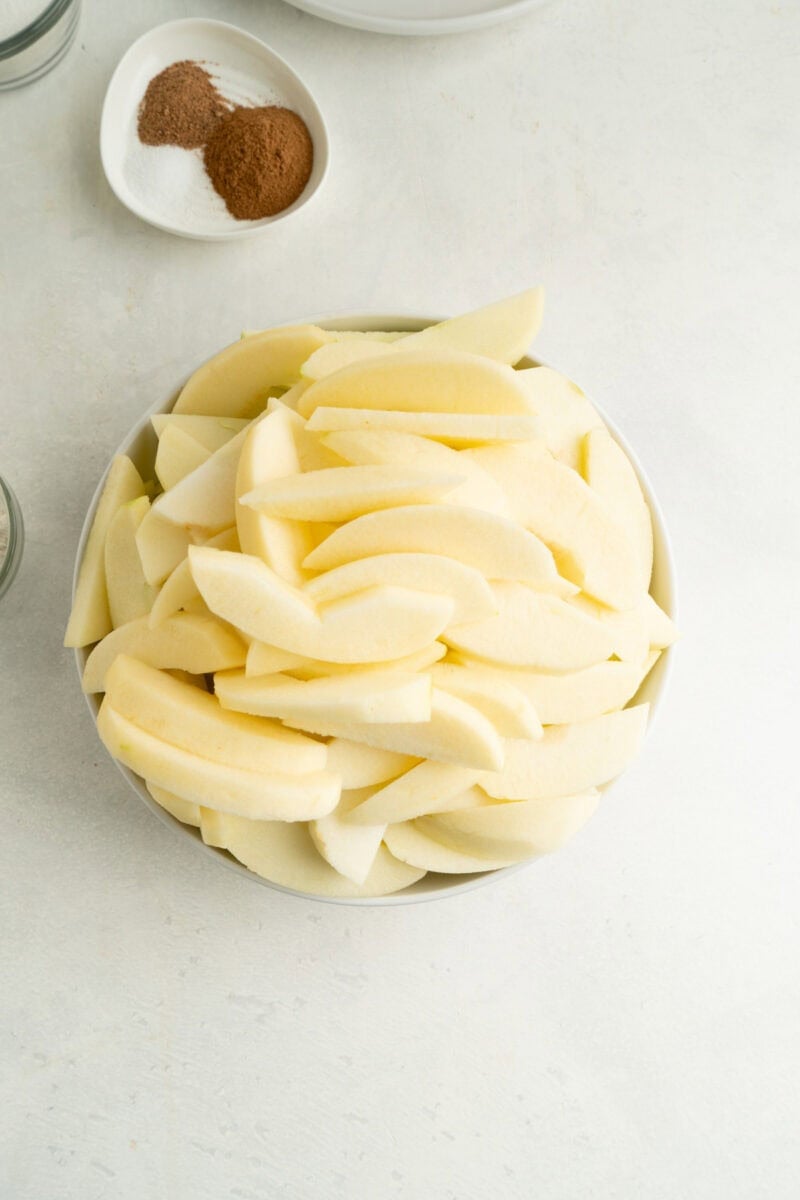
- Preheat your oven to 400°F. Start by peeling the apples. Then I cut slices from each side to remove the core easily. If there are any apple seeds or the tough pods left in the sliced apple, use a knife to remove them. Slice the apples into 1/4″ slices and add to a large bowl.
- In a small bowl, mix the sugar, flour and spices together.
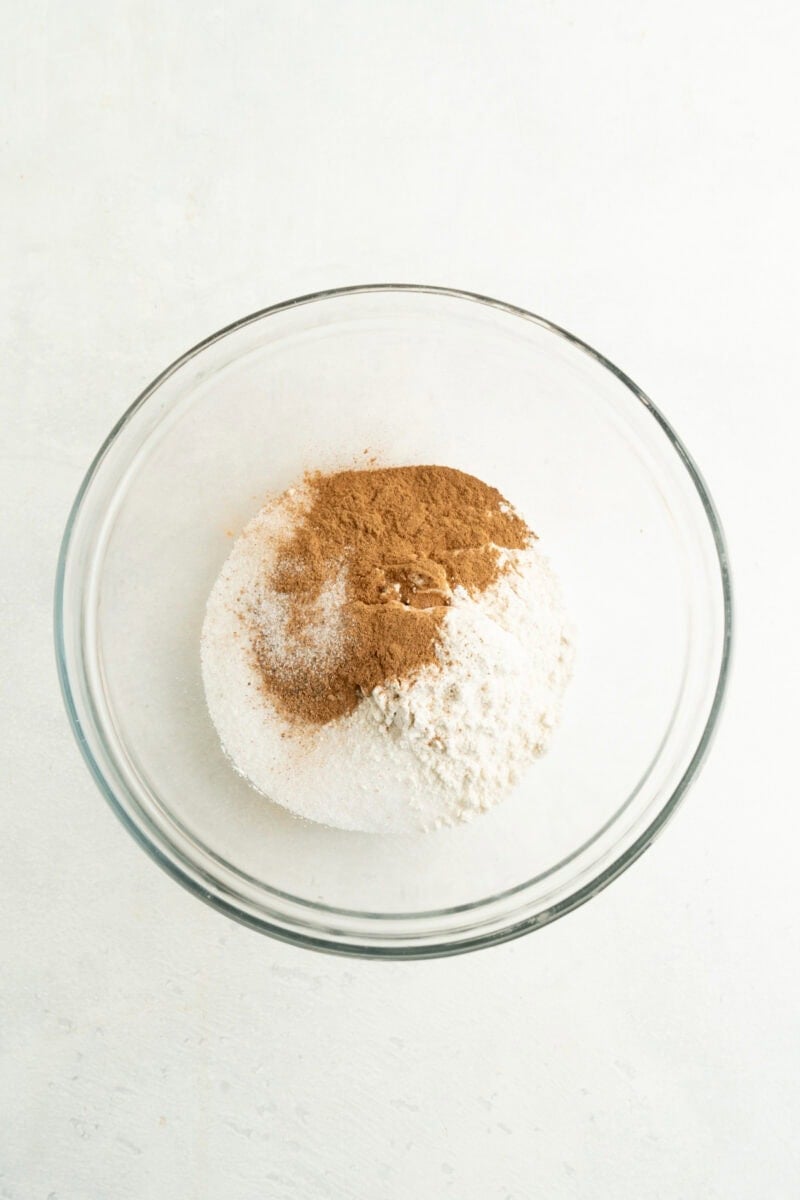
- Add the cinnamon sugar mixture to the bowl of apples and mix with a spoon until the apples are coated.
- If using my Tenderflake Pie Pastry recipe, you will just need a quarter of it. Roll the pie pastry out to form a large circle that is about 3″ larger on all sides. Fold it in half to easily lift it into the pie plate. Then gently push the pie pastry into place, making sure that it sits firmly against the bottom of the plate and along the edges and corners. Do not trim the pastry just yet.
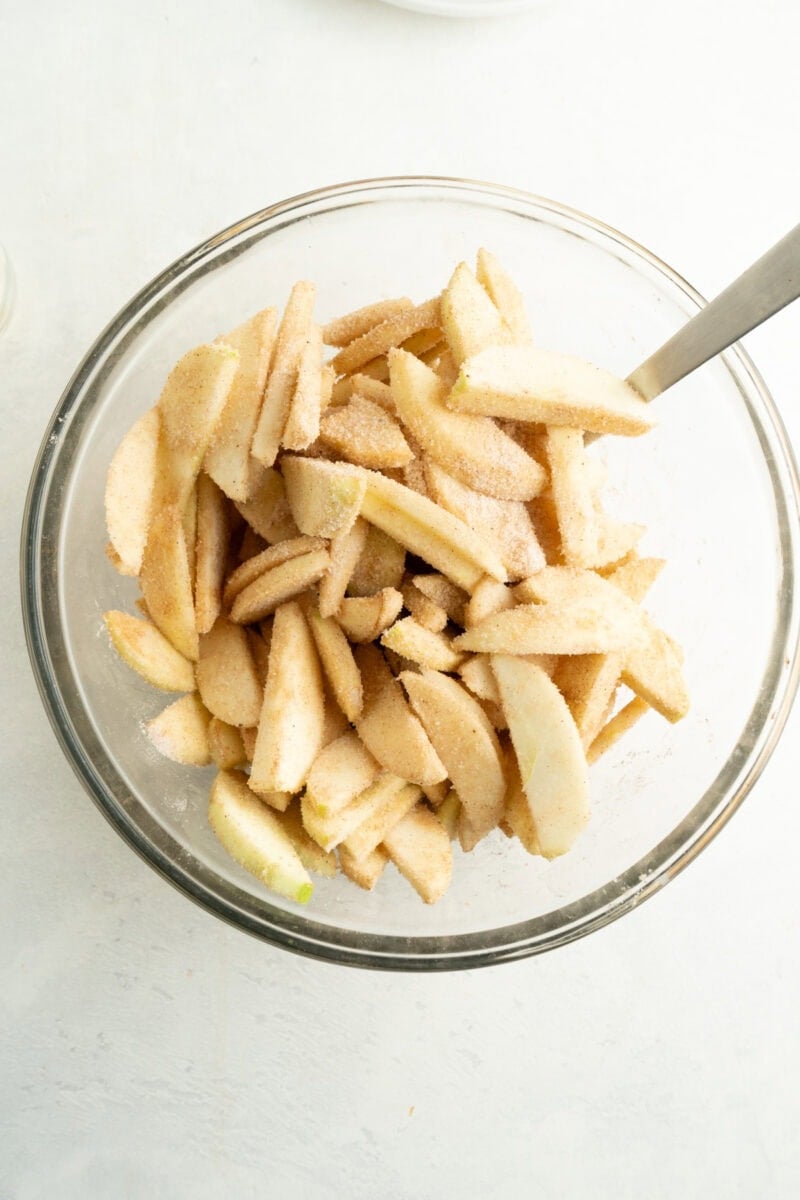
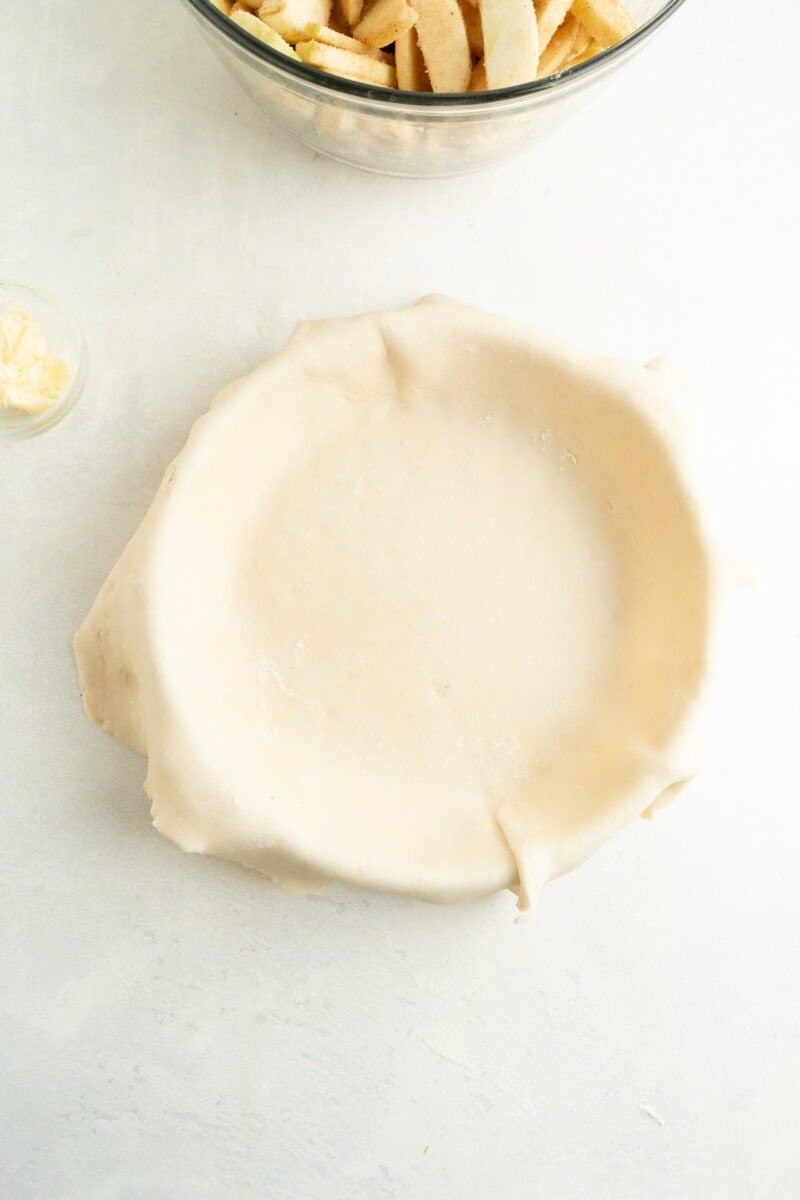
- Add the seasoned apples to the pie shell.
- Top the pie with a second pie shell and crimp the edges to seal. Then use a knife to cut slits into the pie to allow the steam to escape while baking.
- Add the egg and milk to a small bowl and whisk. Use a basting brush to brush the egg wash all over the pie. Do your best not to let too much pool in the crimped wells of the pie crust, but it is expected. If you want a little more texture, you can sprinkle sugar on top of the pie. I like to use coarse sugar, but this is not necessary and is completely optional.
- Dot the pie with the butter evenly.
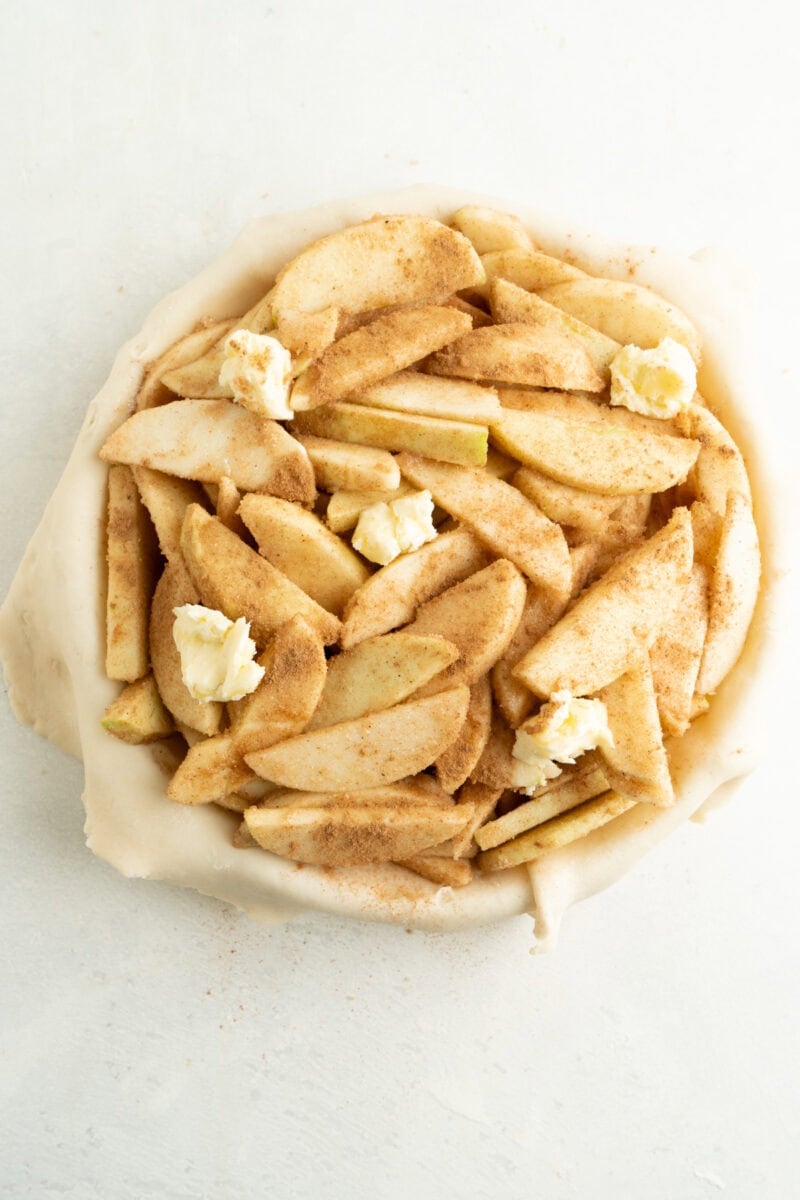
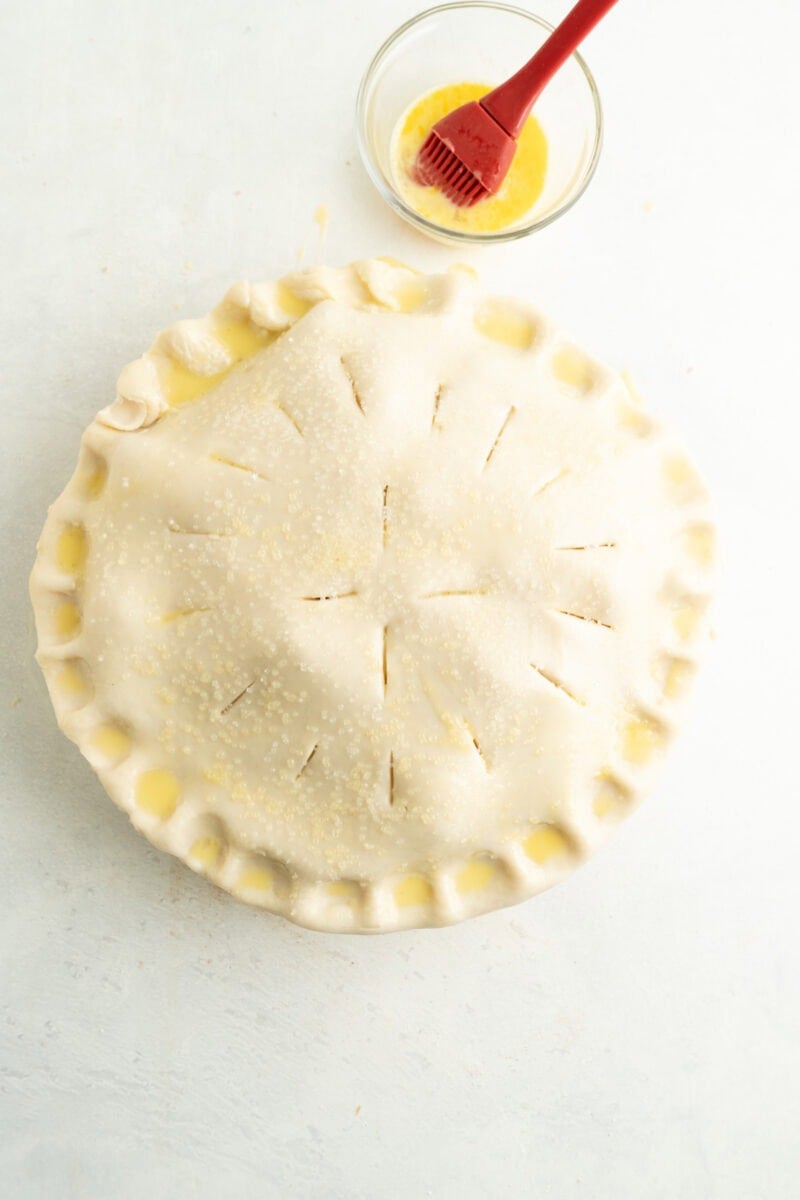
- Bake the pie for 10 minutes at 400°F, then lower the heat to 350°F and continue to bake for another 45-50 minutes. If you find that the top of the pie is browning too fast, cover it with foil to stop it from browning further.
- When the pie is baked, remove it from the oven and let it cool for 20 minutes before slicing. This will help the filling to set and keep the juices from running out when slicing. It will also save you from burning your mouth. I know you want it, but save the roof of your mouth the trouble!
Storage and Freezing
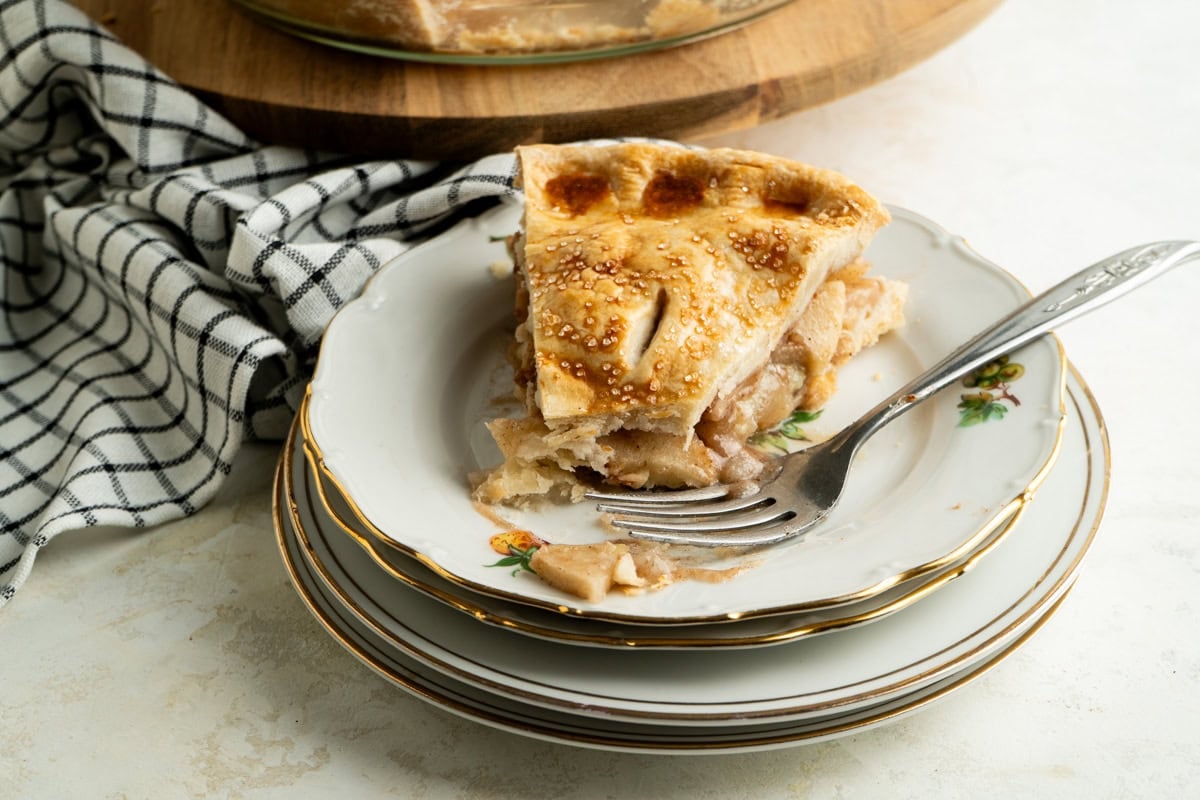
If you have leftovers, store the remaining pie in a pie container or wrapped tightly in plastic wrap for up to 3 days on the counter. Don’t store it in the fridge or the moisture inside the fridge will cause the pie crust to get soggy.
You can also freeze the pie before or after baking:
Freezing before baking:
This is the best way if you are planning to freeze the pie because it bakes up fresh with a crispy crust that you wouldn’t even know was frozen. To do this, assemble the pie entirely, minus the egg wash step.
Wrap the assembled pie tightly in plastic wrap – 3 layers and then wrap it again in a layer of foil. All of these layers will prevent freezer burn. The pie can be stored in the freezer this way for up to 3 months.
Then bake from frozen. But before you do, add the egg wash right before you put it in the oven. Because it is frozen, you will need to add about 10 more minutes of bake time. Which would be 15 minutes at 400°F and then 45-55 minutes at 350°F.
Freezing after baking
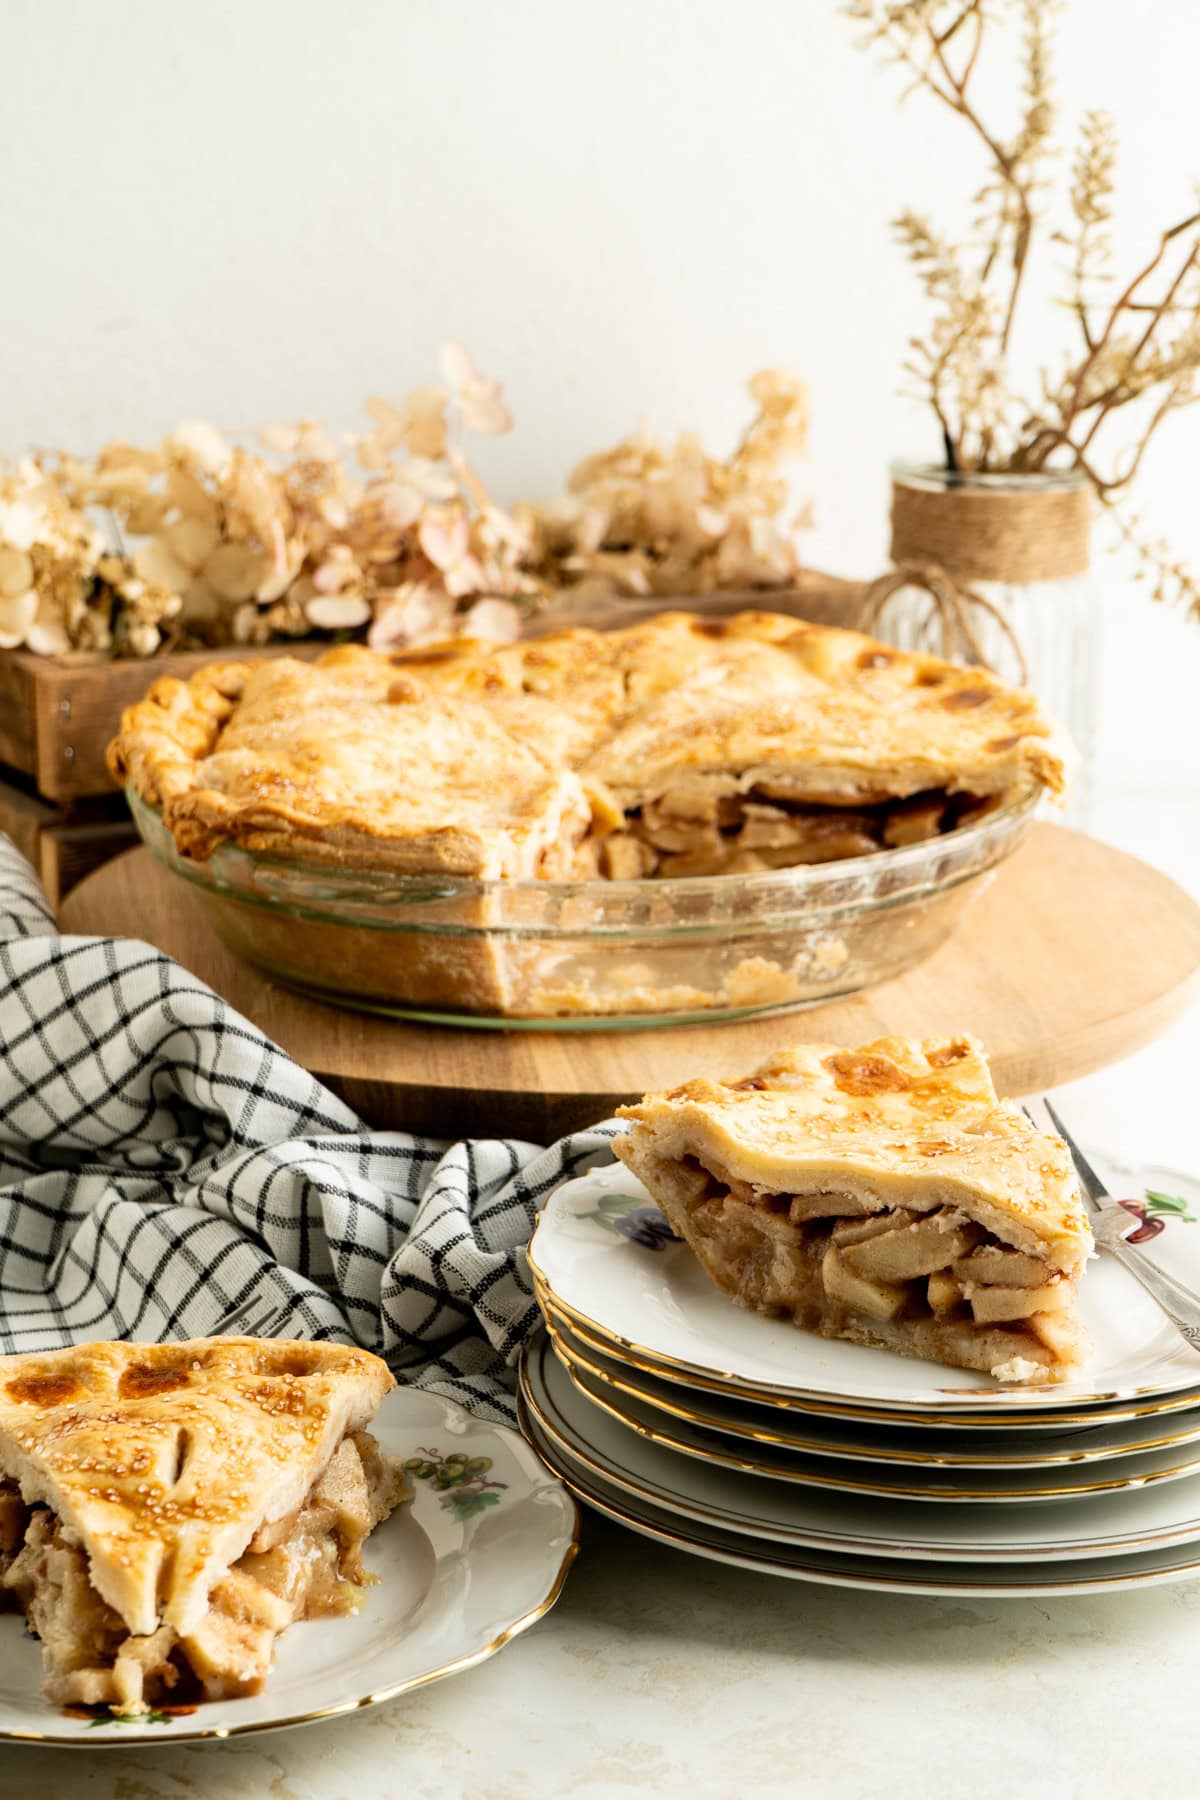
Not ready to finish the whole pie? No problem. Leftover pie freezes really well, and you can wrap it up whole or as individual slices.
If I’m freezing a larger piece, I only do it with half a pie. The cut side is flat, so the plastic wrap can sit snug against the filling. That’s tough to do with a pie that has a wedge missing. Slices work for the same reason since their flat sides make them easy to wrap tightly.
Either way, the process is the same. Wrap the pie tightly in three layers of plastic wrap, then add a snug layer of foil. Freeze for up to 4 months.
When you’re ready to dig in, thaw it in the fridge overnight. Don’t panic if the crust looks a little soft or soggy (it happens to the best of us). Pop it in the oven at 375°F (190°C) for about 10 to 15 minutes to crisp the crust back up and warm the filling. If you have an air fryer, use the reheat setting for about 5 minutes per slice.
Simple Homemade Apple Pie
Ingredients
- 32 oz Granny Smith apples, peeled and cored (about 4-5 large apples)
- ¾ cup granulated sugar
- 2 tbsp flour
- 2 tsp cinnamon
- ½ tsp nutmeg
- ¼ tsp salt
- 2 tbsp butter
- 2 9" pie shells or 1/2 the Tenderflake Pie Crust recipe
- 1 large egg
- 1 tbsp milk
Instructions
- Preheat your oven to 450°F. Peel, core and slice the apples to 1/4" thickness and place them in a large bowl.
- In a small bowl mix together the flour, sugar, cinnamon, nutmeg and salt.
- Add the cinnamon mixture to the bowl of apples and mix well to coat.
- Roll out 1/2 of the pie pastry to a large circle about 14-15" in diameter and then place inside the pie plate. Gently press the dough into the plate so that the corners are tight to the bottom and sides of the plate.
- Add the apples to the pastry-lined pie plate and dot with the butter.
- Top the apples with another layer of pie pastry. Crimp the edges of the pastry to ensure the pie is sealed. Then trim any excess pastry away with a sharp knife. Us the knife to cut slits in the top of the pie to allow the steam to escape.
- Add the egg and milk to a small bowl and whisk. Use a basting brush to brush the egg wash all over the top of the pie and sprinkle with sugar if you wish.
- Bake for 10 minutes at 400°F and then reduce the heat to 350°F and continue baking for another 45-50 minutes. If the pie becomes too brown before it is done baking cover it with a loose layer of foil.
- Remove from the oven and let cool for 20 minutes before serving.
Nutrition
Notes
The information shown is an estimate provided by an online nutrition calculator. It should not be considered a substitute for a professional nutritionist’s advice.


