

Never Fail Tenderflake Pie Crust Recipe
This post may contain affiliate links. Read our full disclosure policy.


This Easy Tenderflake Pie Crust recipe is light and full of flavour. This recipe was given to me by my Grandmother and is as easy as pie and never fails to be amazing! The perfect base for your favorite pies and tarts.

Save this Recipe!
Get this recipe sent to your inbox, plus get new recipes from The Delicious Spoon every week!
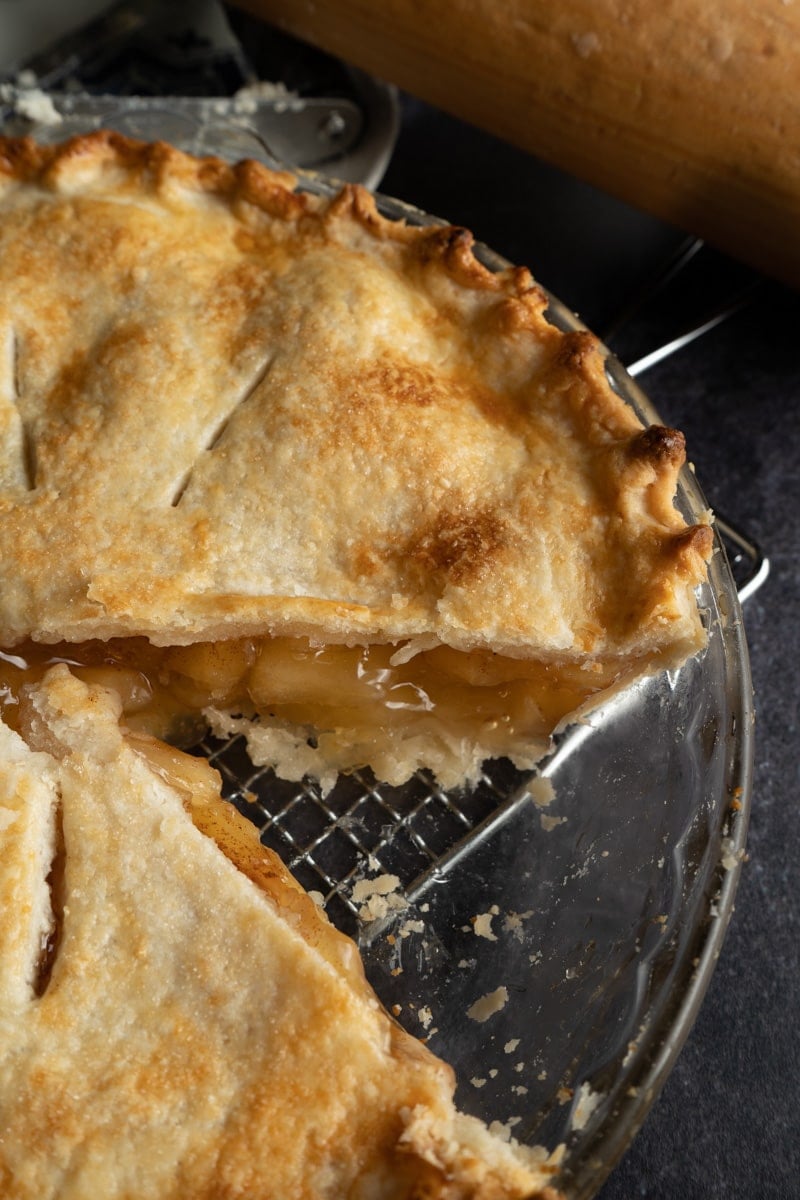
I am a pie crust snob. I can tell a good pie crust from a mile away. Pie crust needs to be the perfect balance between being firm enough to hold the gooey contents of a pie but also incredibly flaky. I need my fork to go into that pie and the pie crust crackle just a little bit, and pieces of flaky pie crust fall to my plate.
I clearly have a weird obsession with pie crust and have absurdly given this a lot of thought, as you can probably tell.
Making this never-fail pie crust recipe is all about the rule “Less is More”. The less you need to touch the dough to bring it together, the better. Side note… shortbread is the same. Less is more! Here is the recipe for my Grandma’s Shortbread. Flaking and buttery just like shortbread should be.
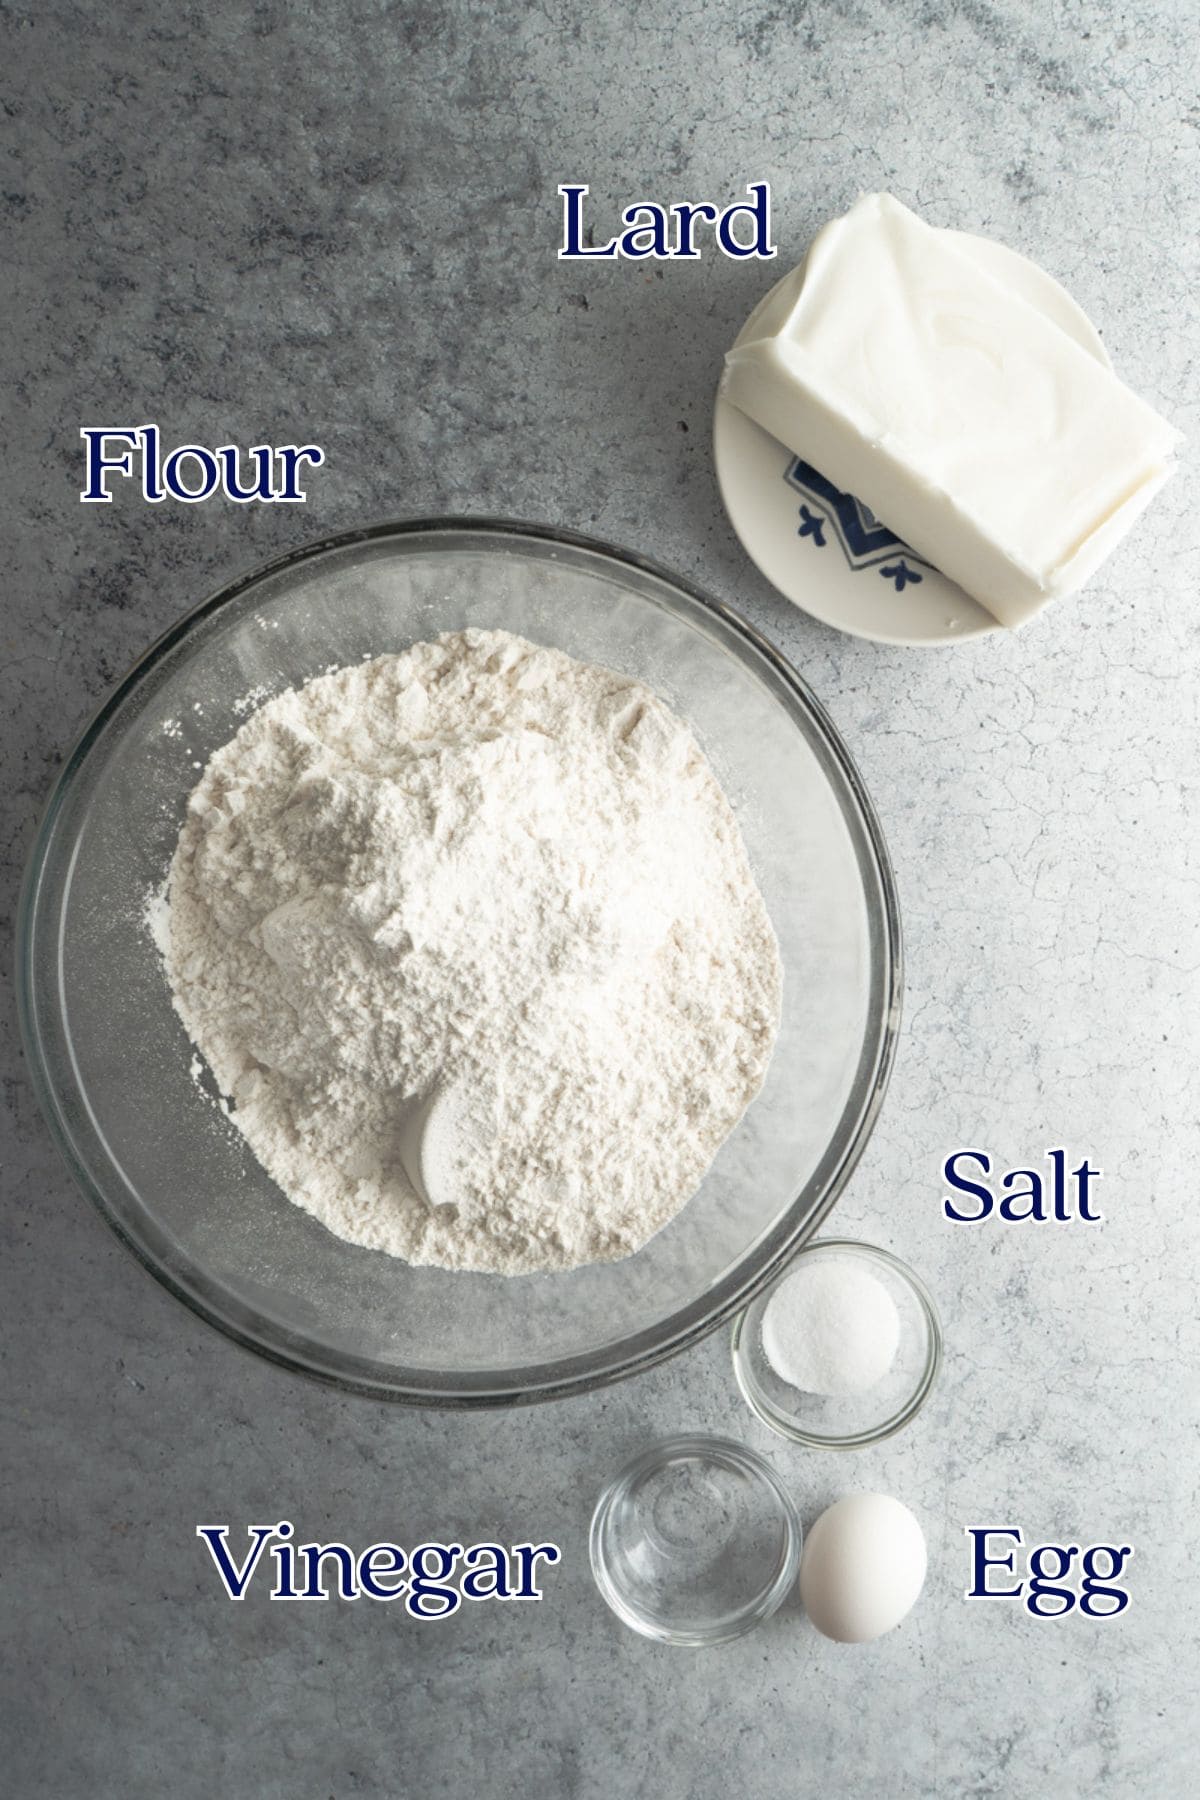
Star Ingredients
- Lard – I like to use Tenderflake for my pies. But any lard will do. Lard is fat that has been rendered from pork into a white semi-solid state. It chills well and produces a super flaky pie crust that will stand up to fruit fillings well.
- Pastry flour – A lighter flour that has been ground finer than all-purpose flour and has a lower protein content. I swear by pastry flour for pie crust and most of my cookies. My grandma used nothing else.
- Cold water – This is important. Cold. Because it keeps the ripples of fat in the pastry from melting prematurely during the mixing stage. The heat from your hands from hand mixing may cause the lard to melt and lose the pockets of fat needed for a flaky pastry. The water also adds moisture to help the ingredients form a dough.
Step-by-Step Made Simple
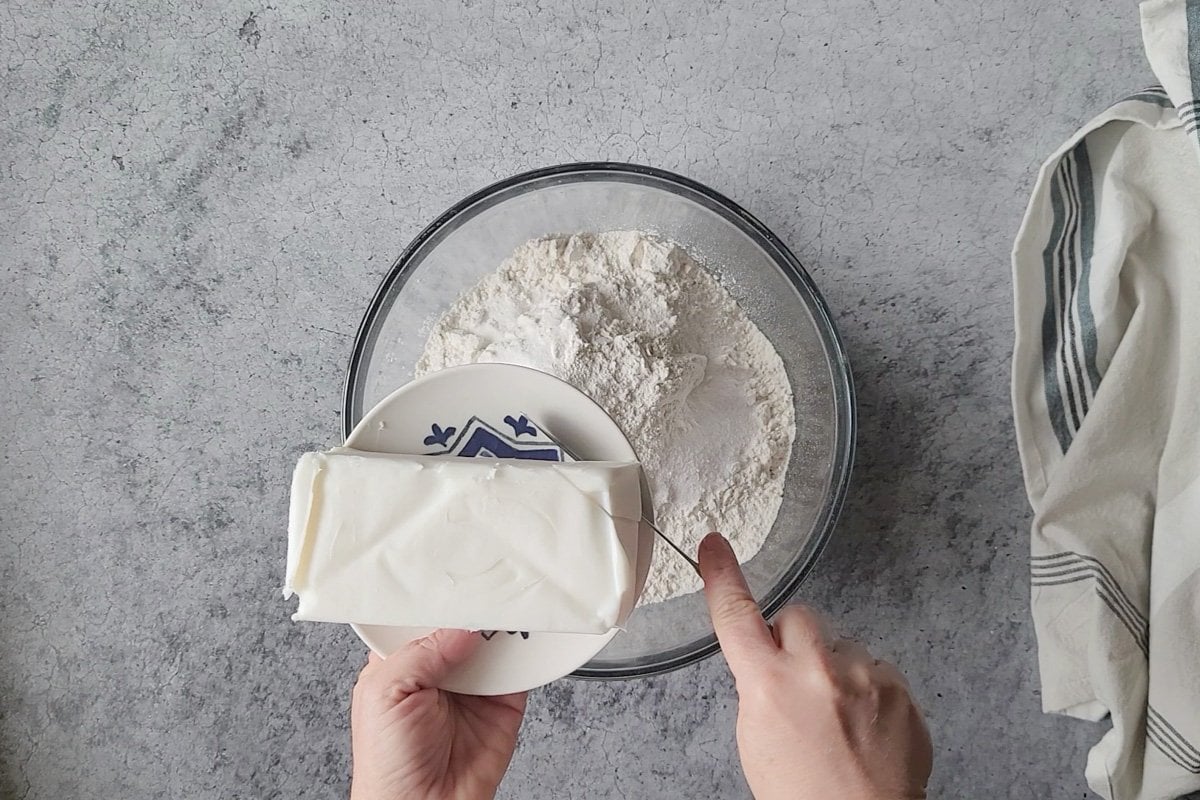
- Start by adding the flour and salt to a large bowl. Give it a good mix with your hand. Then cut a brick of lard up into cubes or chunks and add to the bowl of flour.
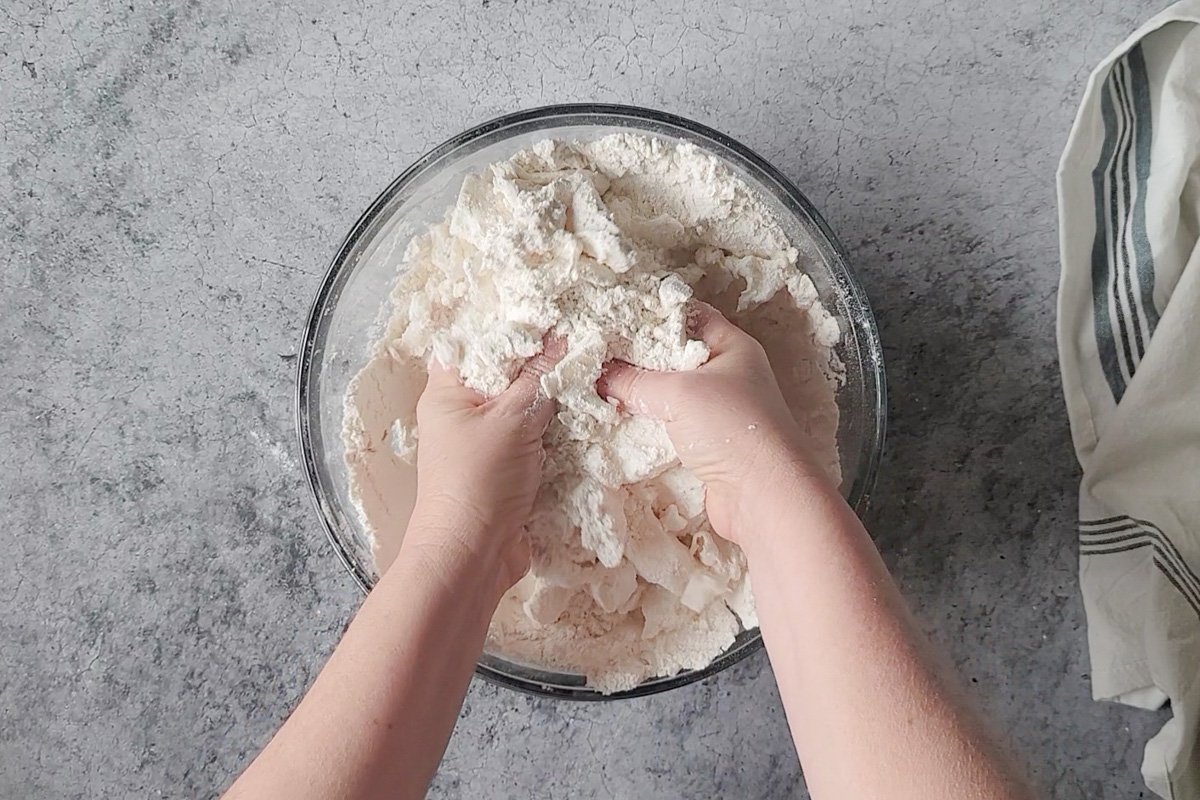
- Using your hands, work the lard into the flour to create an oatmeal-like texture by rubbing the flour and lard together between your fingers and thumb. The goal is to have ripples or pearls of lard mixed throughout the flour. You do not want the lard fully mixed into the flour because it is these ripples of lard that are supremely important to making the best flaky pie crust.
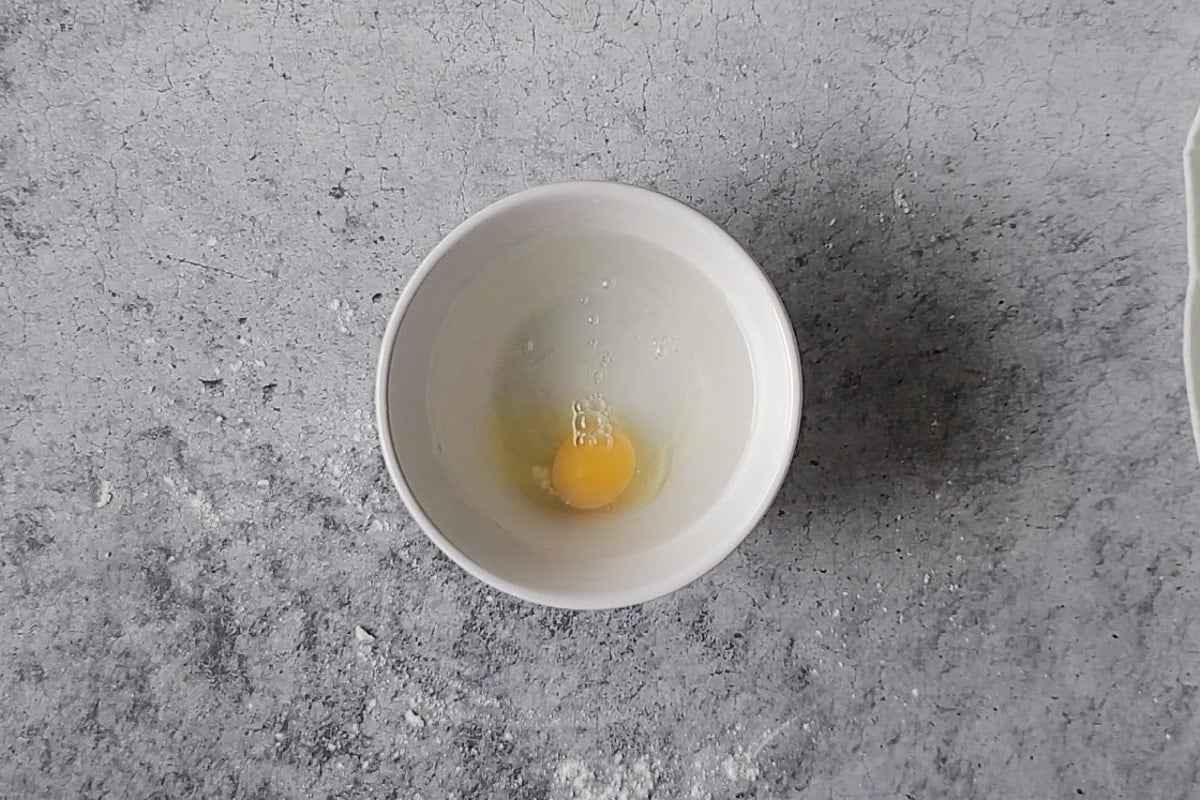
- Set the bowl of flour and lard aside and add one large egg, the vinegar and cold water to a small bowl. Whisk well to break up the egg.
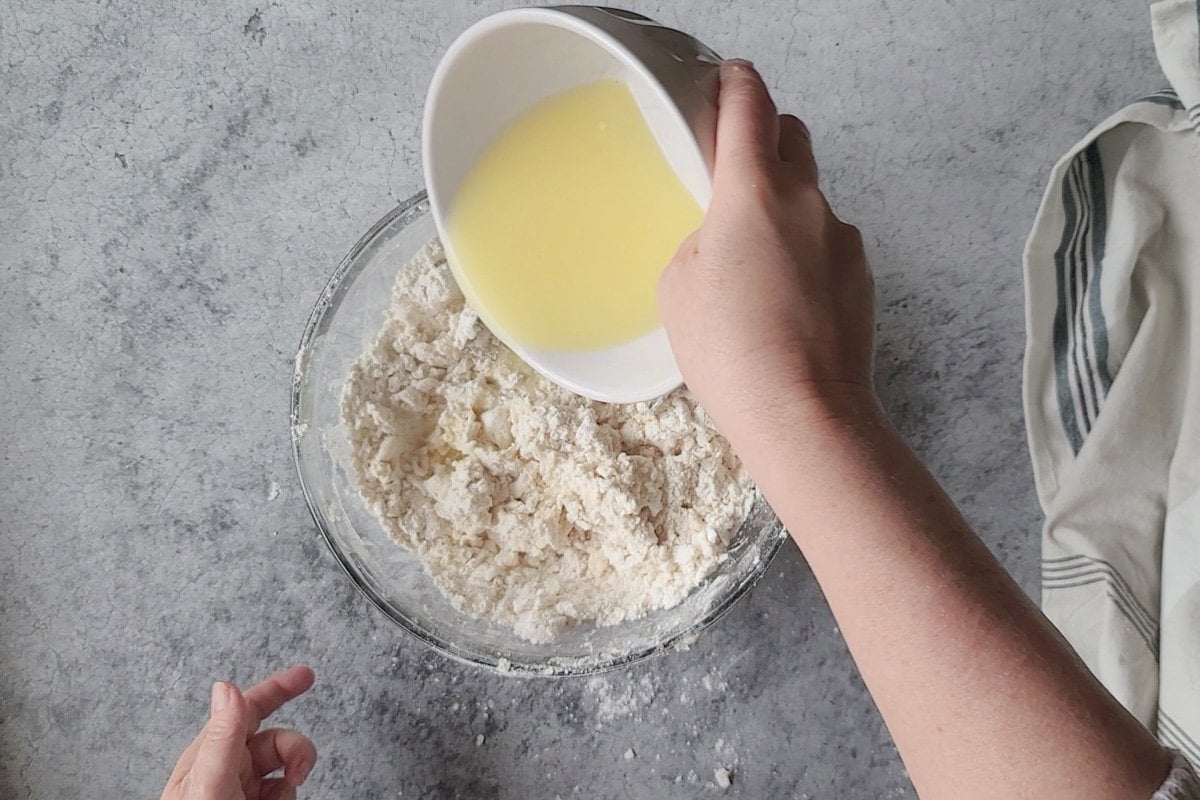
- Make a well in the centre of the flour mixture and pour in half of the egg liquid. Using a pastry knife blend the wet ingredients into the dry ingredients. The dough will still be very sticky. Add the remaining liquid and mix until all of the liquid is absorbed and there is no dry flour remaining.
This is where the less is more rule is important. The goal of step 5 is to mix only enough to combine the wet and dry ingredients. Overmixing will work those ripples into the flour too much, and you may end up with tough, doughy pastry.
Tip
Don’t have a pastry cutter? The two knife trick is how my Grandma taught me. Just get two dinner knives and hold the handles together. They automatically will separate a little and form a similar instrument to a pastry cutter. Works like a charm!
- Use your hands to press the dough together to form a ball. Again with this step, more is less! Make it a game to get the job done with as little handling as necessary. The more time you mix, the more time your hands have to heat up the lard, melting those ripples of fat you need for a flaky crust.
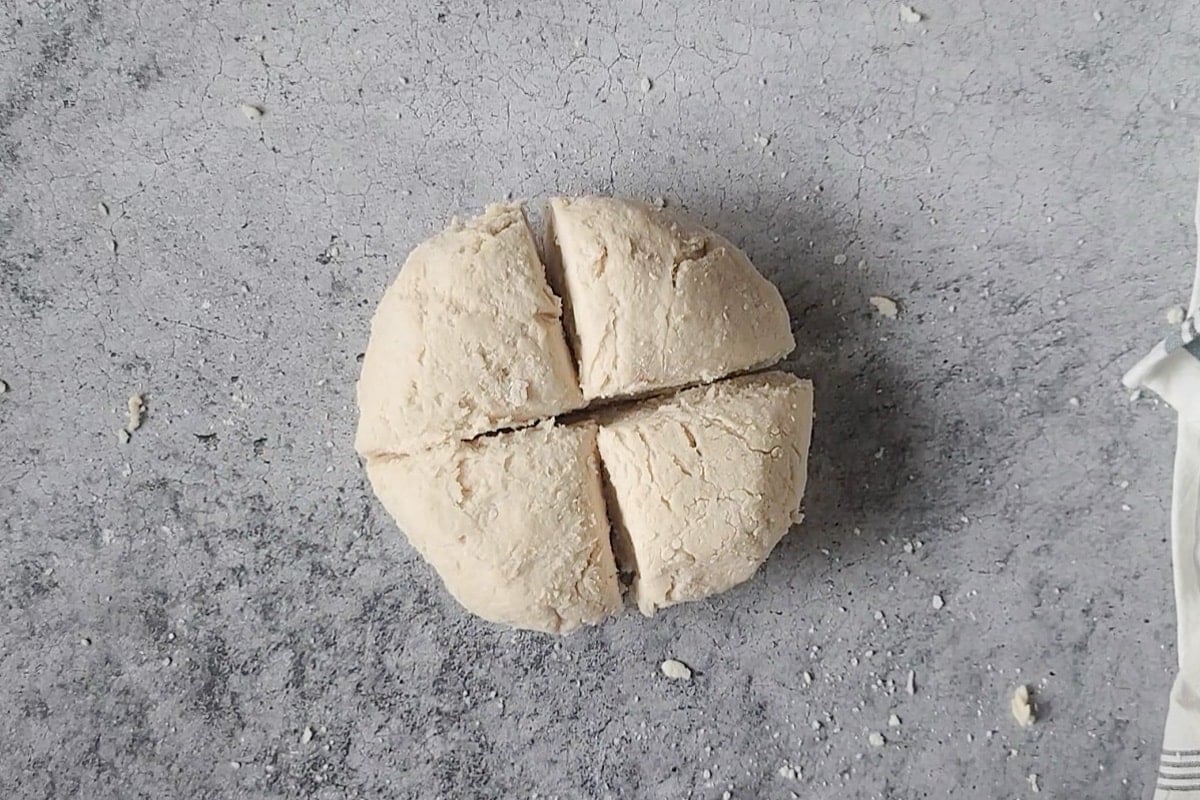
- Once the dough is formed into a large ball, use a knife or bench scraper to divide the dough into 4 even pieces. Then roll each piece into a ball and cover tightly with plastic wrap to keep it from drying out or to store for later.
This Tenderflake pie crust recipe makes enough for four pie shells. You could cut this recipe in half, but this easy flaky pie crust recipe freezes so well it is worth making the whole recipe and keeping some for another day.
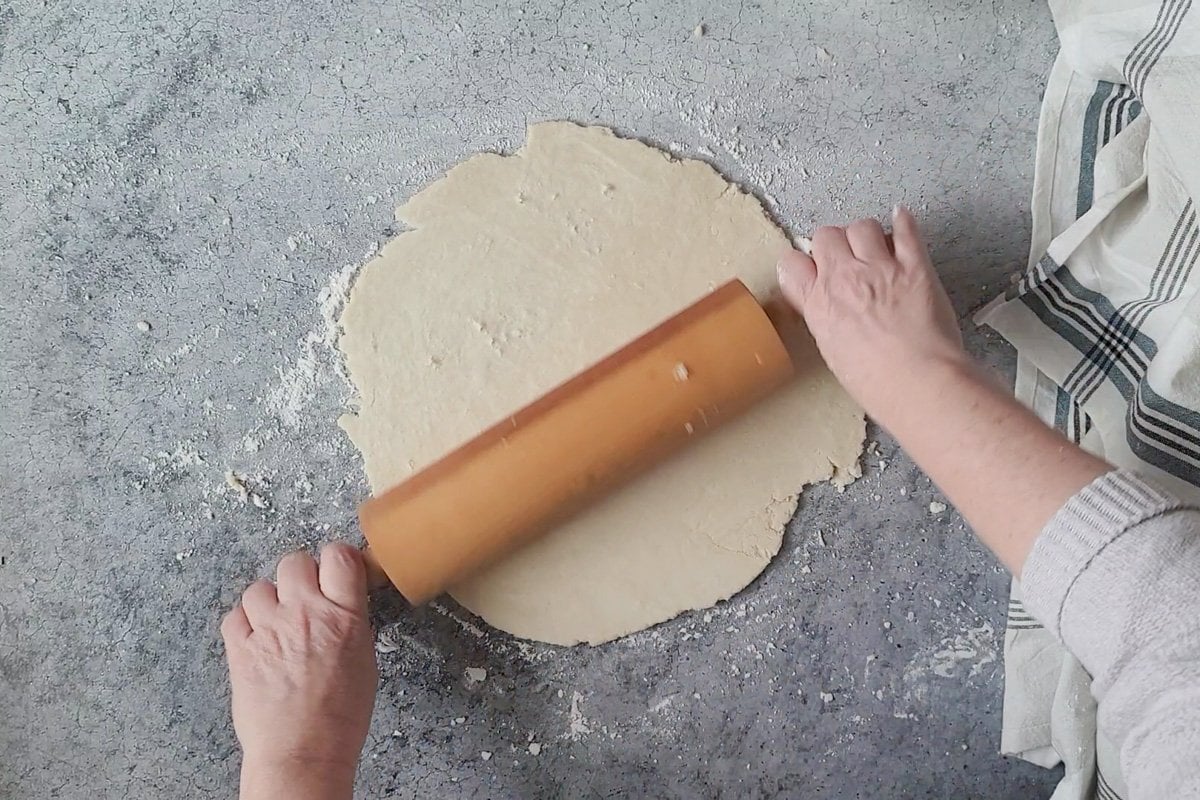
- When you are ready to use the dough, bring it up to room temperature if it isn’t already. Lightly flour your surface and the rolling pin, and then roll the dough out. For a standard pie shell, I like to aim for an even circle that is about 11″ in diameter for a 9″ pie plate and about a 1/4 inch thickness.
If you have a marble rolling pin, you can always pre-chill in the fridge. This will help keep the dough from sticking to the rolling pin as well.
The dough may be a little sticky, so if it is, I recommend wrapping it in plastic wrap and letting it rest in the fridge for 30 minutes before trying again.
How to Transfer Pie Crust Into A Pie Plate Easily
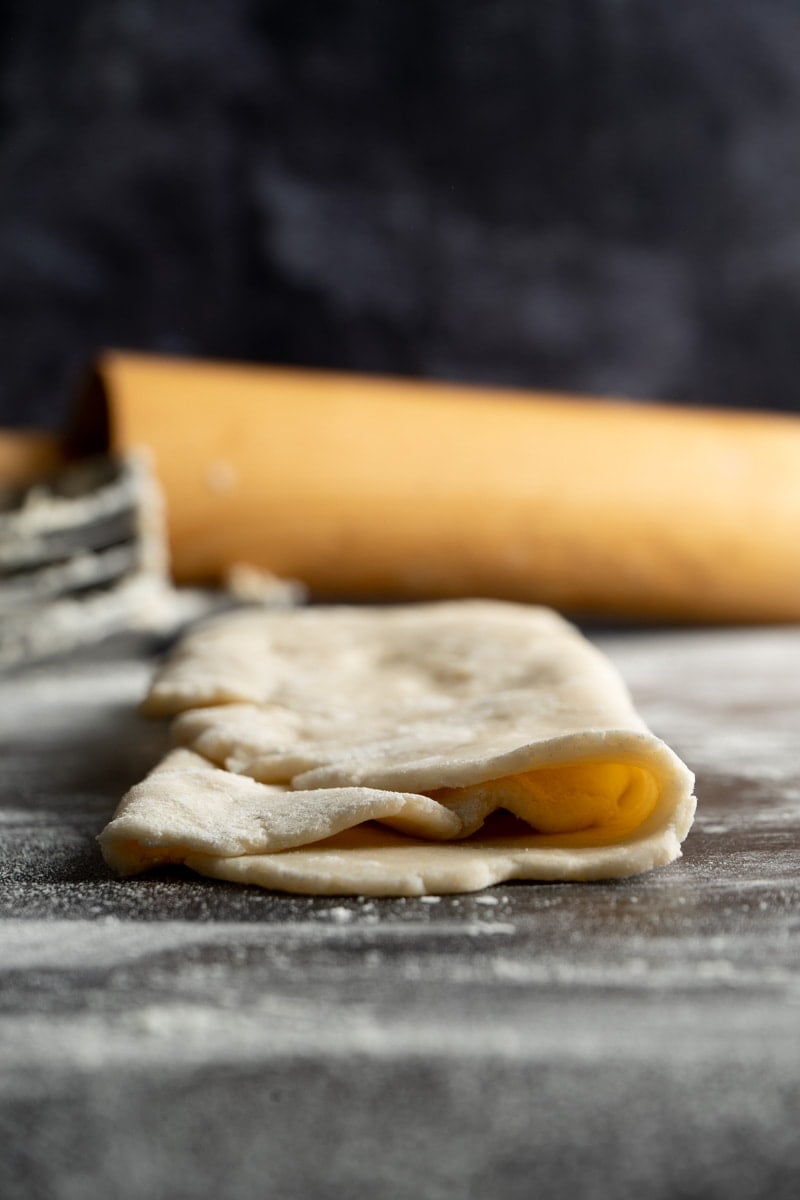
You can roll the pie dough around the rolling pin and gently lift it to roll it over the pie plate. Or you can fold the pie pastry in half or thirds, and gently lift the crust to the edge of the pie plate and carefully unfold it over the pie plate. I find the second method the easiest.
Make sure to roll the dough larger than the pie plate by an extra two to three inches in diameter. The dough still needs to be pressed into the pie plate against the bottom of the plate and the edges. If the diameter of the pie crust is too small, then the pie crust won’t come up and over the edges to seal properly. Also, pie crust can shrink a little when baking, so you want a little extra wiggle room.
Fill the pie crust up to the rim of the pie pan with the filling of your choice and maybe a little more in the centre if you like a lot of filling. Then roll another circle of pie crust and place it carefully on top, allowing some pastry to hang over the edges.
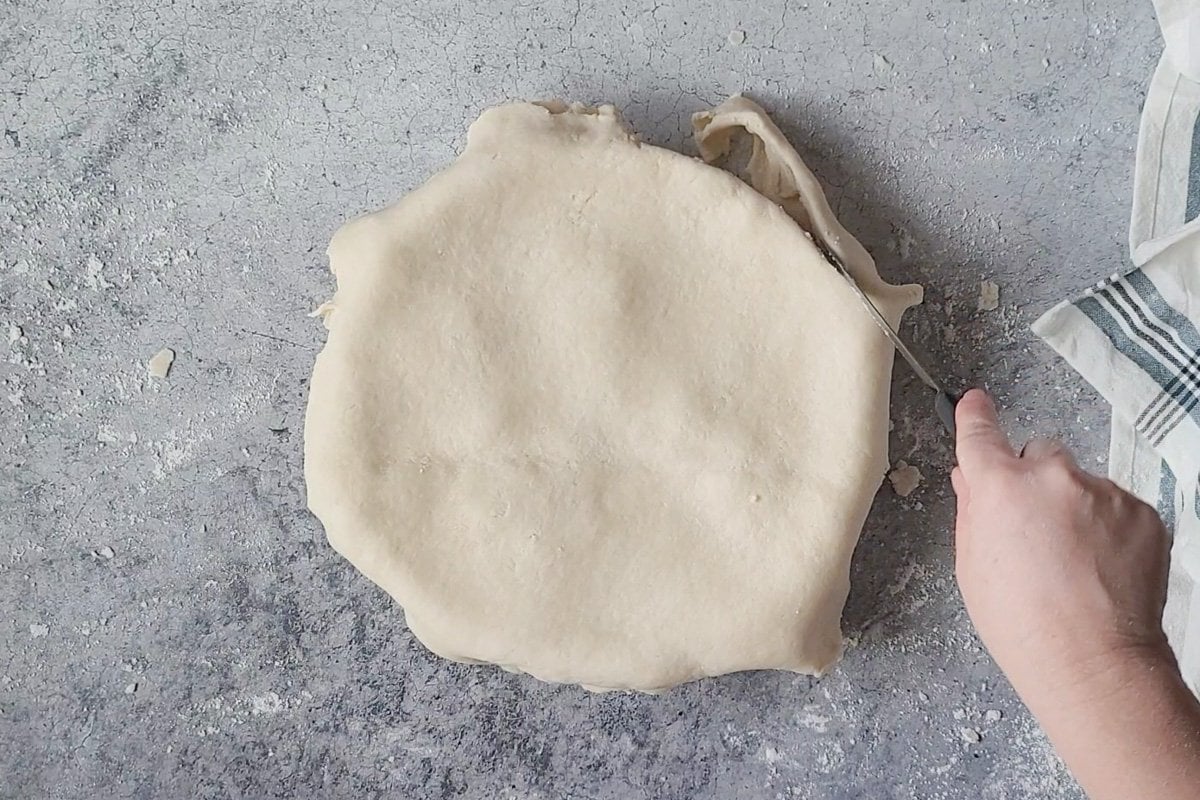
Using a sharp knife, trim away any excess pie dough. Then seal the pie crust so that the filling does not leak out while the pie bakes. I also like to put a baking sheet lined with parchment or foil under the pie plate when I bake, just in case some filling spills over. I have had this happen, and burnt cherry pie filling is a nightmare to clean, so trust me on this.
How To Seal a Pie
To seal the edges, you can use a fork and gently press around the edge of the pie plate for a simple edge. Or use your two index fingers and press down and together to pinch the edges of the pie plate. This technique will give it a pretty fluted look.
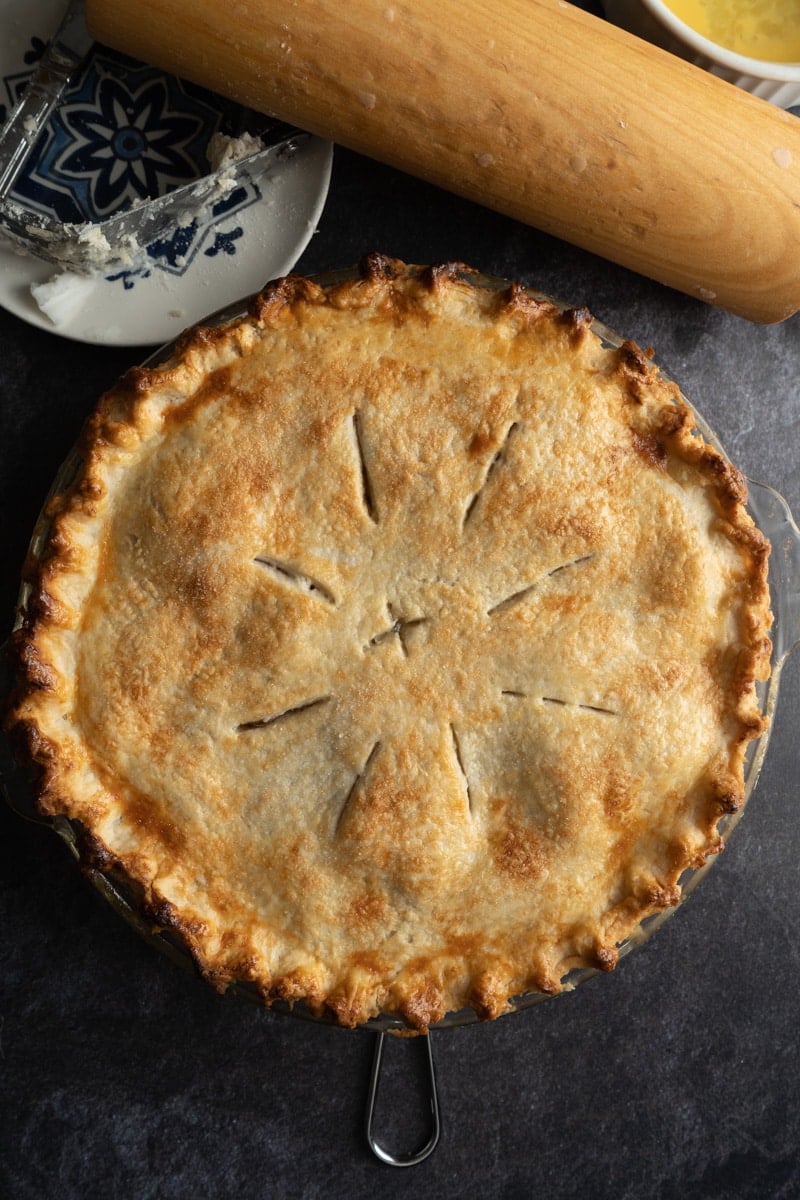
When done, use the knife to cut small slits into the top of the dough to allow the steam from the filling to escape while baking.
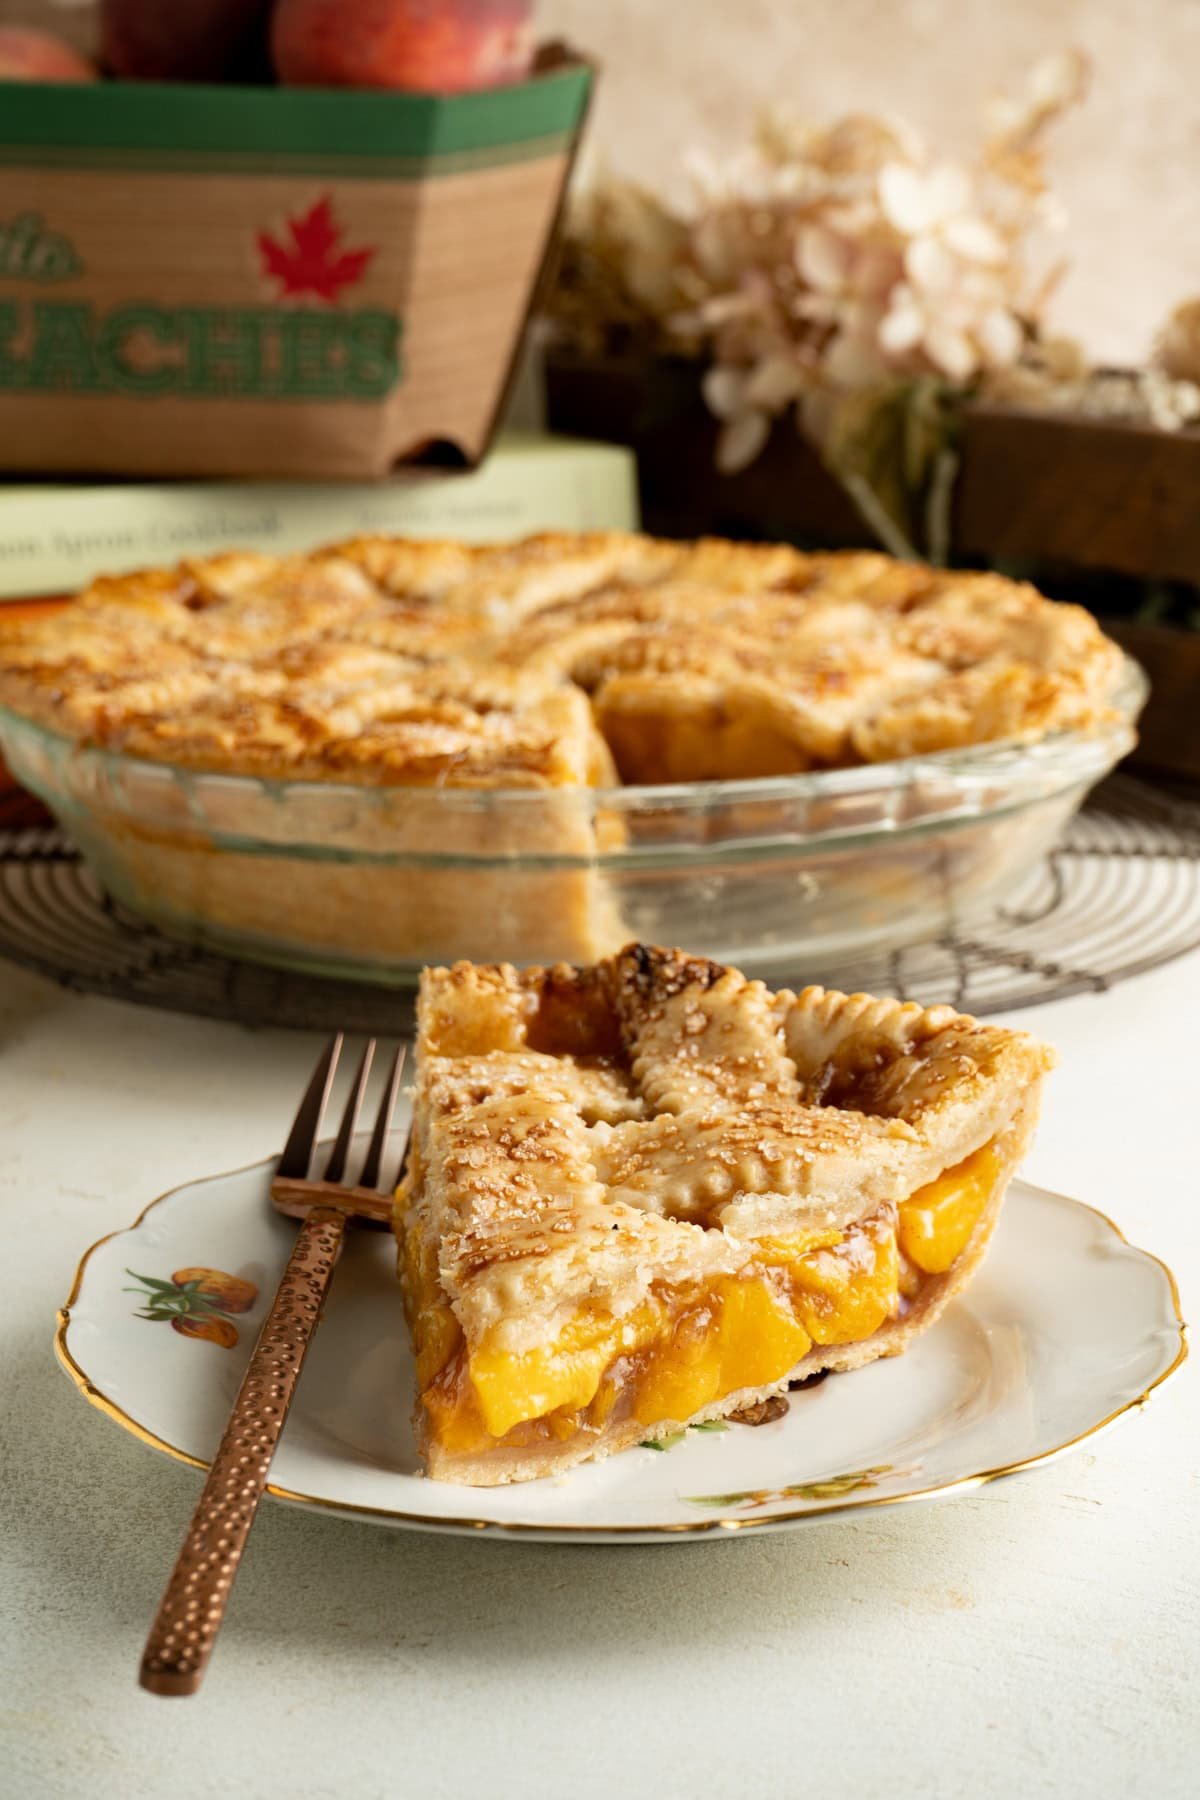
It is really hard to explain this, so here is a video on how to flute a pie, you might find useful. If you are planning to flute the pie crust, be sure to leave a large overhang of dough from the top pie crust. And if you are feeling really fancy, you can also top the pie with a lattice or braided pie crust top. Make slits into the top of the pie crust to allow the steam to escape.
Finish by adding an egg wash to the top of the pie crust and sprinkling with a little extra sugar.
- For a pie bake it at 400ºF for about 40-50 minutes or until the crust looks golden and flaky. I like to cover the pie when the top looks golden with some foil. Then bake for an extra 10 minutes just to make sure the bottom is fully cooked.
Tenting the top with foil prevents the top from over-browning or burning. This will allow more time for the bottom to cook. The bottom usually needs more time because it is often covered in wet ingredients. These wet ingredients cause the bottom to cook a bit more slowly. You can also par-bake the bottom of the pie first before adding the filling if you wish.
How to make an egg wash
To make an egg wash, add one egg to a small bowl and two tsp of milk or water. Whisk them together and then use a small basting brush to coat the top of the pie along with the edges. The egg wash will give the pie its golden appearance. It also helps a sprinkle of extra sugar to stick to the top of the pie.

Tips & Tricks to Perfect Pie Crust
- Use lard instead of butter. Lard has a higher melting point and produces a flakier, more tender crust…. and the best oatmeal cookies in case you are interested!
- Use pastry flour. It has a lower protein content and finer texture, making for more tender crust.
- Don’t forget the vinegar. It helps reduce the formation of gluten and also helps create a more tender crust.
- Do not overwork the dough. The goal is to get the lard mixed only enough so that there are still small pieces of lard throughout. The mixture will look like lumpy oatmeal. Then mix it with the wet ingredients, pressing it into a ball as quickly as possible. Pretend it is a game to accomplish this with as little mixing or contact as possible.

Can You Freeze Unbaked Pie Crust
Absolutely! This recipe makes enough pie dough for two pies (top and bottom). I recommend splitting the pie dough into halves or quarters. Roll each piece into a ball and freeze what you don’t need. To freeze, wrap the pie pastry tightly with two layers of plastic wrap. Freeze for up to 3 months.
Thaw the dough by placing it in the fridge the night before and bringing it to room temperature the day you plan to use it. Unused homemade pie pastry can also be stored in the fridge, tightly wrapped, for up to 3 days.
Recipes That Can Use Tenderflake Pie Crust

Never Fail Tenderflake Pie Crust
Equipment
- Measuring Cups
- Measuring Spoons
- Large Bowl
- Two Knives or a Pastry Cutter
- Rolling Pin
- Pie Tin
- Oven
Ingredients
- 1 lb Tenderflake Lard room temperature
- 6 cups pastry flour
- 1 tbsp salt
- 1 egg
- 1 cup cold water
- 1 tbsp white vinegar
Instructions
- In a large bowl add 6 cups of pastry flour and 1 lb of Tenderflake lard cut up into cubes. Sprinkle in 1 tbsp of salt
- Using your hands, a pastry cutter or two knives held together cut the lard into the flour until the mixture begins to resemble a lumpy oatmeal texture. Stop cutting when the flour mixture starts to show pearl size lumps of shortening or slightly larger throughout. You do not want to blend shortening into flour mixture completely. These small pieces of fat are what create the flaky crust you are aiming for.
- In a medium bowl or measuring cup add 1 cup of cold water, 1 egg and 1 tbsp of white vinegar. Whisk thoroughly.
- Gradually pour the egg mixture into the flour mixture and mix with a fork until the flour mixture forms a dough. Mix as little as possible and when there is only a little bit of flour mixture left work to press it into the dough working to form a ball.
- You will have enough pie dough for two pies top and bottom or 8 mini pies. Cut dough in half for one pie and form two separate balls of dough. Wrap tightly in plastic wrap and let chill in the fridge for about 30 minutes before attempting to roll.
- To roll the dough lightly flour the surface and/or line the rolling surface with parchment paper. Dust the top of the dough with a tiny bit more flour and lightly flour your rolling pin. Just a dusting because you don't want to add much flour to the dough itself.
- Roll the dough out to about a 1/4 inch thickness. To move the rolled dough to the pie tin gently roll the dough around the rolling pin to lift and then roll out gently over the pie tin. Gently press the dough into the bottom of the pie tin ensuring that the bottom is tight along the bottom and all sides. Allow for some dough to hang over the edge of the pie plate. Then using a knife trim the edge to the edge of the pie plate.
- Fill the pie tin with the desired filling up to the rim of the pie plate and maybe a little more like a hill in the centre.
- Repeat the rolling process adding a second layer of pie pastry to the top. Trim edges leaving a little extra along the edge to properly seal or flute.
- Seal edges of pie crust with a fork by pressing around all the edges or a pie plate or use both index fingers to pinch the dough while gently pressing down to seal the pie crust with a fluted edge. Cut slits in the top of the pie crust to allow steam to escape while baking.
- In a small bowl add one egg and two tsp of milk and mix. Use a small basting brush to coat the top of the pie and edges and sprinkle with a little sugar. This step is optional but helps to give the crust a golden colour.
- Bake at 400F for 40-50 minutes or until pie crust is lightly browned and the crust looks flaky. If the pie needs more time but is starting to brown too quickly simply drape the top of the pie with a piece of aluminum foil to prevent further browning.
- When done remove the pie from oven and let rest for 30 minutes so you don't burn your mouth. The inside of the pie especially a sugary pie will be very hot.
Nutrition
Notes
The information shown is an estimate provided by an online nutrition calculator. It should not be considered a substitute for a professional nutritionist’s advice.


Can this be made gluten free?
My apologies for the late reply. I have been travelling. I do not know if this works gluten-free but a 1:1 gluten-free flour will be your best bet. If you do attempt this way please let me know how it turns out for you.
Do you not have to blind bake this pastry? I’m a little reluctant to just add the filling without first prebaking the pastry.
Hi Gillian, the need for blind baking really depends on the type of pie you wish to make. If it is a custard like filling that requires a shorter bake time I would for sure blind bake the crust but if it is a fruit filling there is no need. I usually just place my pie plate on a lower rack so that the bottom cooks a little better.
Is there a difference between the tenderflake lard and regular lard sold in most stores? I have lard in hand but it doesn’t say tenderflake. Ty 😊
Hi Cynthia, No difference I just like to use Tenderflake because it was the brand my grandmother recommended.
First time using lard for pie crust, and it is tender and flaky and very easy to work with.
This is my first pie crust with lard. What a great recipe, thank you!
I was shocked to see how much liquid is added to this recipe. Whenever I’ve attempted to make a pie crust from scratch, it never seemed like there was enough liquid to flour ratio. I’m looking forward to trying this but I have to find pastry flour first. Thanks for posting your recipe!
Hi Diana, I have been making this pastry for over 20 years and it always turns out perfect. Just be sure not to over mix!
Amazing pie crust recipe! Perfect as we head into the holiday months!
I’m loving this homemade pie crust and even more that I can make it ahead of time and freeze it!
Yes, I always have a ball of pie dough frozen so I can thaw easily the night before I need to make a dessert.