Old-Fashioned Raspberry Pie with Cardamom
This post may contain affiliate links. Read our full disclosure policy.


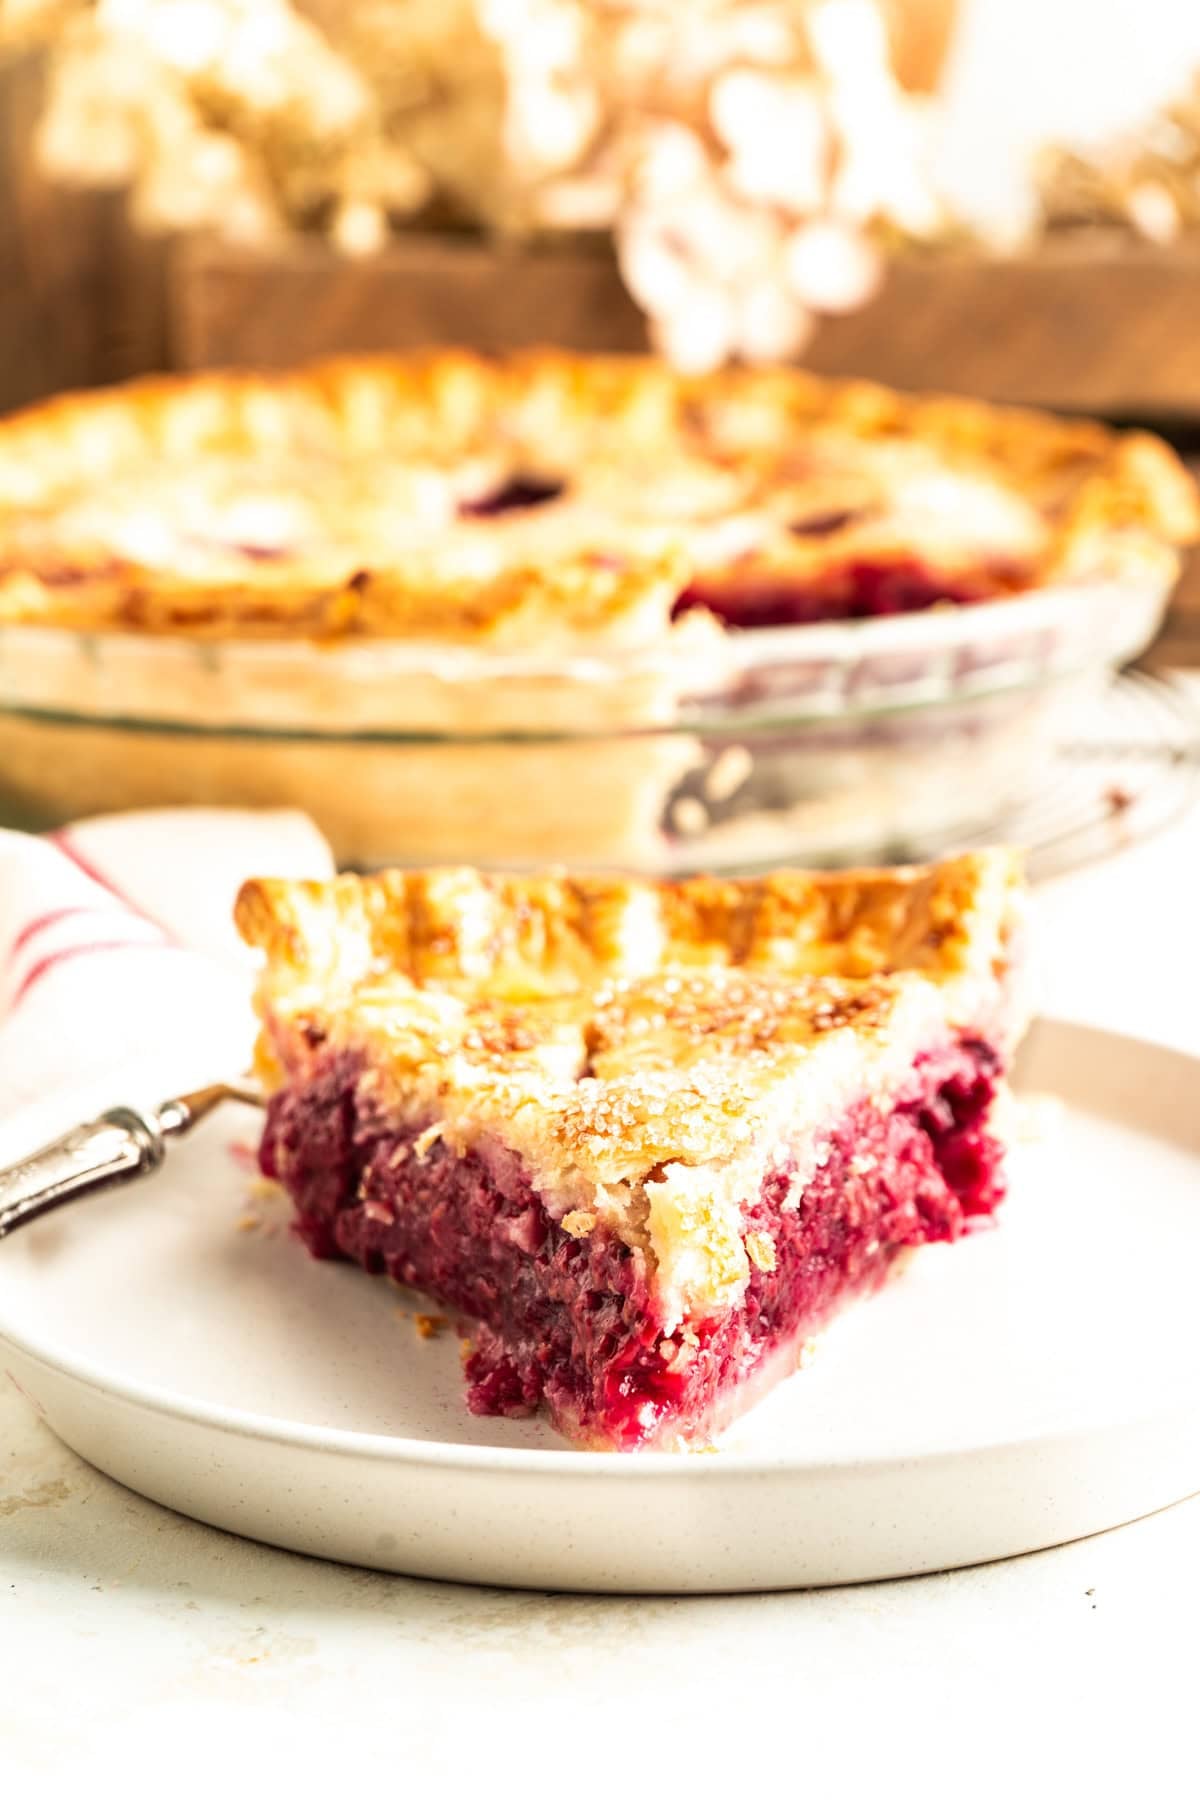
This Raspberry Pie with Cardamom takes a classic and gives it a little twist. The cardamom rounds out the berries’ sweetness and makes this simple pie impossible to stop eating.
Save this Recipe!
Get this recipe sent to your inbox, plus get new recipes from The Delicious Spoon every week!
My grandma used to make me mini raspberry pies to take back to university, along with little meat pies so I always had something to eat between classes. She used her Tenderflake pie crust for everything, and it’s still the only crust I use for this homemade raspberry pie recipe today.
She was also known for her peach pies, the kind that sold out every fall at the festival when she worked the booth with her Eastern Star chapter. Her peach pie recipe is one of my favorites too, and just like this fresh raspberry pie, it works any time of year.
Star Ingredients
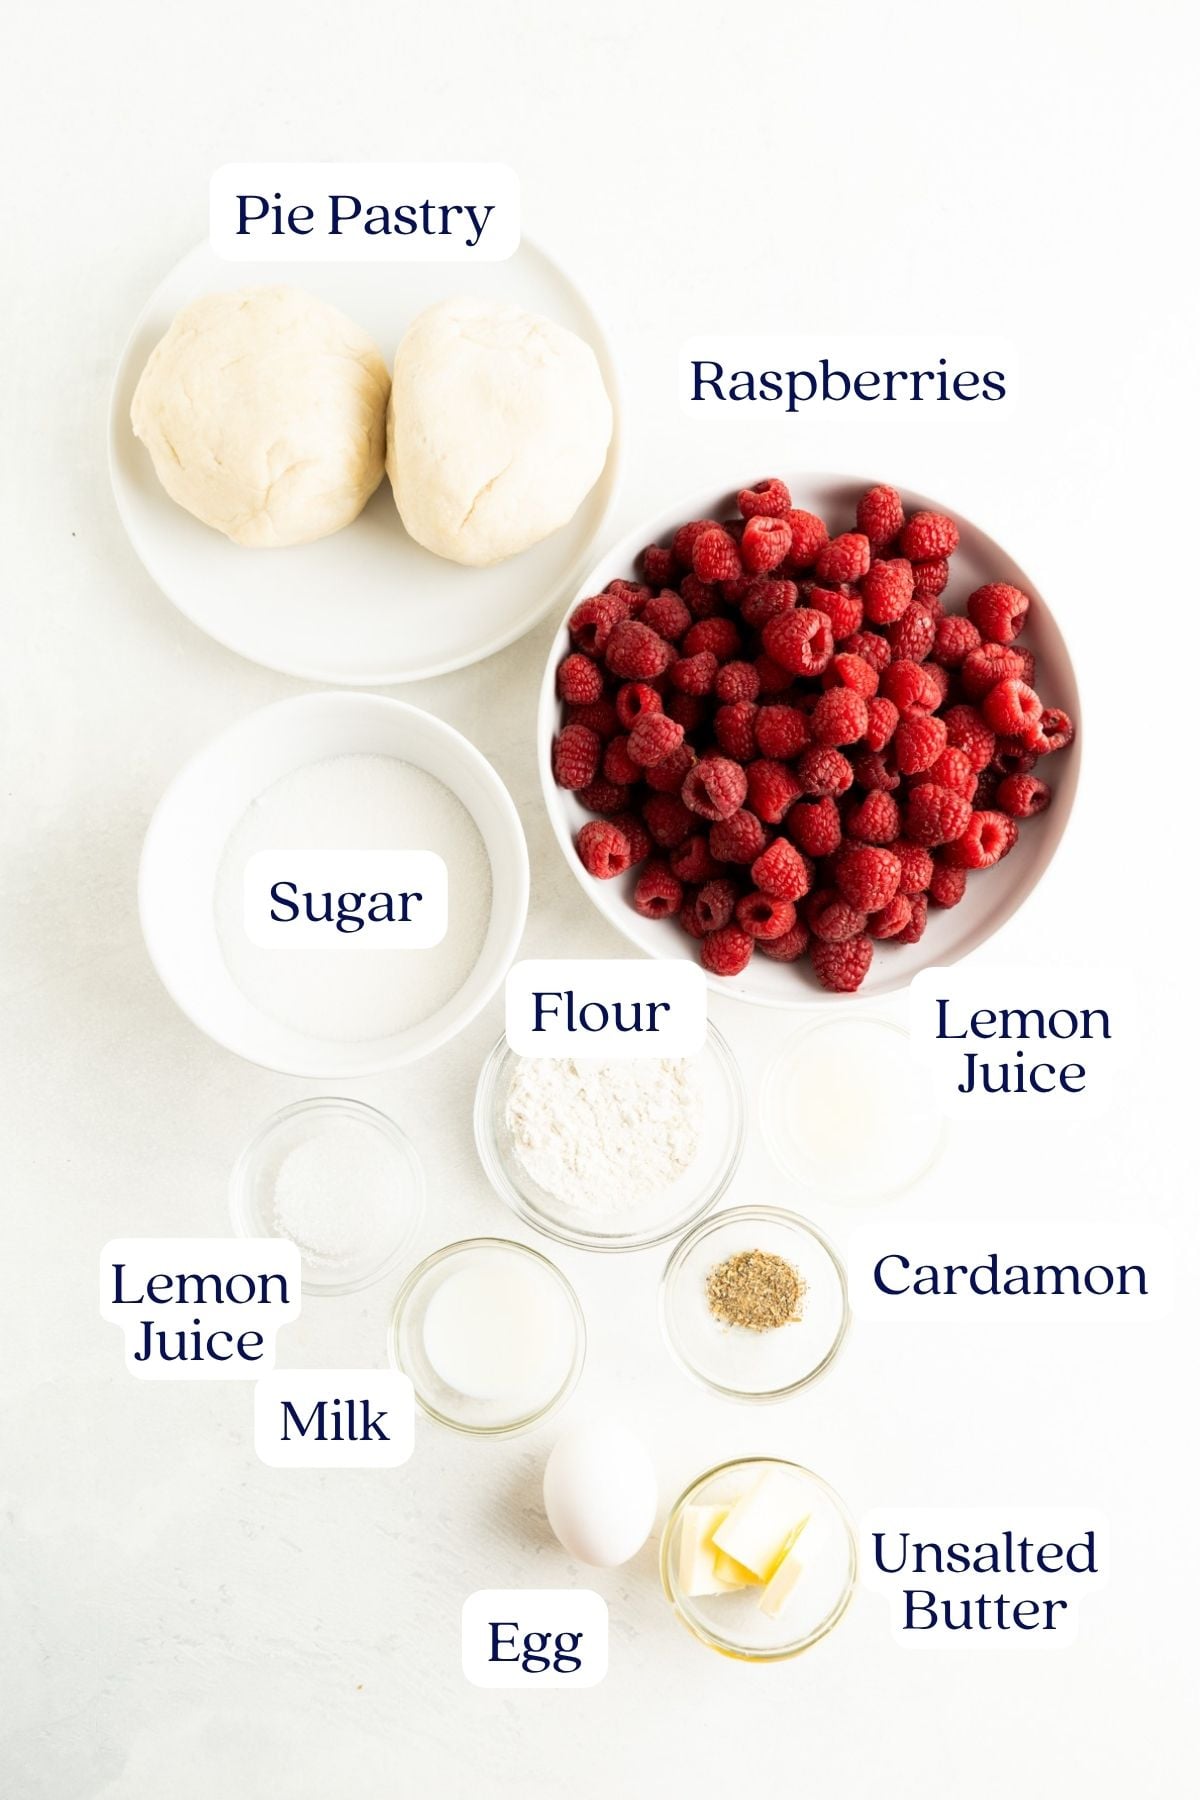
- Raspberries – Either fresh or frozen will do.
- Pie Pastry – I always make fresh pie pastry because it is so easy and one batch makes enough for two pies and freezes well. But if you are in a hurry, a pre-made pie crust will work just as well.
- Cardamom – Compliments the raspberries with a floral and slightly lemony flavor with a hint of mint. Just a tiny bit goes a long way.
- Unsalted Butter – Adding a little bit to berry pies helps keep the filling from bubbling over. It also helps to thicken the juices and add a glossy look to the exposed berries. But you can leave it out if you wish.
Step-By-Step Made Simple
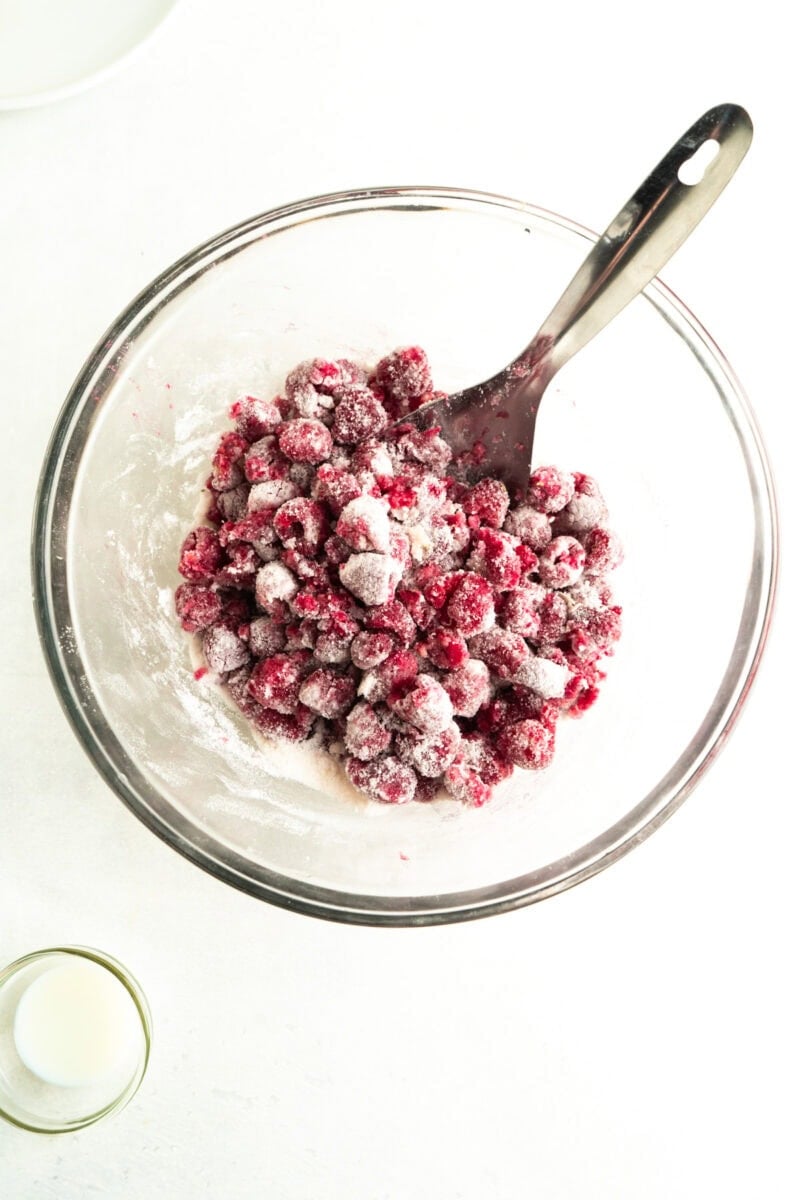
- Add the raspberries, flour, sugar, lemon juice and cardamom to a large bowl and use a spoon to mix so they are well coated. When you do this the sugar will release some of the juices and that is ok.
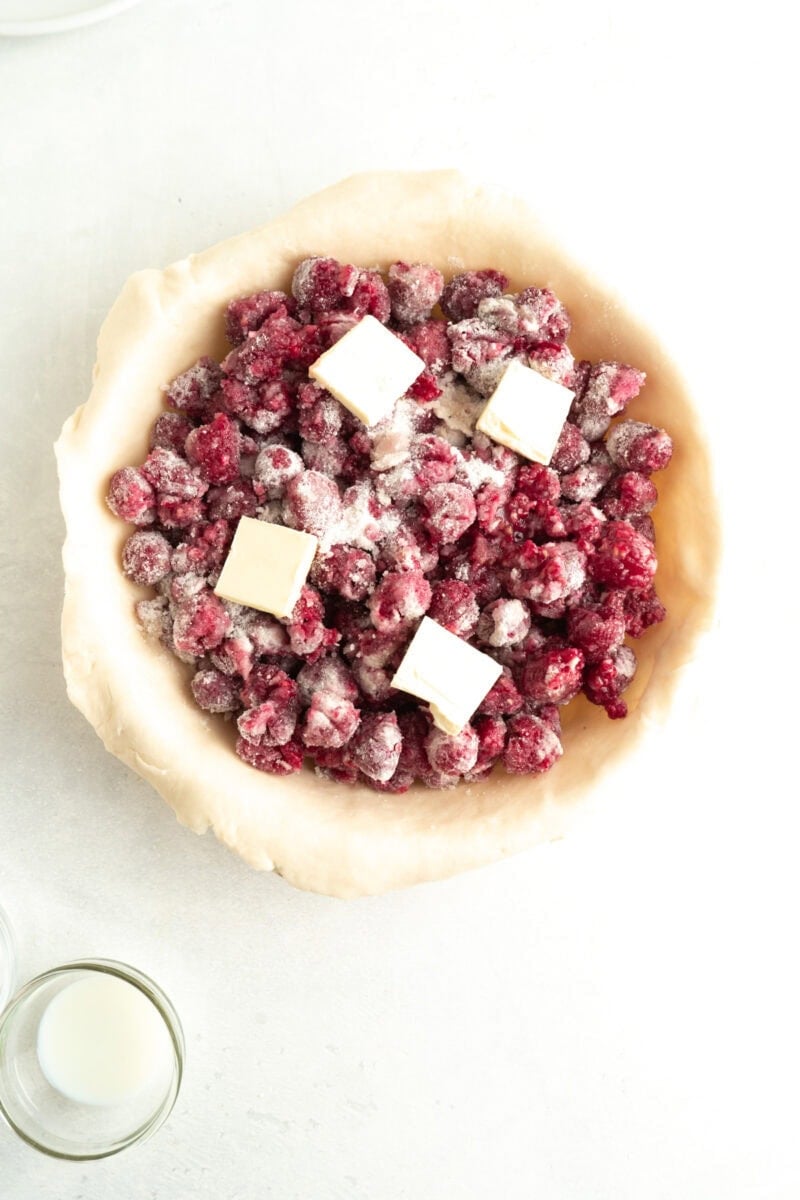
- Prepare one pie shell as the base and fill it with the raspberry mixture. Then dot the berry filling with the cold butter.
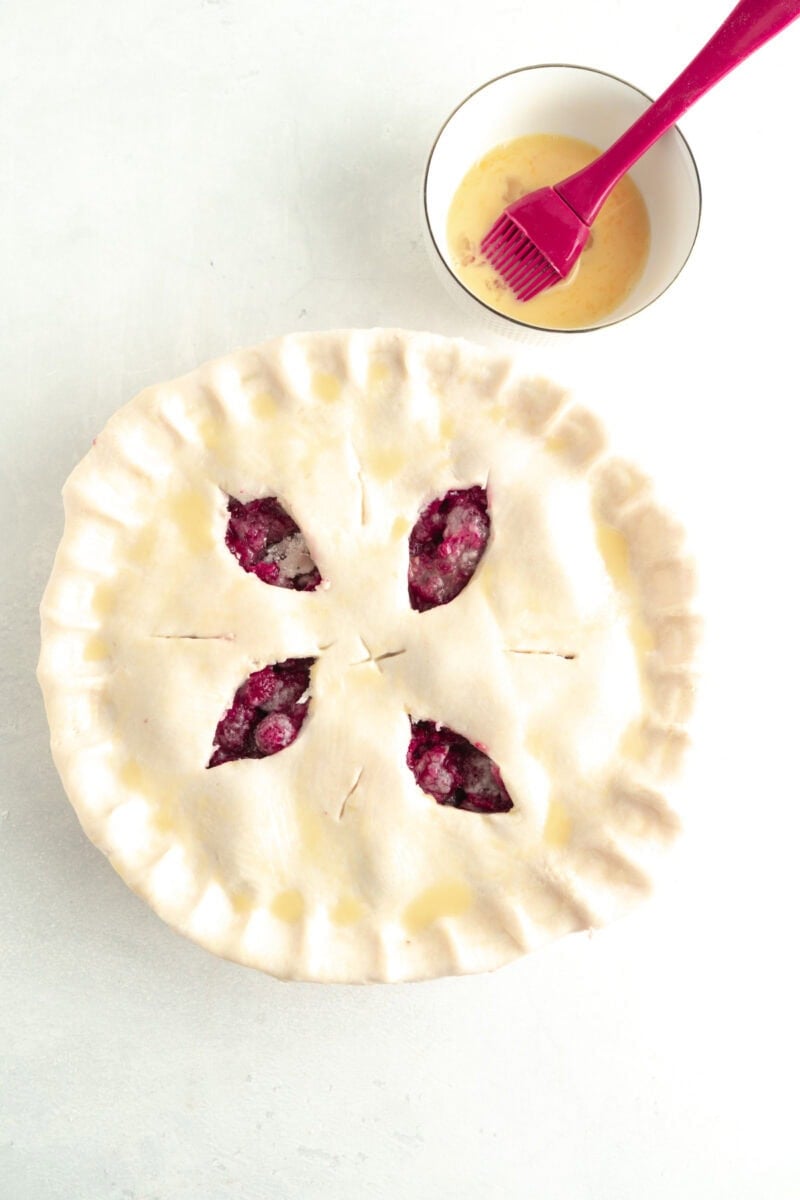
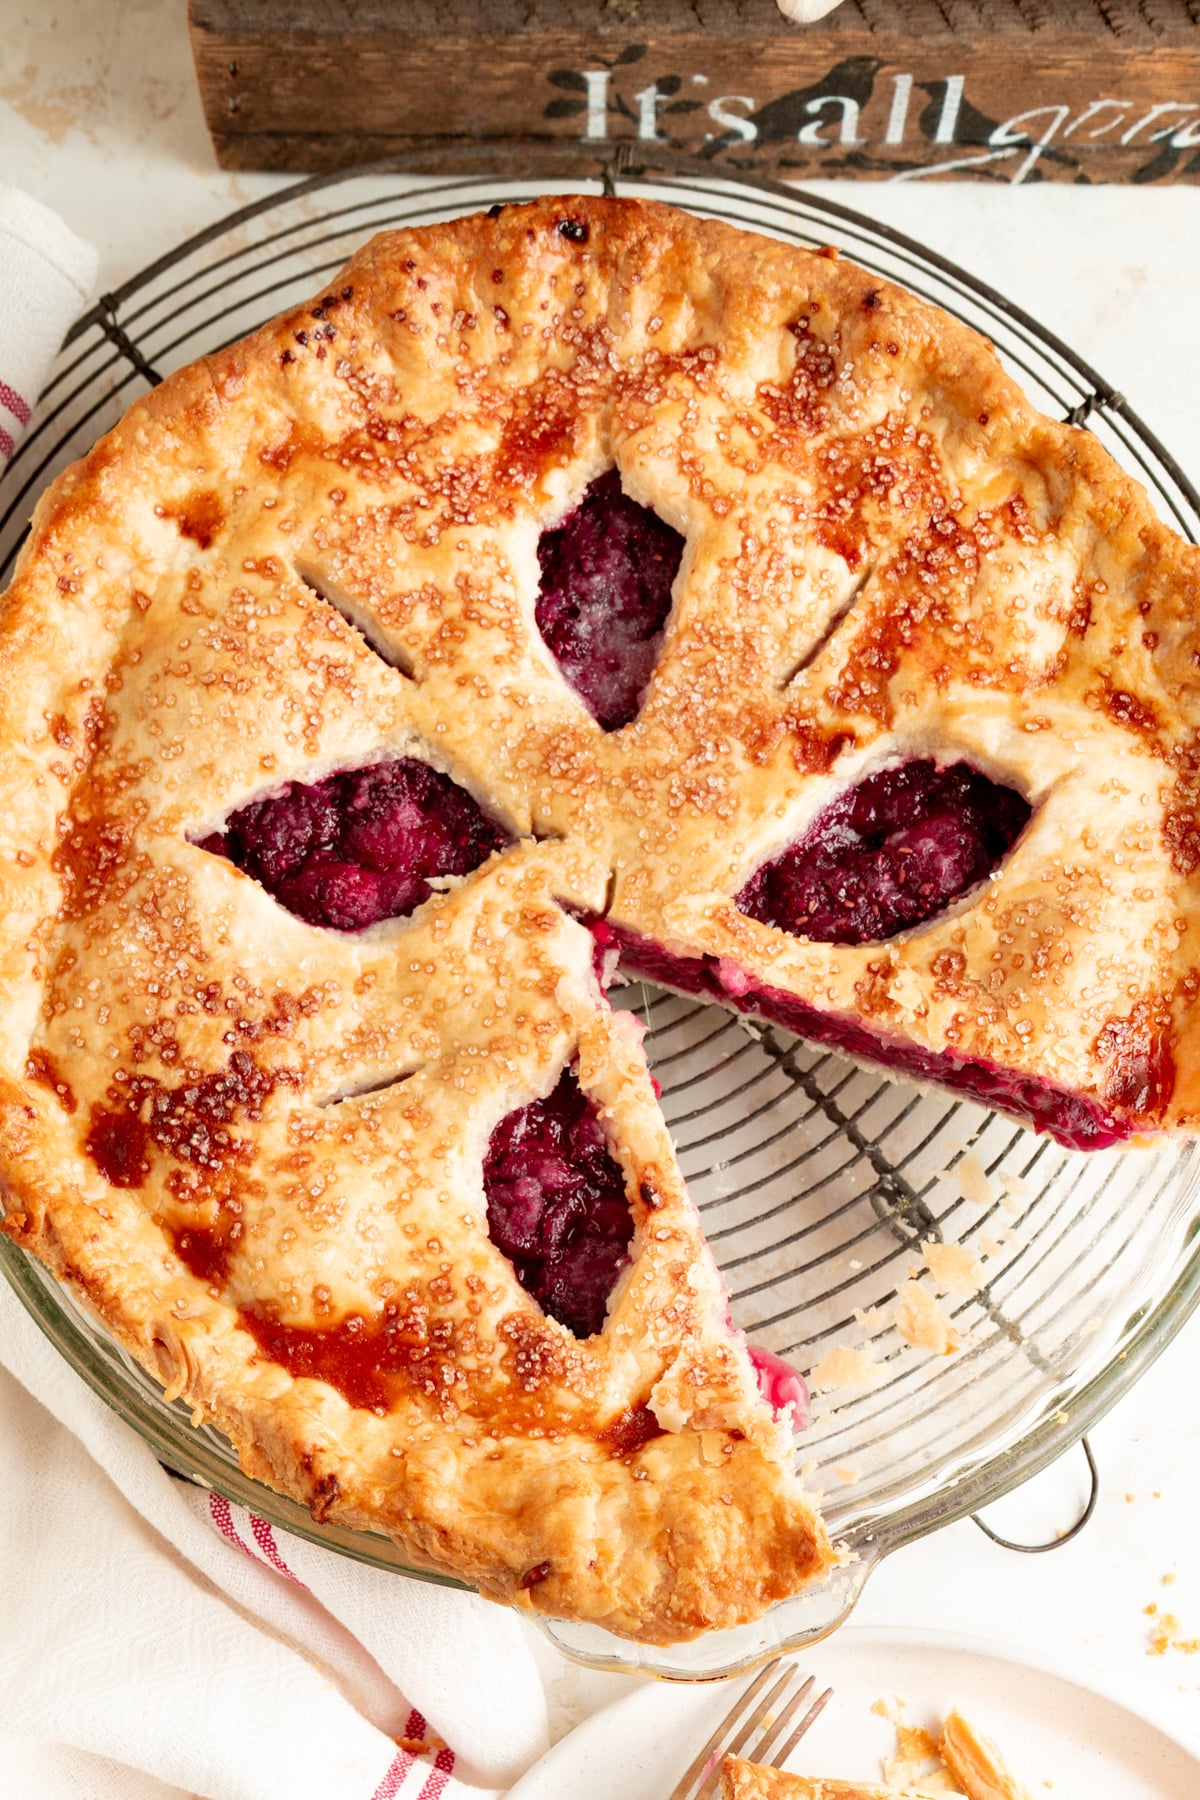
- Add the second pie shell to the top of the berry-filled pie and seal by pinching the edges either with your fingers or a fork. Cut slits or openings in the top to allow the steam to escape. A lattice top is also an option if you are up for it.
- In a small bowl, whisk the egg and milk together to make an egg wash.
- Use a basting brush to lightly baste the top of the pie and edges with the egg wash. This is optional but gives the pie a nice golden colour.
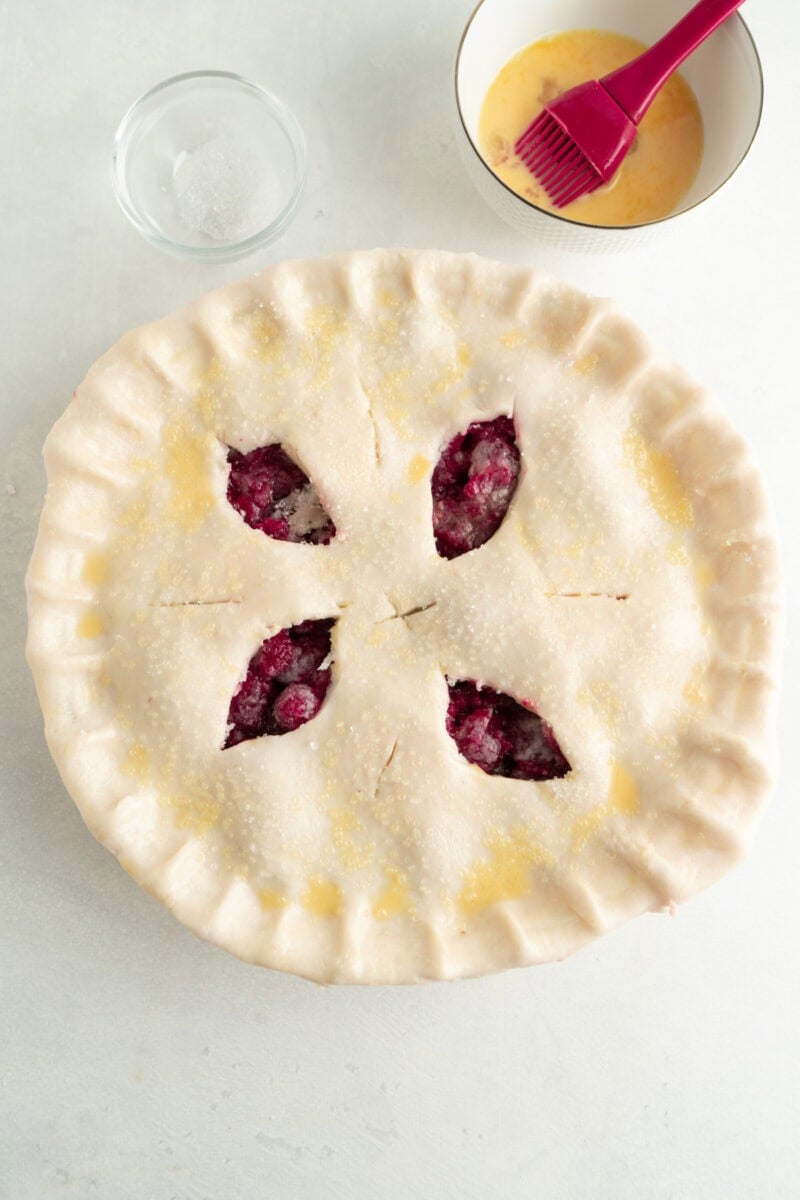
- If you basted your pie, you can then sprinkle the top with some coarse sugar. But again, totally optional.
- Preheat your oven to 425°F. When the oven is hot, place the pie in the oven and then slide a baking sheet covered in foil or parchment paper on the shelf below. This baking sheet will be a lifesaver if the pie boils over. The sheet will catch anything that spills over and keep it from burning on the bottom of your oven for eternity.
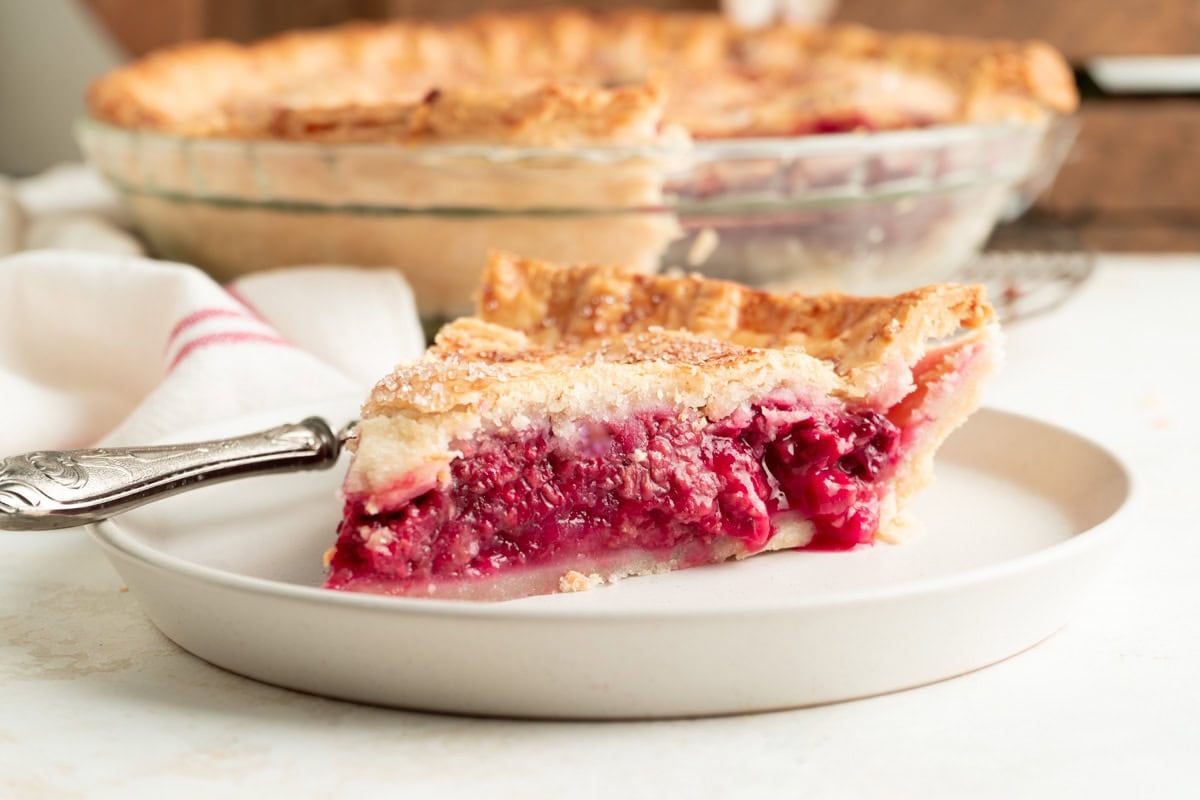
- Bake the pie for 15 minutes at 425°F then reduce the temperature to 375°F and continue to bake for another 35-40 minutes or until the top of the pie is golden and the berry filling is bubbling.
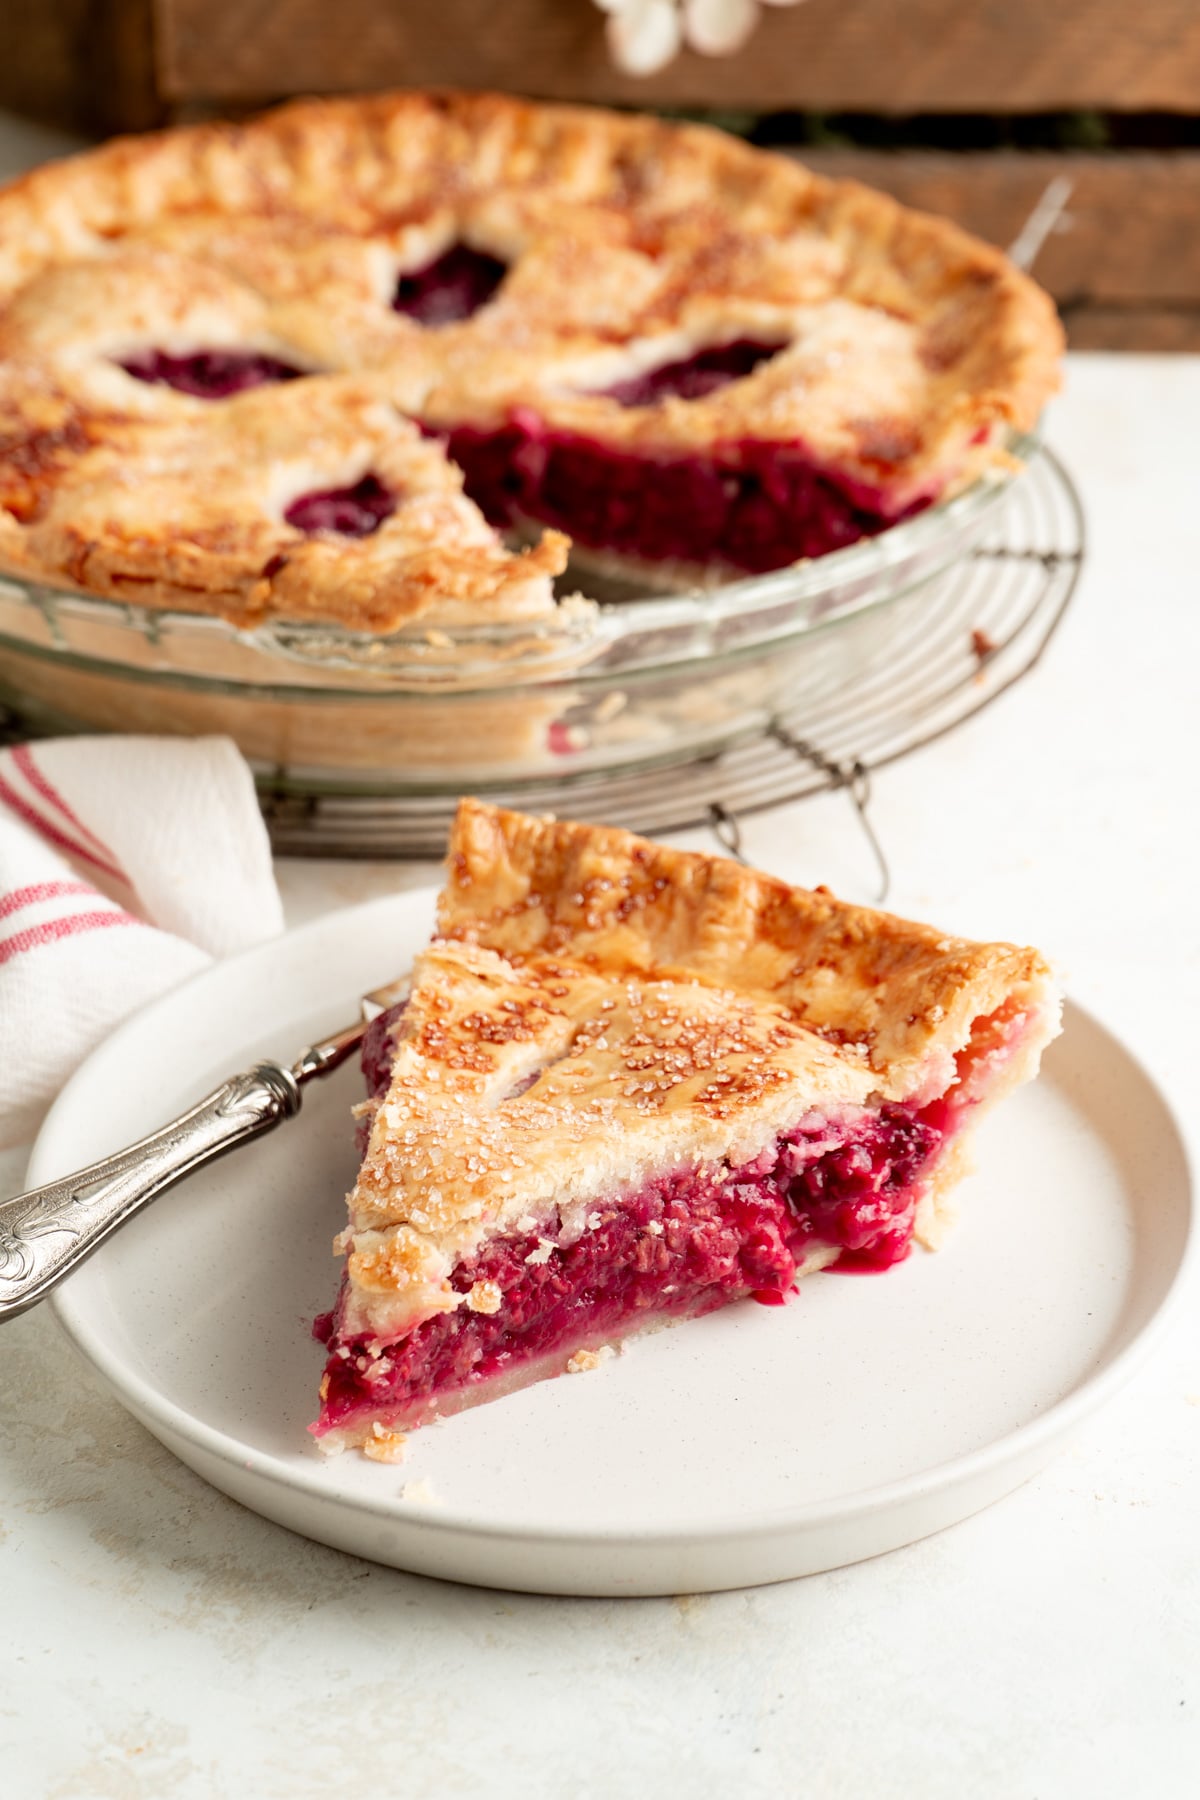
- Remove the pie from the oven and let cool completely or near completely before serving. This will allow the filling to stiffen up making it easier to slice and preventing you from burning your mouth.
Pie Browning Too Fast?
If your filling still needs more time but the top of the pie is browning faster than you’d like, just lay a sheet of foil loosely over top. This blocks the direct heat and keeps the pastry from burning while the filling finishes cooking through.
Can I Store The Pie Unbaked and Bake Later?
Yes and no. If you plan to bake the pie an hour or two later, sure. But if you make it in the morning and let the pie sit in the fridge for a few hours, the sugar will draw out the juices from the berries and you will have a weeping pie mess.
If you want to assemble the pie ahead of time and bake later, I recommend wrapping it tightly with plastic wrap in the pie plate and freezing. An unbaked fruit pie can last in the fridge frozen for up to 4 months.
When you are ready to bake, pop it in the oven straight from frozen but add an extra 5 minutes at 425°F and another 10-15 minutes at 375°F.
Leftovers? No Problem!
If you have leftovers of this pie after you have served it you can store the uneaten pie on the counter for up to 3 days tightly wrapped in plastic wrap, or inside a cake container with a lid.
You can also freeze the leftovers for up to 4 months. Just let it cool completely if you rewarmed it in the oven, and then wrap tightly with a few layers of plastic wrap so no air can get in. Then thaw it overnight in the fridge. The pastry will most likely be softer and less flaky, but you can rewarm it in the oven if you want to crisp the crust back up.
Old-Fashioned Raspberry Pie with Cardamom
Equipment
- 9" Pie Plate
Ingredients
- 2 9" unbaked pie crusts
- 5 cups raspberries
- ¾ cup sugar
- ⅓ cup all-purpose flour
- 1 tbsp lemon juice
- ½ tsp cardamom
- 1 egg
- 2 tsp milk
- 1 tbsp coarse sugar (optional)
Instructions
- Preheat the oven to 425°F. Line a 9" pie plate with pie pastry ensuring that the pastry sits firmly in the bottom corners and also extends to the entire edge of the pie plate.
- To a large bowl, add the raspberries, sugar, flour, lemon juice and cardamom. Mix well with a spoon to coat.
- Add the raspberry filling evenly to the pastry lined plate. Dot with the cold butter.
- Lay the second layer of pie pastry on top of the raspberry filling and seal by pinching with your fingers or with a fork. Trim off any extra pastry from the edges with a sharp knife.
- In a small bowl, whisk the egg and milk together. Using a basting brush, baste the top of the pie with the egg wash and then sprinkle with coarse sugar if you wish.
- Place the pie in the oven and then slide a lined baking sheet on the shelf below the pie to catch any filling that may spill over while baking. Bake for 15 minutes.
- Lower the temperature to 375°F and continue baking for an additional 35-40 minutes. The pie is done when the crust is golden and the filling is starting to bubble.
- Remove the pie from the oven and let it cool for 2 hours before serving.
Nutrition
Notes
The information shown is an estimate provided by an online nutrition calculator. It should not be considered a substitute for a professional nutritionist’s advice.