

Grandma’s Old-Fashioned Peach Pie with Canned Peaches
This post may contain affiliate links. Read our full disclosure policy.


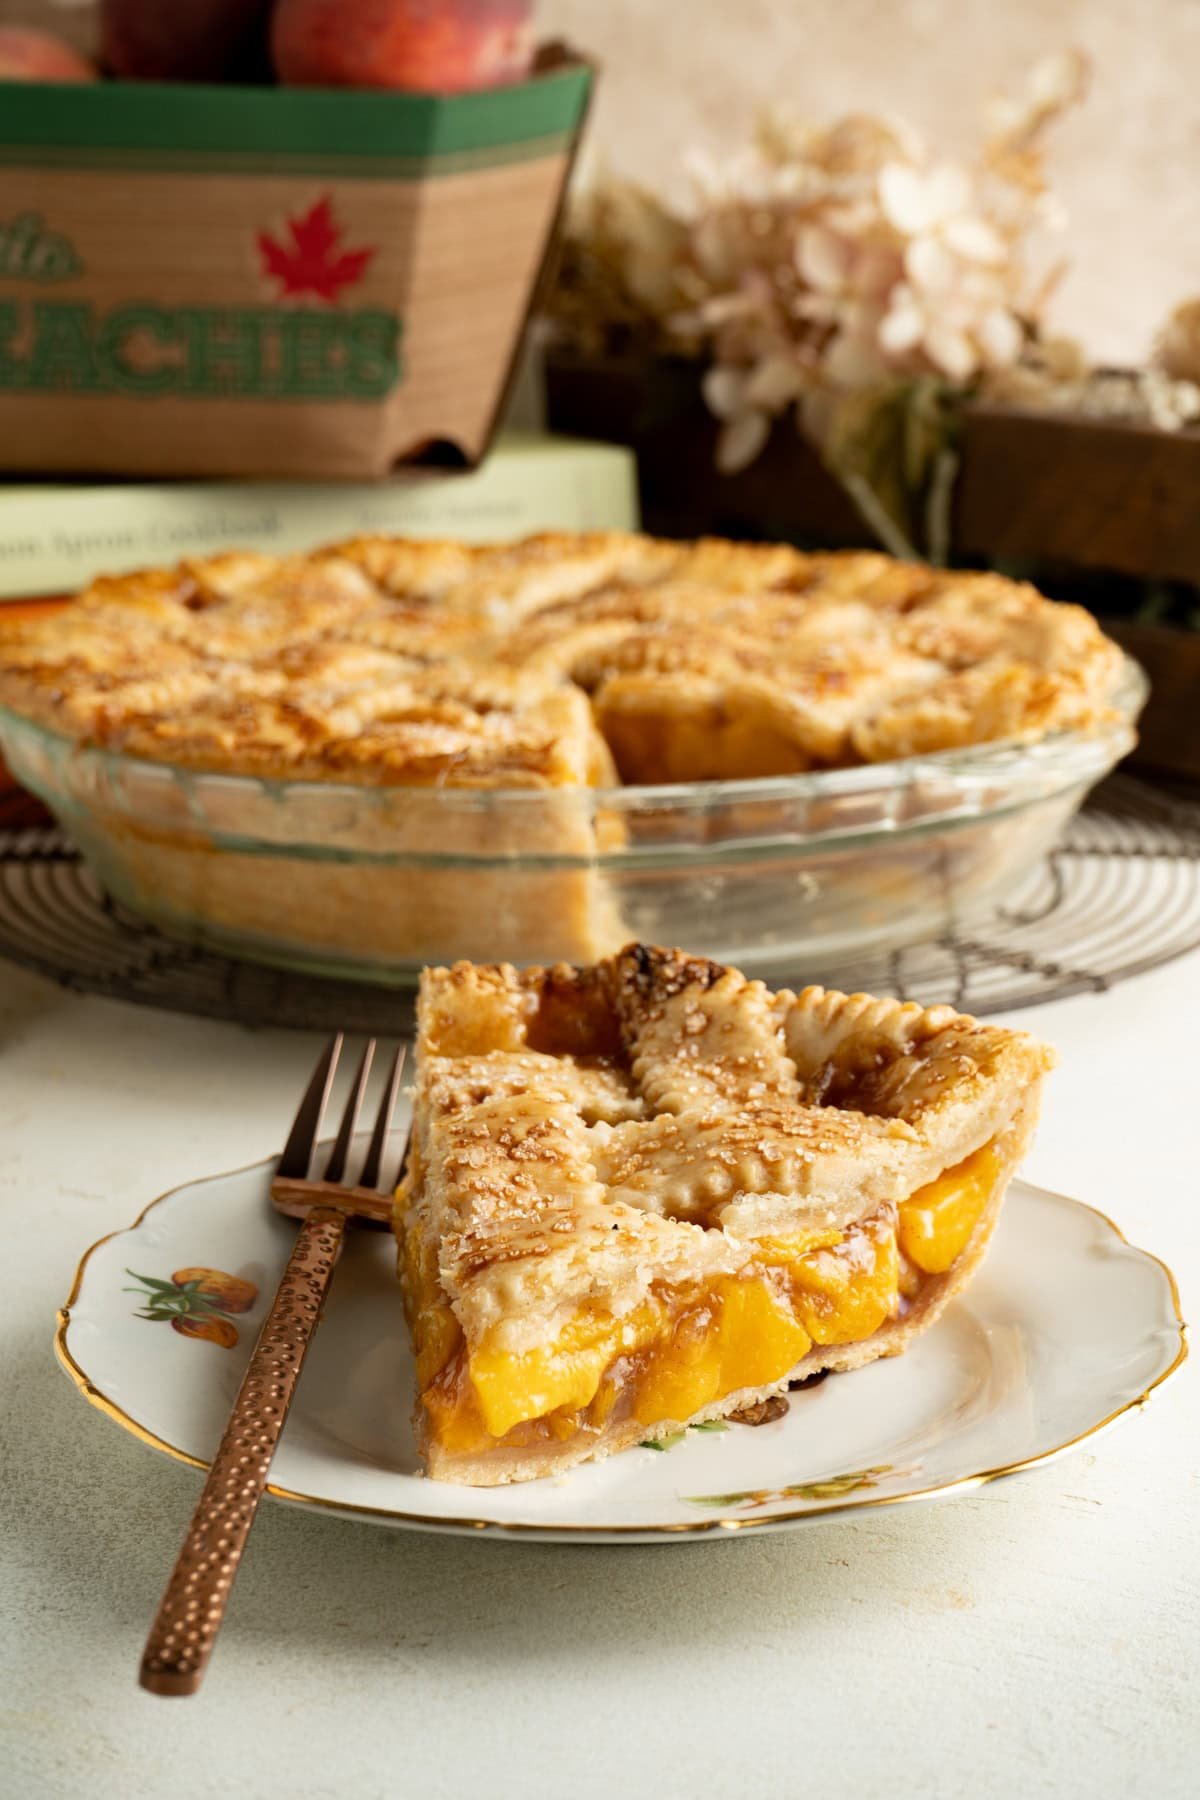
There’s nothing quite like a slice of peach pie that tastes just like Grandma used to make for the town fair. This easy recipe uses canned peaches, a hint of cinnamon, sugar, and just the right amount of cornstarch to thicken it to perfection. Baked until the crust is golden and topped with a sprinkle of coarse sugar for a little sparkle and crunch, this pie turns out beautifully every single time, no matter the season.
Save this Recipe!
Get this recipe sent to your inbox, plus get new recipes from The Delicious Spoon every week!
Every fall, my Grandma had a booth at the Binbrook Fair, and it was the highlight of the season. She baked all kinds of pies, but her peach pie was always the first to sell out—sometimes so quickly I was lucky to get a slice. I think the secret wasn’t just the sweet, juicy filling but also her incredible pastry. It was tender, flaky, and had that melt-in-your-mouth magic you can only get from a homemade crust. I still use her recipe today, and you can find it here: Homemade Pie Crust.
Her peach pie wasn’t the only star at the fair. She also made a rich, juicy Blackberry Pie and a bright, tangy Lemon Meringue Pie—both family favorites that drew a crowd just as fast. I’m glad to be able to share these recipes so others can enjoy the pies that made her booth so special.
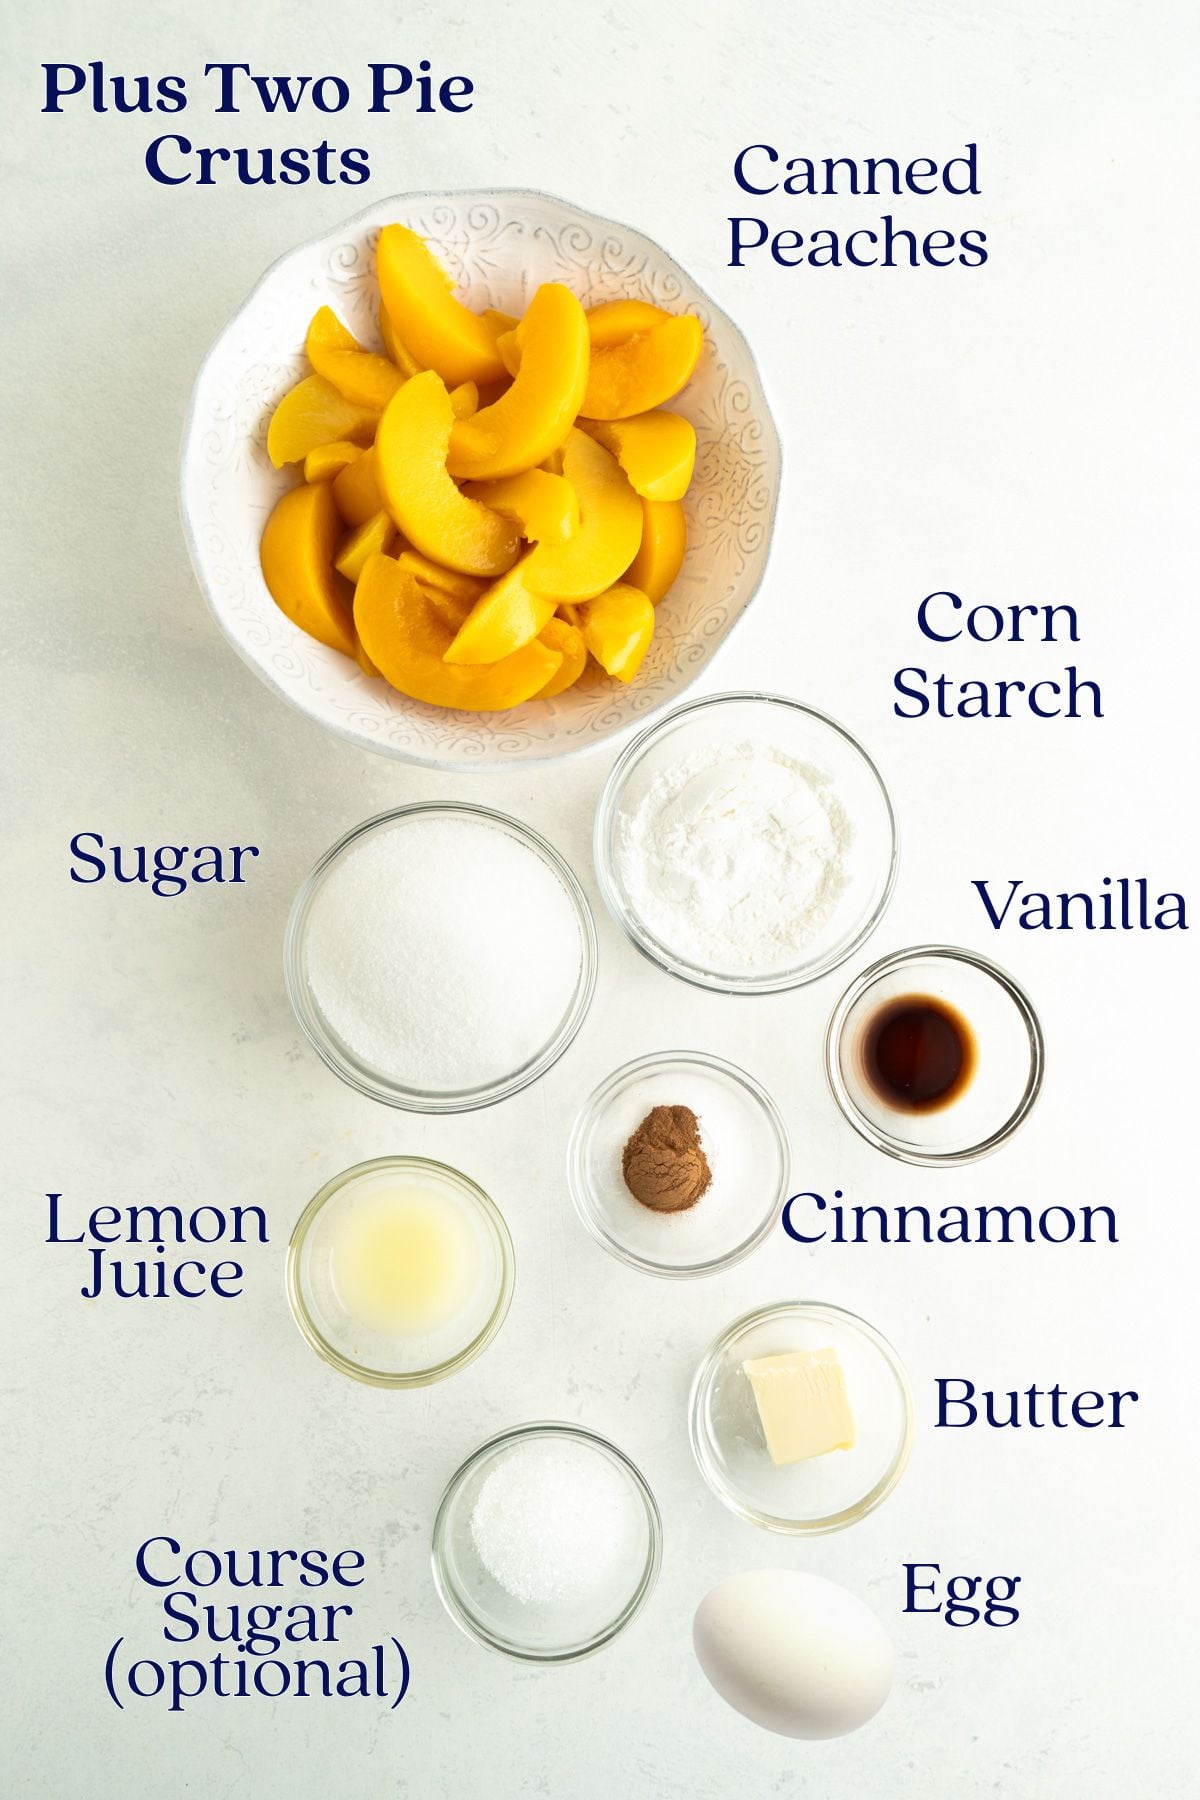
A Quick Peek At The Ingredients
Get the full list of ingredients and amounts needed for this recipe in the recipe card below.
Step-By-Step Made Simple
Your first decision is whether to use store-bought pie shells or make your pie pastry. I almost exclusively use my Grandma’s pie crust recipe because it is the most tender, flaky crust ever and can’t be beat. But in a pinch store store-bought works just as well. Just make sure your dough is chilled but not frozen.
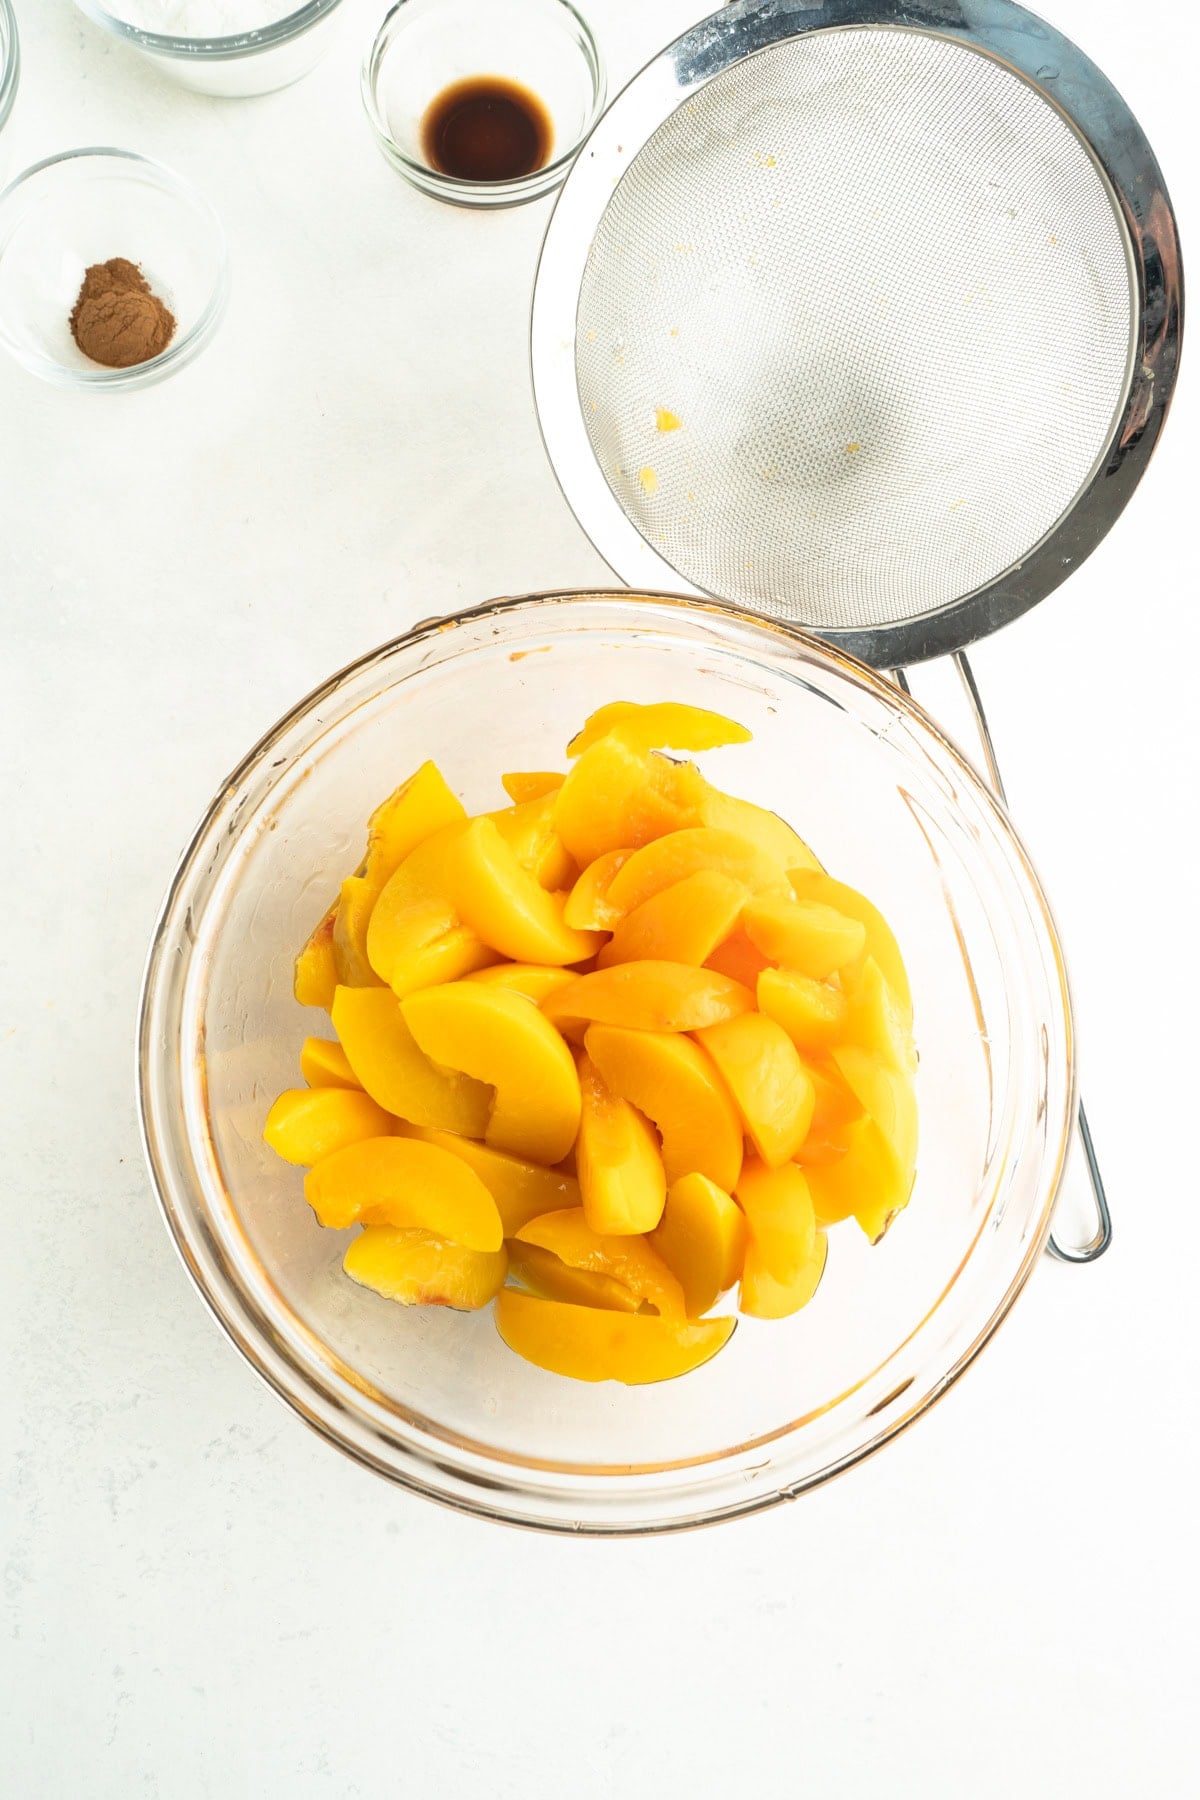
- Open the cans of peaches and use a sieve to drain the syrup. I don’t bother patting them dry or rinsing them. Removing the extra liquid is all that is needed.
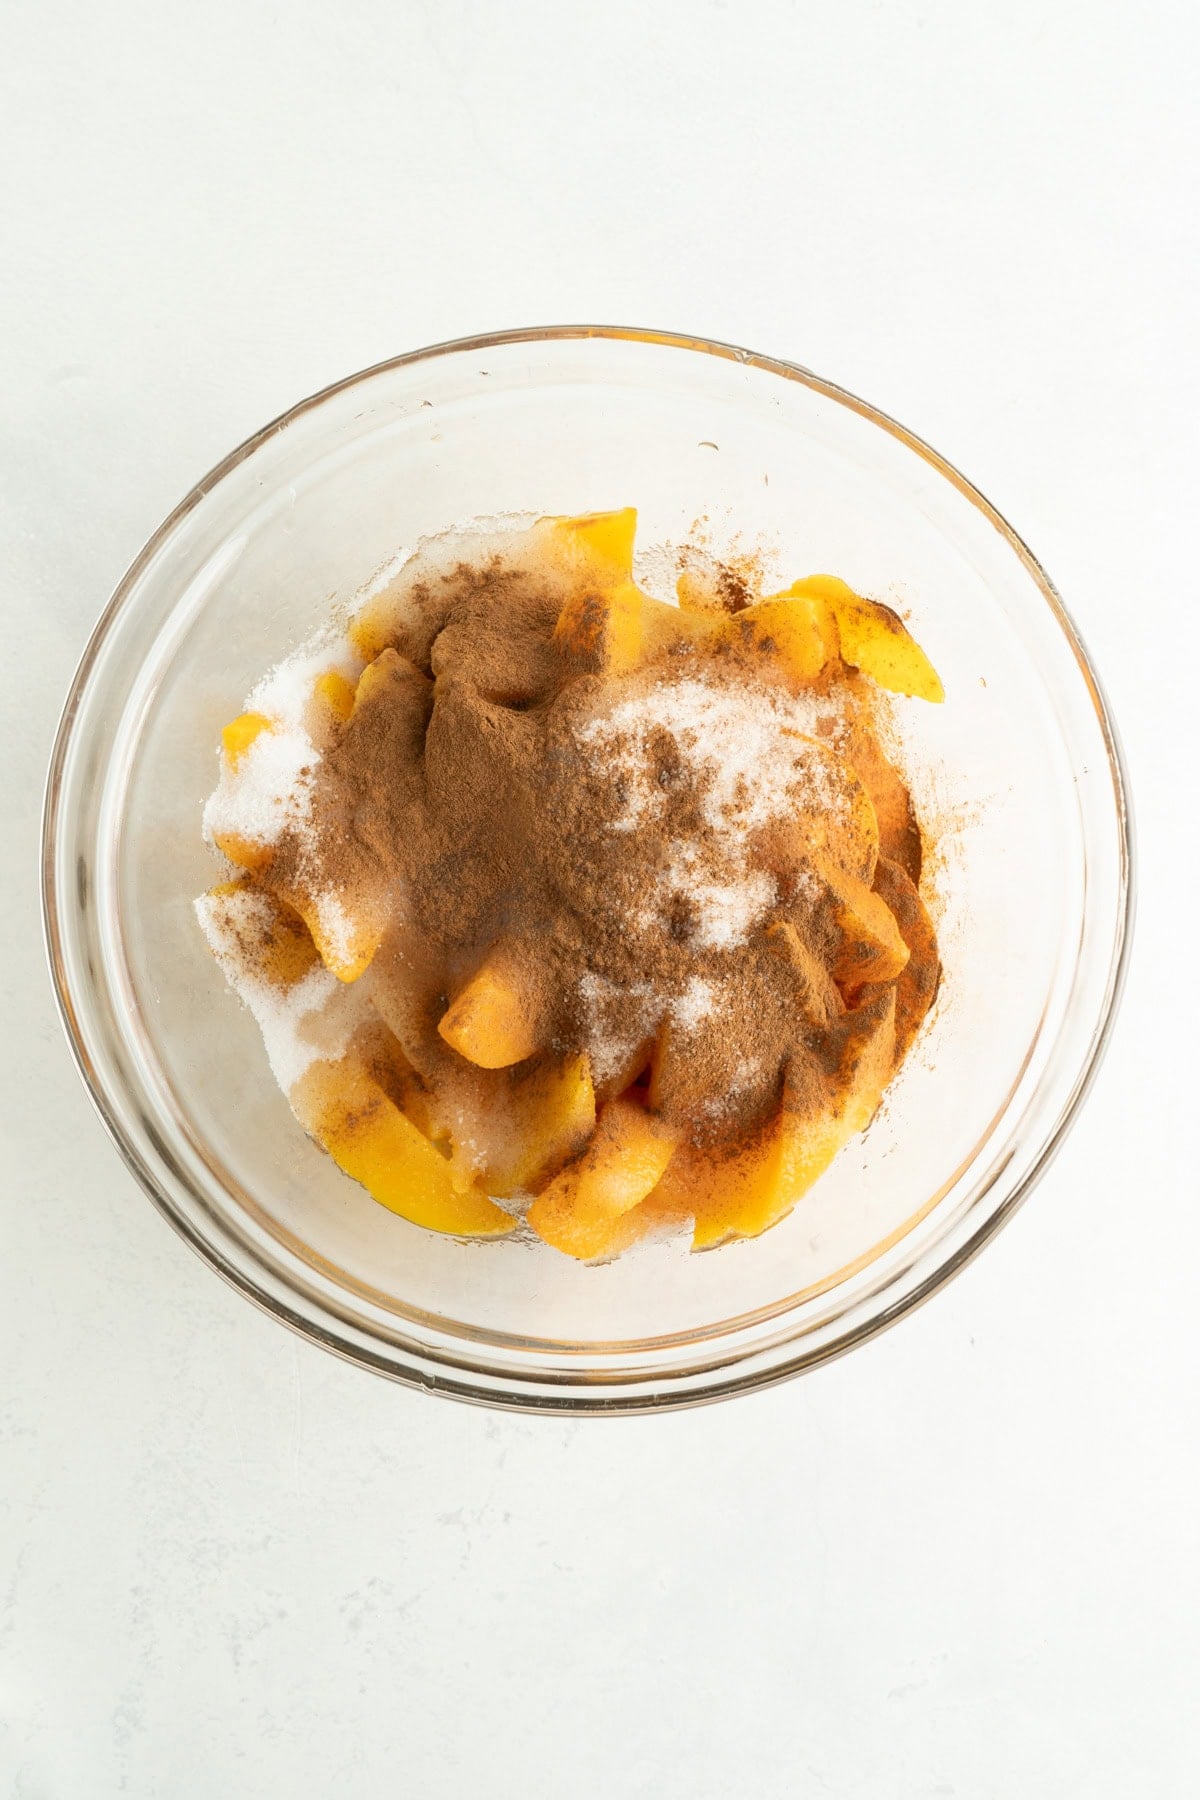
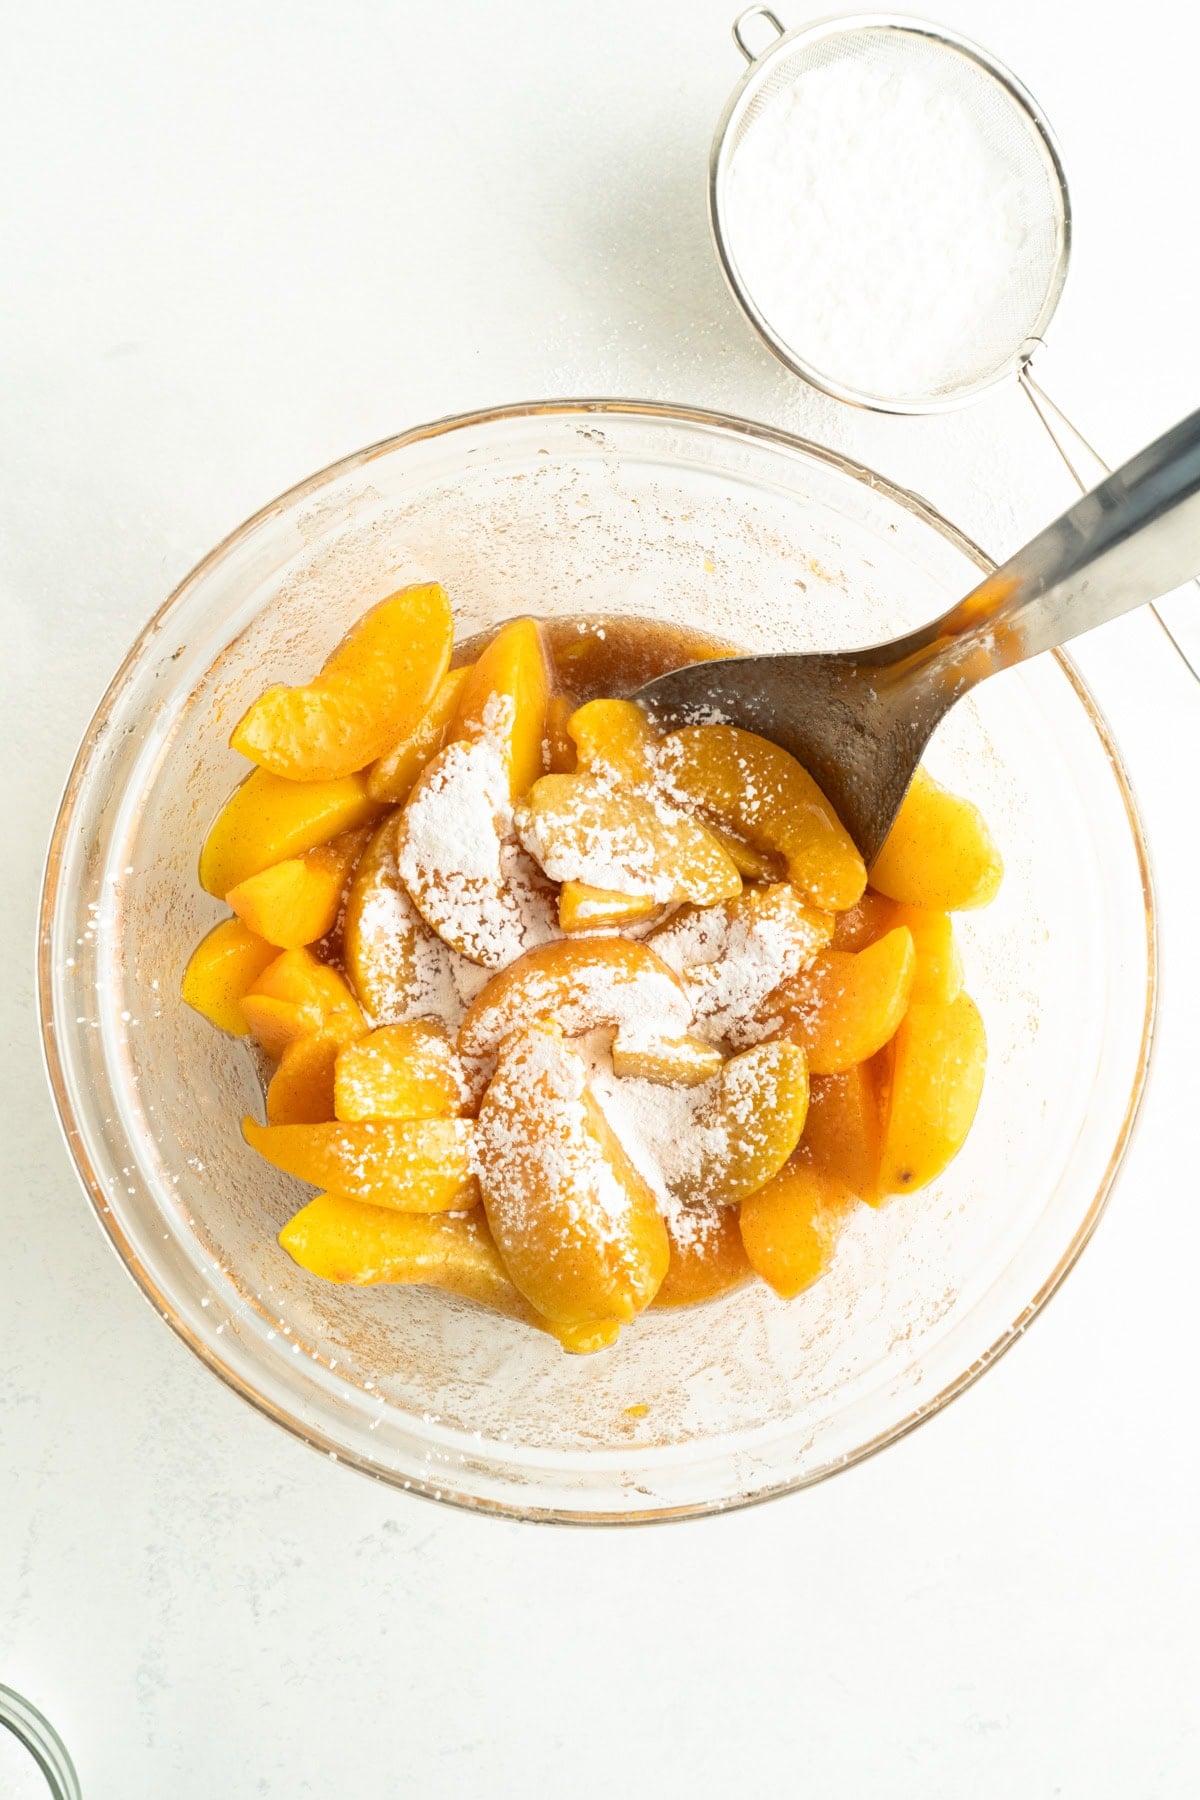
- Add the peaches to a bowl and then add the lemon juice, sugar, cinnamon and vanilla and give it a good mix.
- Add the cornstarch to a small sifter and sift the cornstarch over the peaches a little at a time, stirring in between until it is all used. I find this prevents the cornstarch from getting all clumpy the second it hits the wet peaches and helps it mix more evenly throughout the filling.
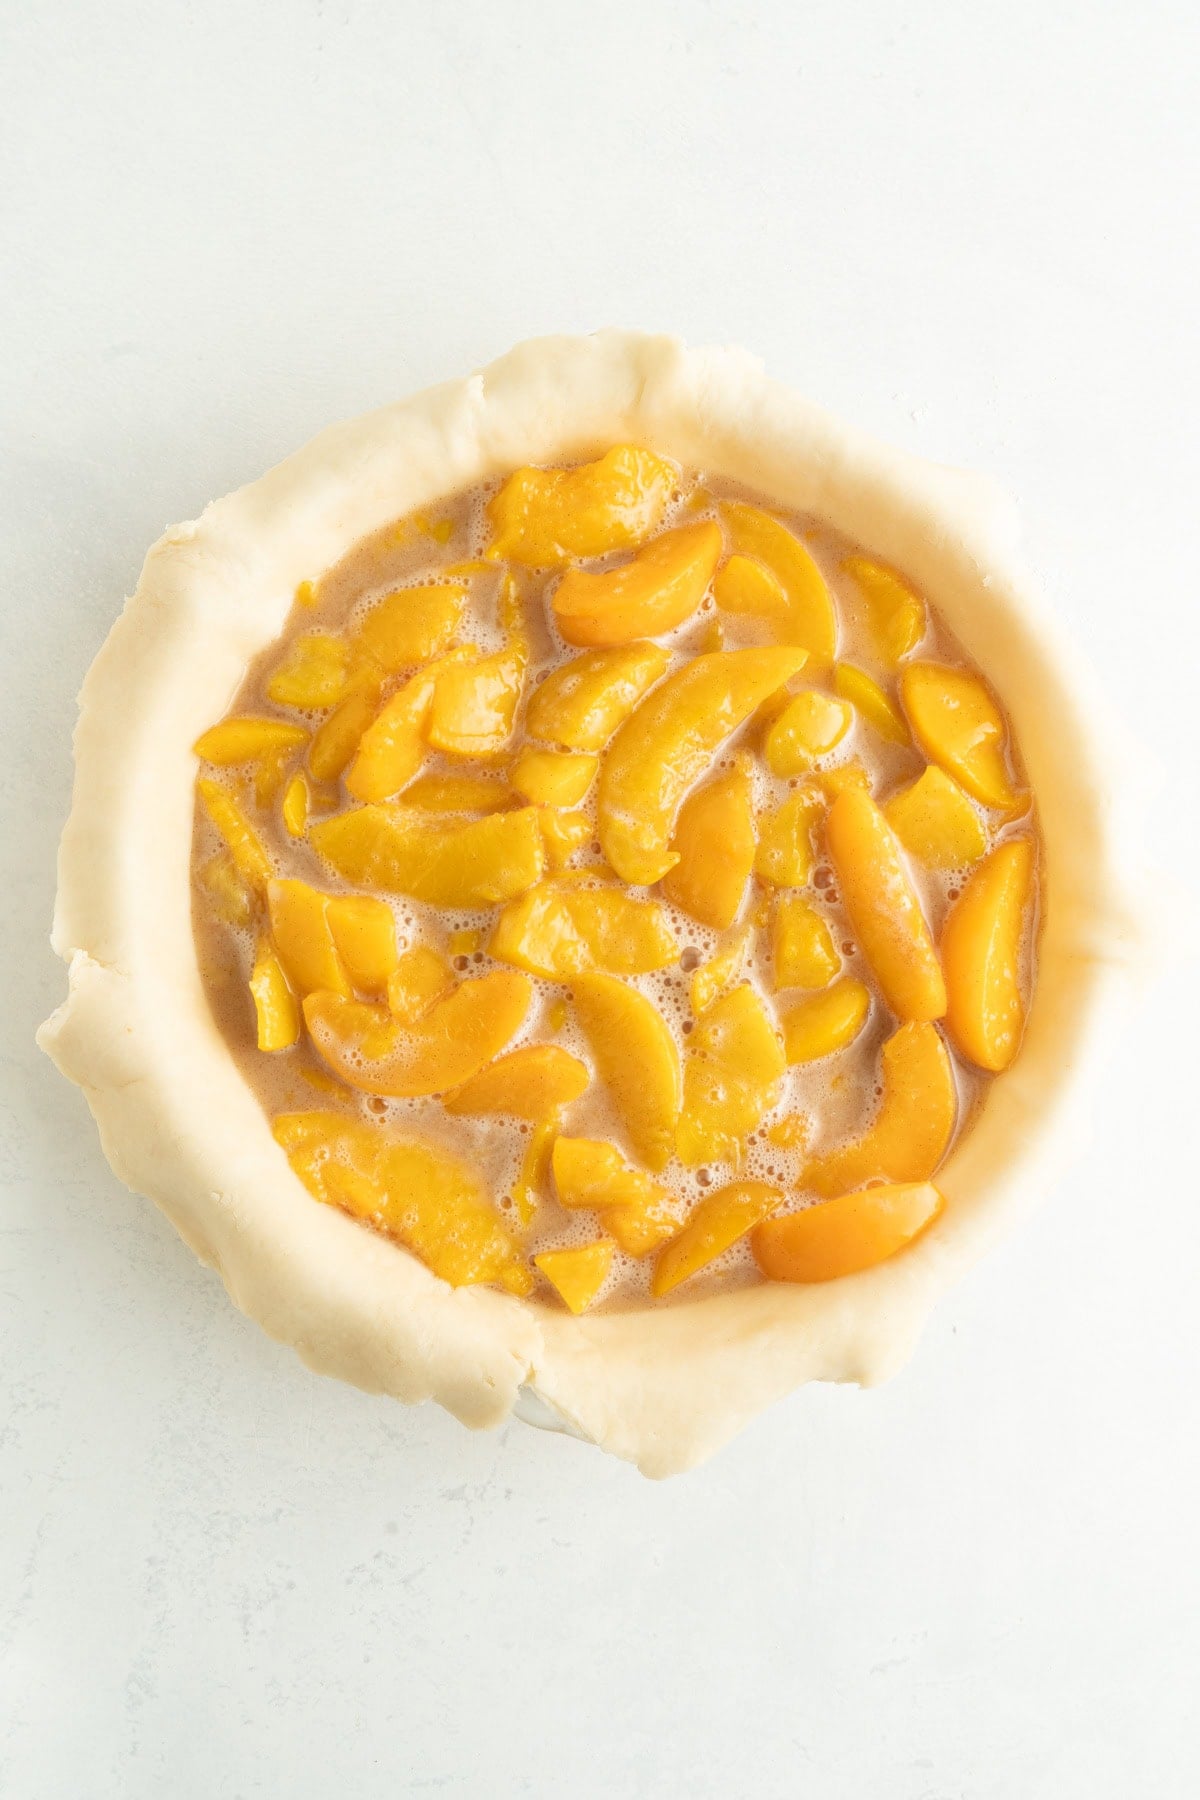
- Layer your pie plate with a single pie crust. Give it a little press against the plate, especially along the bottom corners, so that the pastry sits snuggly inside. Then add the peach pie filling to pastry pastry-lined pie plate.
For pies, I always use glass pie plates. This way, I can see if the bottom of the pie has baked well and turned golden brown. Just be careful hoisting it up over your head. Instead, I like to peek under, not have it over my head. The filling is super hot, and you don’t want it to drip on you!
- Cut the butter up into smaller pieces and dot the top of the peach pie filling with the butter.
- Cover the pie with the second pie crust and seal the edges with a fork or pinch the edges closed. If you are using a solid piece of pastry, make sure to cut a few slits in the top of the pie crust to allow the steam to escape.
When I made this pie, I used a fluted pasta wheel for wavy pastry strips and wove them into a lattice top. It’s simple, but much easier with homemade pastry.

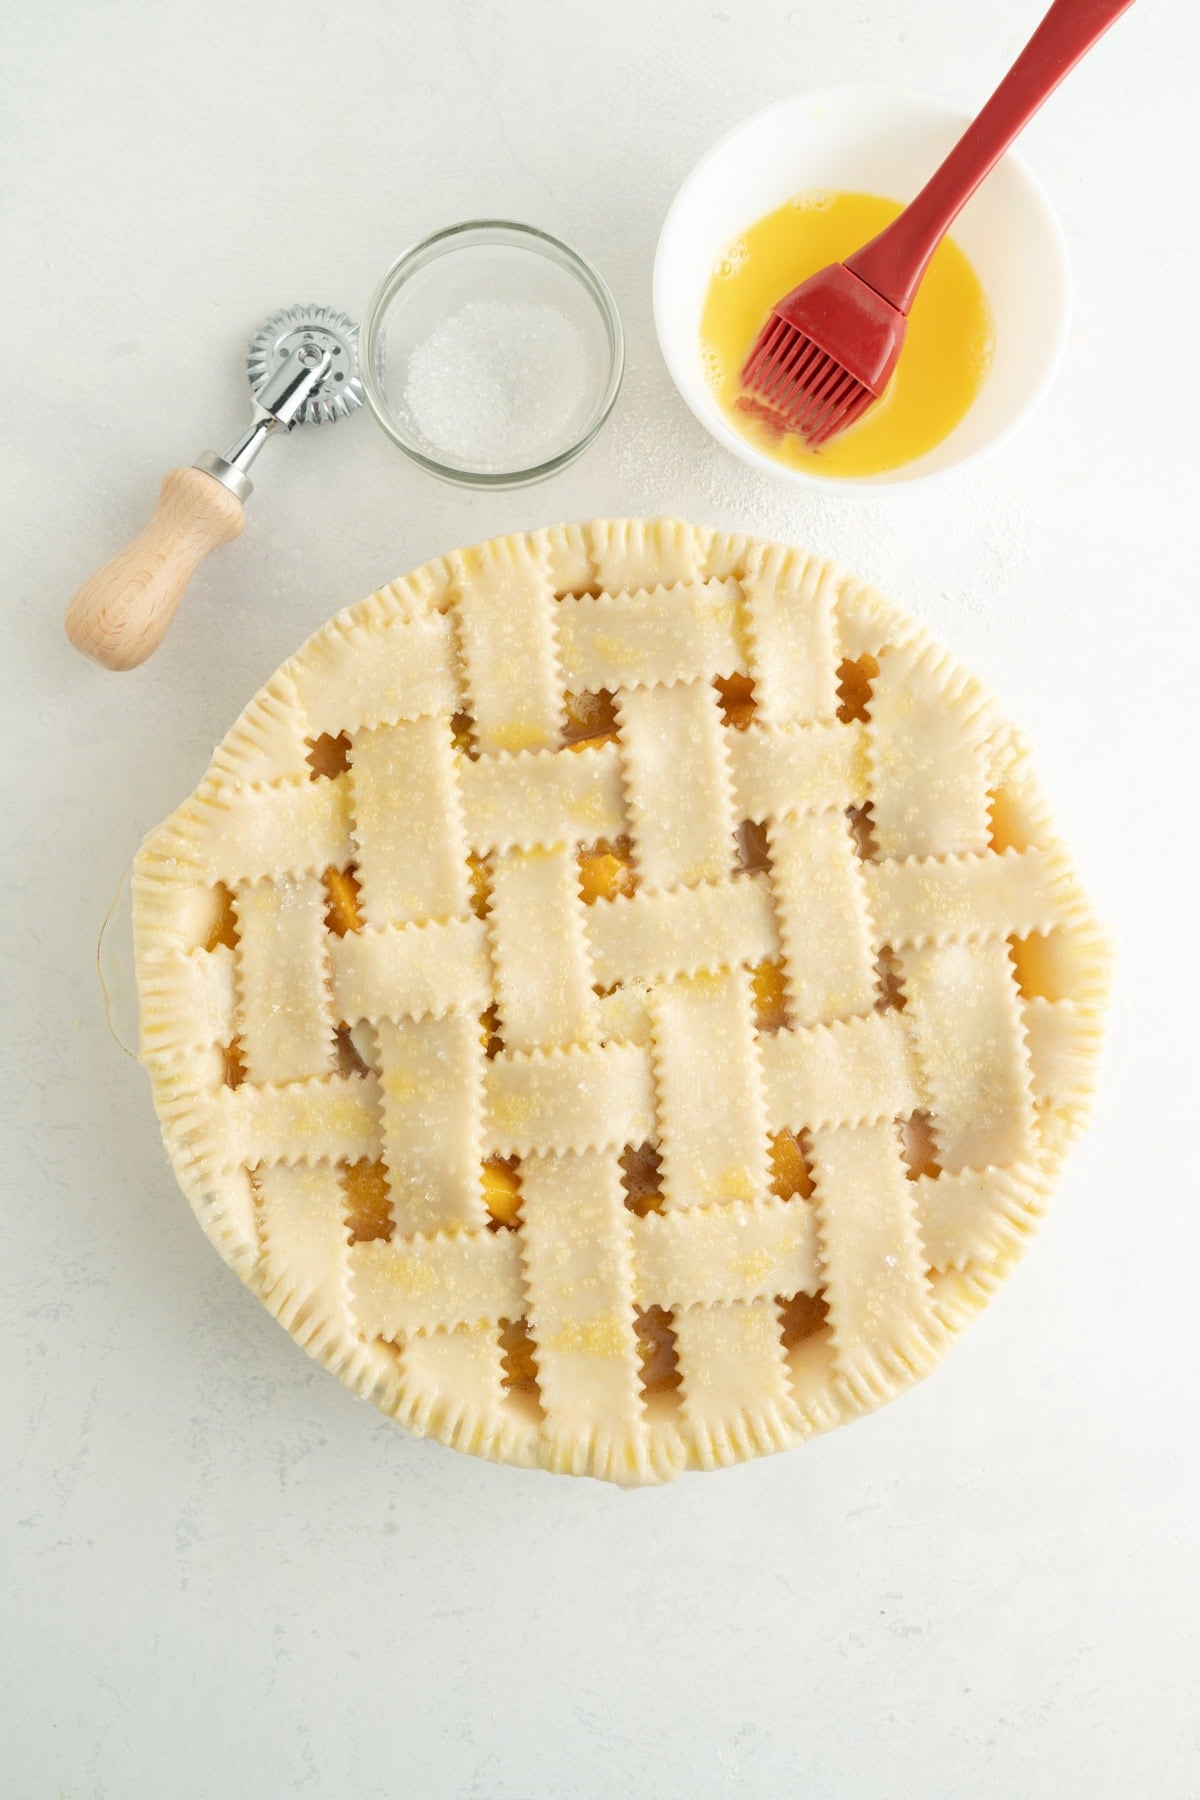
- Add the egg and about a tablespoon of water to a small bowl and whisk. Then use a basting brush to brush the egg wash evenly over the pie. Then sprinkle with the coarse sugar. Try to avoid having puddles of egg wash on the top so that the crust bakes to an even golden colour. The puddles will darken more quickly.
- Bake the pie in the oven at 350°F for 55-65 minutes on a rack set to the bottom third of your oven. The lower level helps the bottom of the pie bake better. The pie is ready when the crust is golden brown and the filling looks thicker and is bubbling.
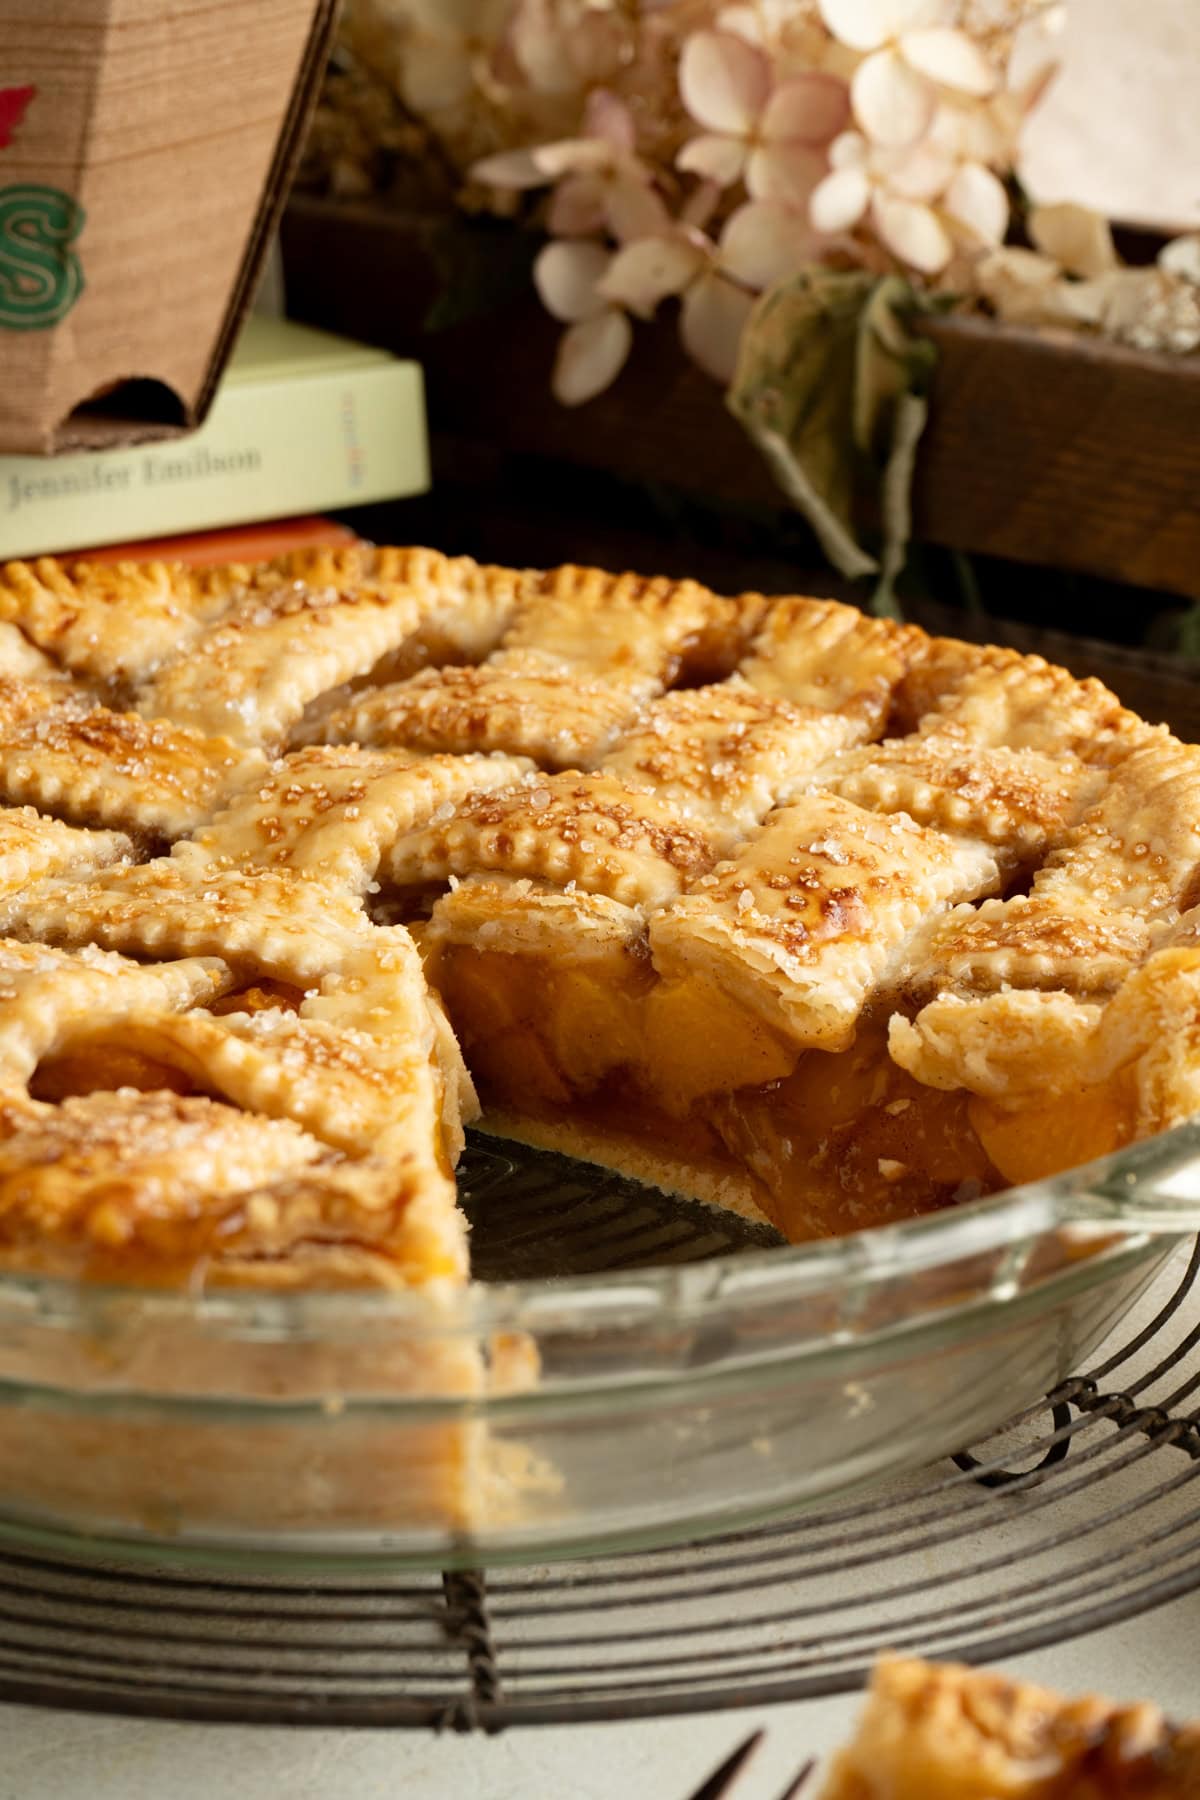
Let the baked peach pie cool almost completely before slicing. When the filling is too hot and I try and cut it, the filling oozes out and is sloppy. I just let it sit on the top of my gas stove burners to allow the bottom to breathe.
You can eat it warm, cold, with ice cream, whipped cream, are just on its own!Got Leftovers?
Got Leftovers?
This pie doesn’t need to be refrigerated because it is a simple fruit pie. I just cover it with plastic wrap and keep it on the counter. It can stay fresh for up to 3 days.

Grandma’s Old-Fashioned Peach Pie with Canned Peaches
Equipment
- 1 9" Pie plate
Ingredients
- 45 oz sliced canned peaches (3 small cans)
- ¾ cup granulated sugar
- 1 tbsp lemon juice
- 1 tsp vanilla
- ½ tsp ground cinnamon
- ⅓ cup cornstarch
- 1 tbsp unsalted butter
- 1 egg
- 1 tbsp water
- 1 tbsp coarse sugar (optional)
- 2 9" Pie shells
Instructions
- Preheat your oven to 350°F. Lower a baking rack to the bottom 1/3 of the oven.
- Use a strainer to strain the juice from canned peaches.
- Add the peaches to a large bowl and add the granulated sugar, vanilla, lemon juice and cinnamon. Mix well to combine.
- Use a sifter to gradually sift a little cornstarch at a time over the top of the pie and mix. Repeat until all of the cornstarch is mixed into the peach pie filling.
- Add a pie crust to the bottom of the 9" pie dish and pour the peach pie filling into it.
- Cut the butter up into small pieces and dot the top of the peach pie filling with the pieces of butter evenly.
- Cover the pie with the remaining pie crust and seal the edges with a fork or flute. If using a solid pie crust and not a weave make sure to cut slits in the top of the crust to allow the steam for vent out.
- Add the egg and water to a small bowl and whisk. Use a basting brush to brush the egg wash over the top of the pie then sprinkle with the coarse sugar.
- Baked for 55-65 minutes. The pie is done when the bottom and top are both golden brown and the filling is bubbling. When done let the pie cool for about an hour. Serve warm or cold.
Nutrition
Notes
The information shown is an estimate provided by an online nutrition calculator. It should not be considered a substitute for a professional nutritionist’s advice.


What a delicious recipe! It came out fabulous. The only difference is that I used pumpkin pie spice. Thank you so very much!
So easy to make and it delicious. Thank you
Hi Alisa, unsure why they’re are not many good comments on this. Great recipe. I just found this because I wanted to imitate some great Amish peach pie I had. Your recipe is very good and has smooth creaminess and texture. I used this recipe for a cherry pie as well. I did add a tsp of ginger, 1/2 tsp ground clove and a very small (3 drops) of almond extract. I like that flavor profile. Unsure of the issues with the previous commenter, not your fault Google floods top accessed postings with pop ups and ads. Thanks for the recipe.
Thanks so much for your kind words Rex and I am thrilled you enjoyed the pie!
The actual recipe would be nice. I’m sick and tired of jumping through hoops just to get to a recipe. IF I GET TO IT AT ALL…. THIS IS RIDICULOUS….
Hi Terrie, The recipe is right there waiting for you inside the post and there is a handy Jump To Recipe at the very top of each post to take you right there. What is important to note is that these recipes are FREE to you. I will not apologize for running ads on the blog to support the cost of recipe testing, photography, step by steps with photos and all that comes with providing free content. Inside the post are valuable tips to help make the recipe even better. Tips that are only possible with time and expense to make the recipe over and over until I get it just right. I would assume you also do not work free and enjoy respect for the work you do. I do hope you give the recipe a try but being disrespectful for the work that goes into providing you with FREE content is unnecessary.
I totally agree, it was delicious thank you for the recipe.
You are very welcome Denise!