Caribbean Johnny Cakes Recipe
This post may contain affiliate links. Read our full disclosure policy.


Crispy on the outside, soft and tender on the inside this Caribbean Johnny Cakes Recipe won’t disappoint! This no-yeast bread is a snap to make even for beginners. They are perfect to eat just as is, fill them like a sandwich or dip them in your favorite soup or stew.

Save this Recipe!
Get this recipe sent to your inbox, plus get new recipes from The Delicious Spoon every week!
On a recent trip to St. Maarten I had the pleasure of joining Chef Jewel in her kitchen to learn how to make homemade Johnny cakes. She used milk powder in her cakes. This isn’t an ingredient I have on hand so I modified the recipe to use regular milk instead.
This recipe makes about a dozen johnny cakes so you have lots for a family dinner with some leftovers. While I like these hot out of the fryer because they are still hot and crispy and amazing when buttered they are just as good a few days later. Albiet less crispy.
Where Did The Name Johnny Cakes Come From?
This is up for debate depending on where you live. But the story I was told while visiting St. Maarten is that before the day of cars people had to walk a long way to get supplies or rather they had long journeys to take.
These bread patties are small, shelf-stable and filling so they were ideal to take on long journeys. This is why originally they were called Journey Cakes. But over time, like many things, nicknames formed and the name gradually turned to Johnny Cakes.
But again it depends. Some say the name derived from the Indigenous Shawnee Tribe from New England back as early as 1739. Colonizers were said to mispronounce the name of these cakes made by the Shawnee Tribe. Instead of saying Shawnee Cakes they said Johnny Cakes.
Either way, they are delicious and I agree they are perfect for an easy snack on the go!

Ingredients & Substitutions
- All-purpose flour – Typically for breads, I would prefer to use bread flour but since these are fried the extra protein in the all-purpose flour holds together better and provides a denser texture.
- Warm Milk – Any milk will do in my opinion. Chef Jewel used milk powder so if you want to give this a try use two tablespoons of milk powder and 1 cup of warm water instead.
- Sugar and Salt – These ingredients add flavor to the johnny cake recipe. If you like a sweeter or less sweet bread just adjust the sugar up or down as you prefer. I would not recommend adjusting the salt. Salt it is more of a flavor enhancer and you don’t want salty bread.
- Vegetable Shortening – Chef Jewel and I both agree that Crisco is the way to go here but any shortening will do.
- Baking Powder – The leavening agent that helps the cakes rise and get fluffy.
How To Make Johnny Cakes
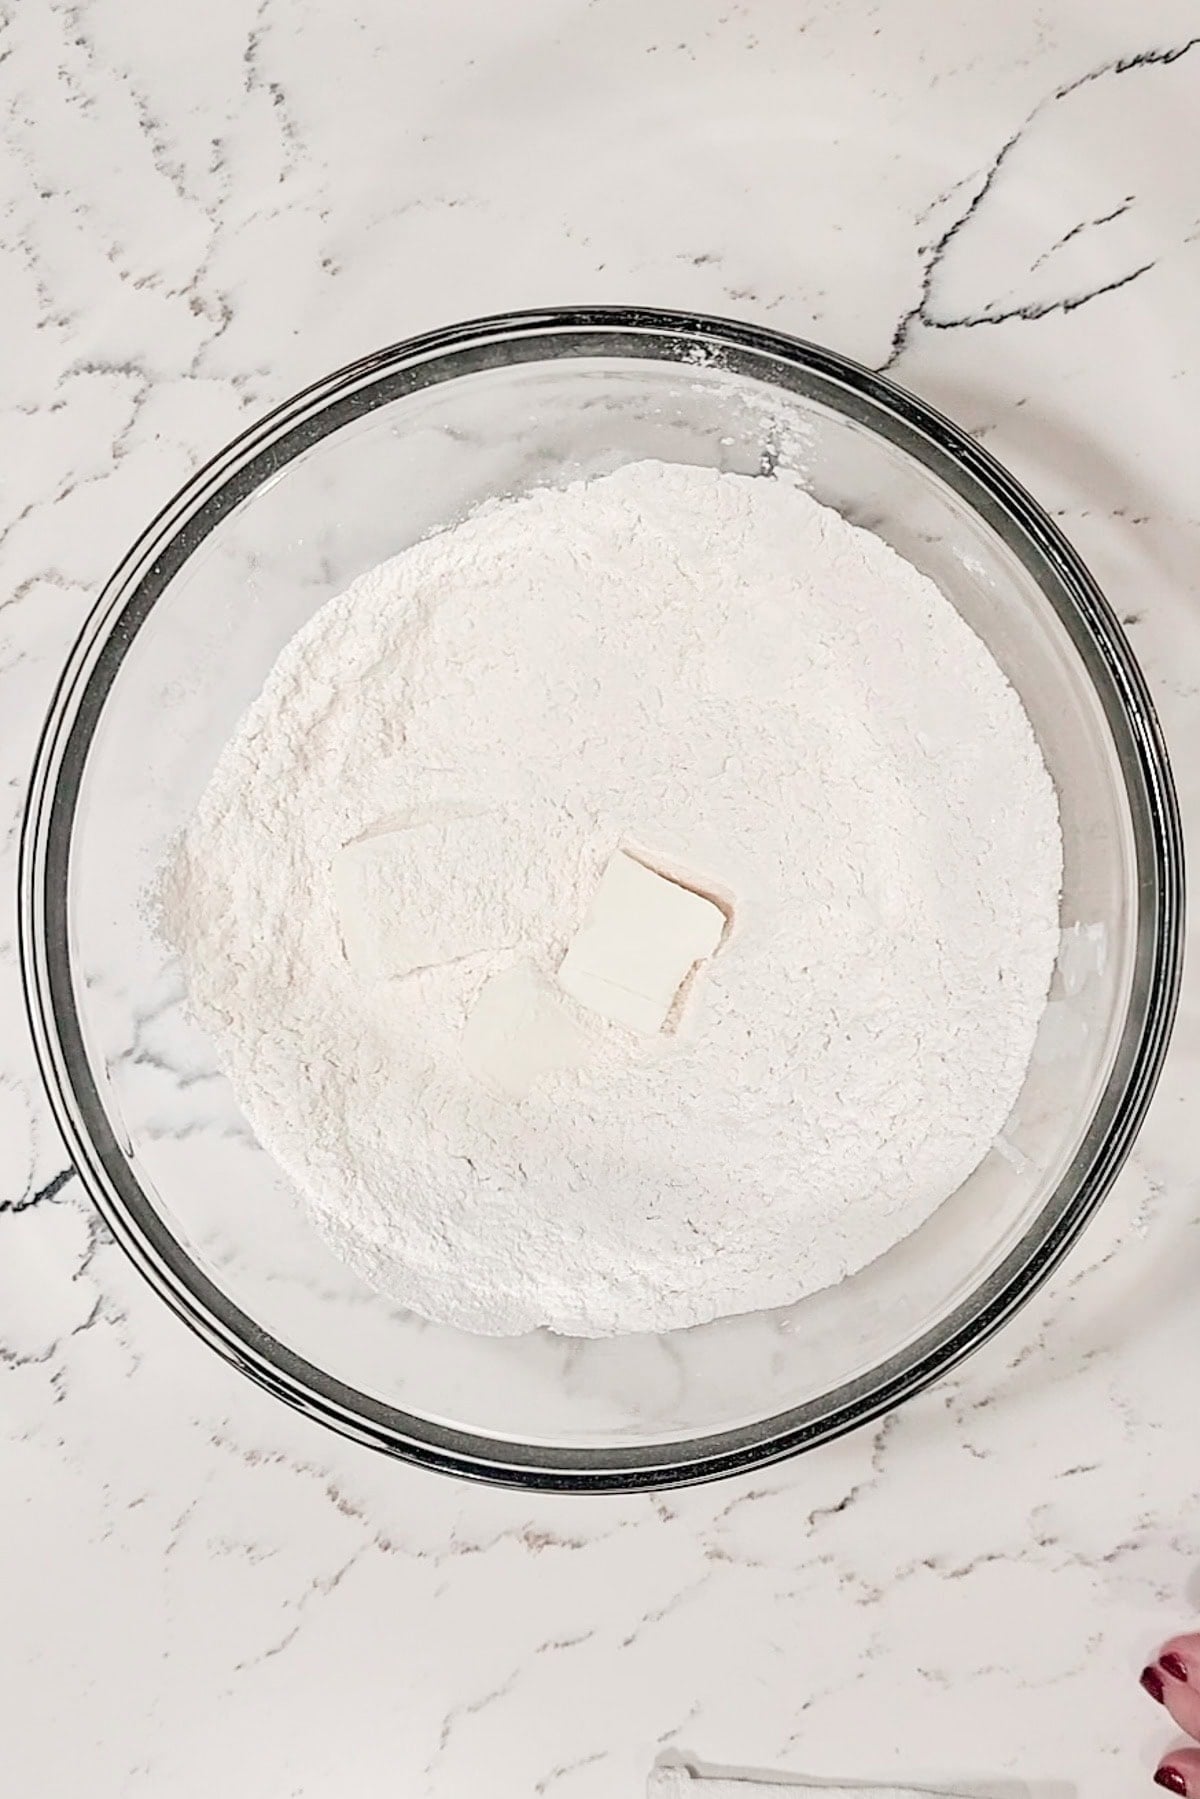
- Start by adding the flour, sugar and salt to a large bowl and then give it it a mix with either your hand or a spoon.
- Cube the vegetable shortening and add it to the bowl of flour. Use your hands to pinch the shortening into the flour. I do this by grabbing the flour and shortening with my fingertips and using my thumb to rub the shortening into the flour. The goal is to create a fine crumb where there are ripples of the shortening through the flour. When done the bowl of flour and shortening will have a graining or fine oatmeal looking texture to it
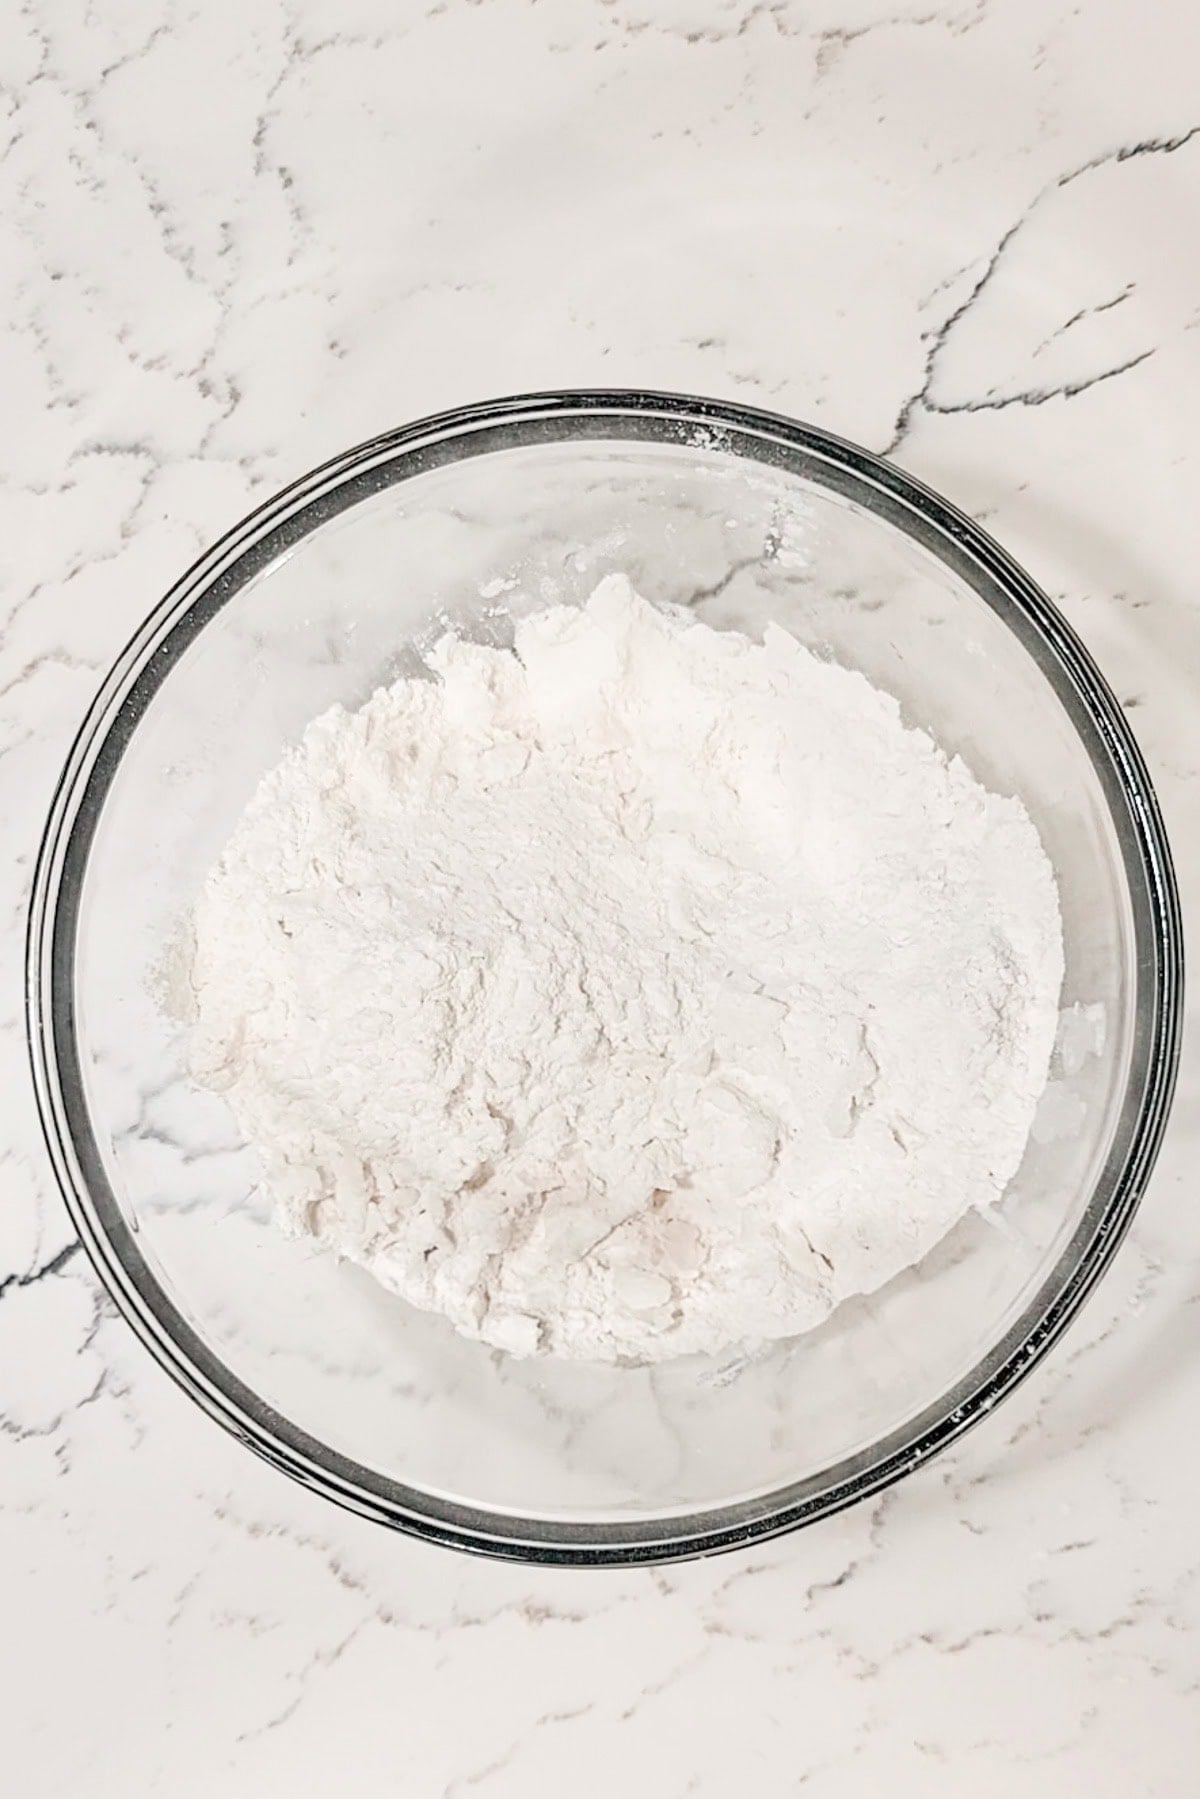
- Use your hand or a spoon to push the flour to the side of the bowl so there is a well or shallow space in the centre of the flour mixture.
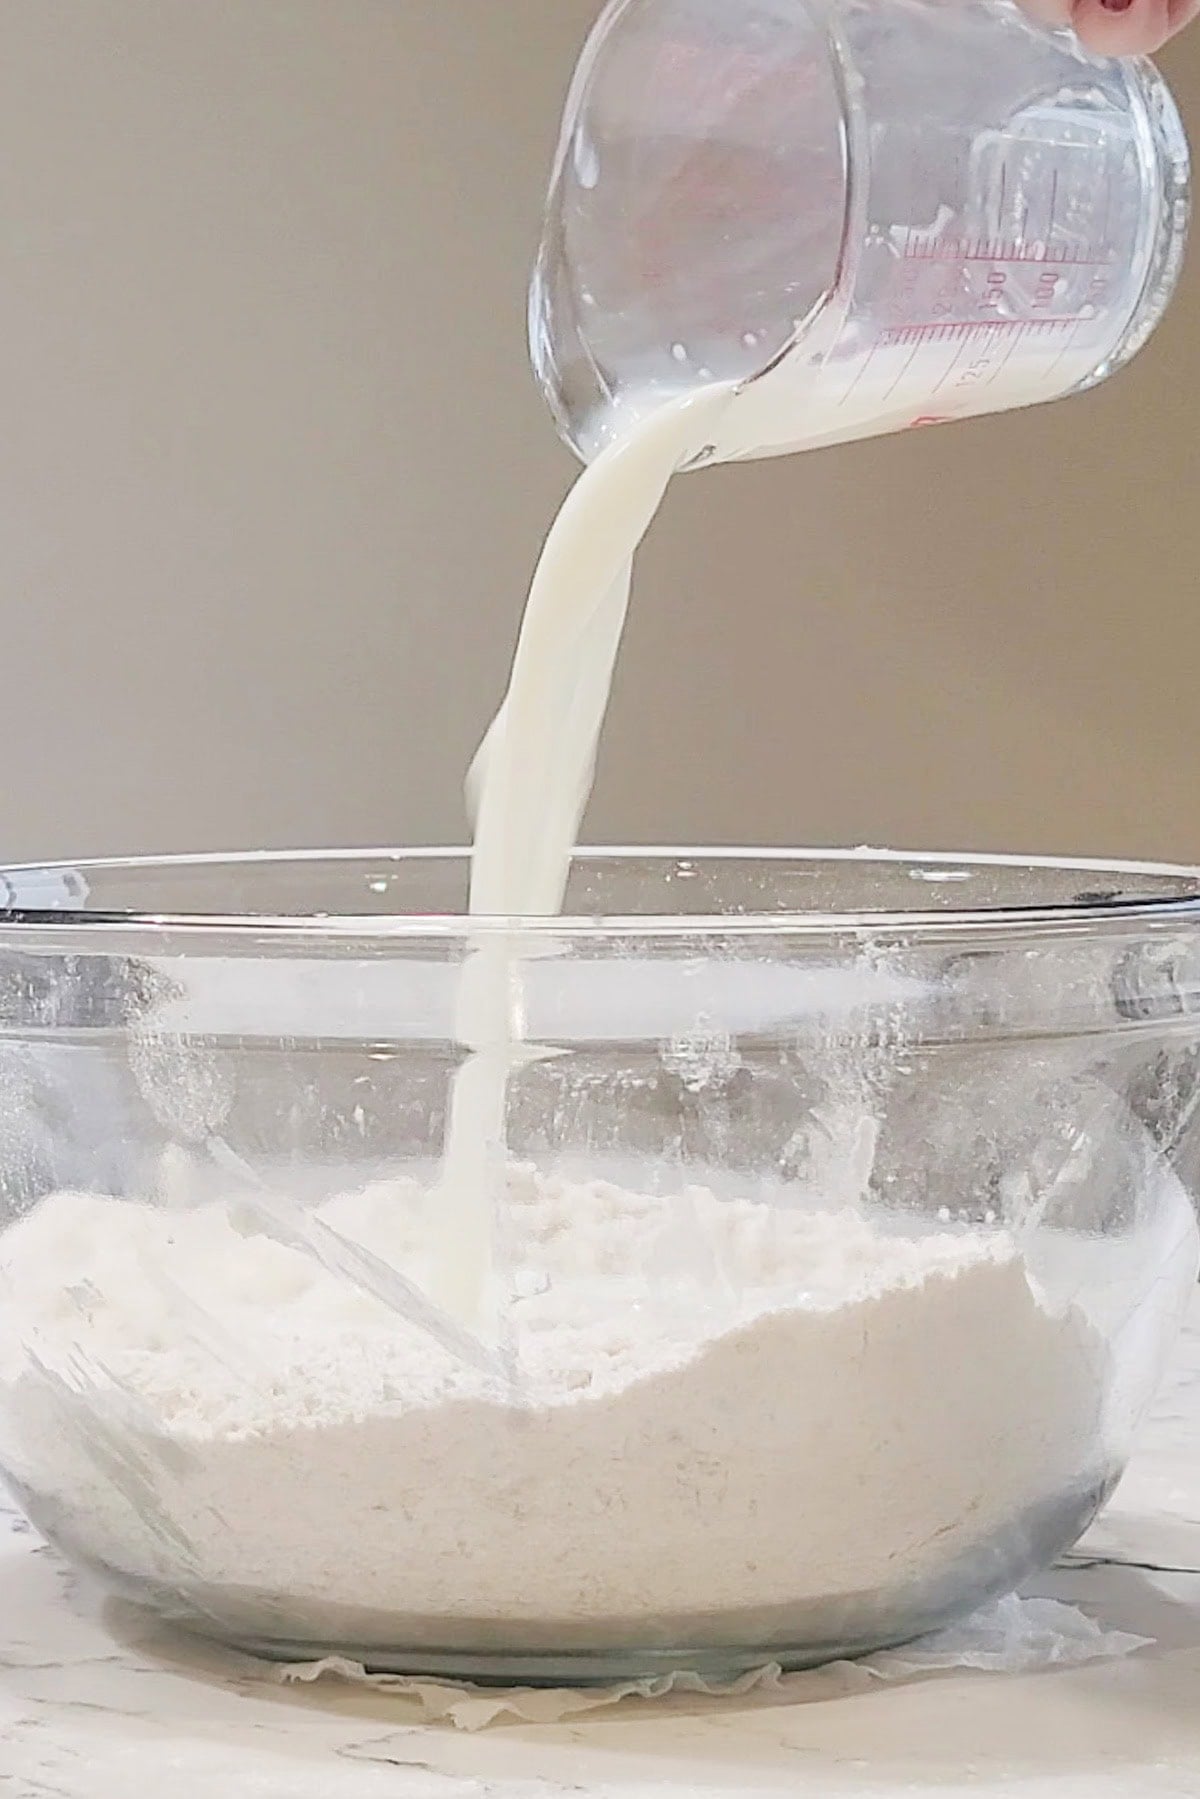
- Warm the milk up in the microwave until it is hot. If you put your finger in it but not burning or boiling, what I would consider just a smidge over lukewarm. I find in my microwave a minute and 20 seconds is perfect!
- Pour the milk into the centre of the flour mixture then mix with a spoon or your hands just until the flour mixture and milk are combined. The dough will be sticky.
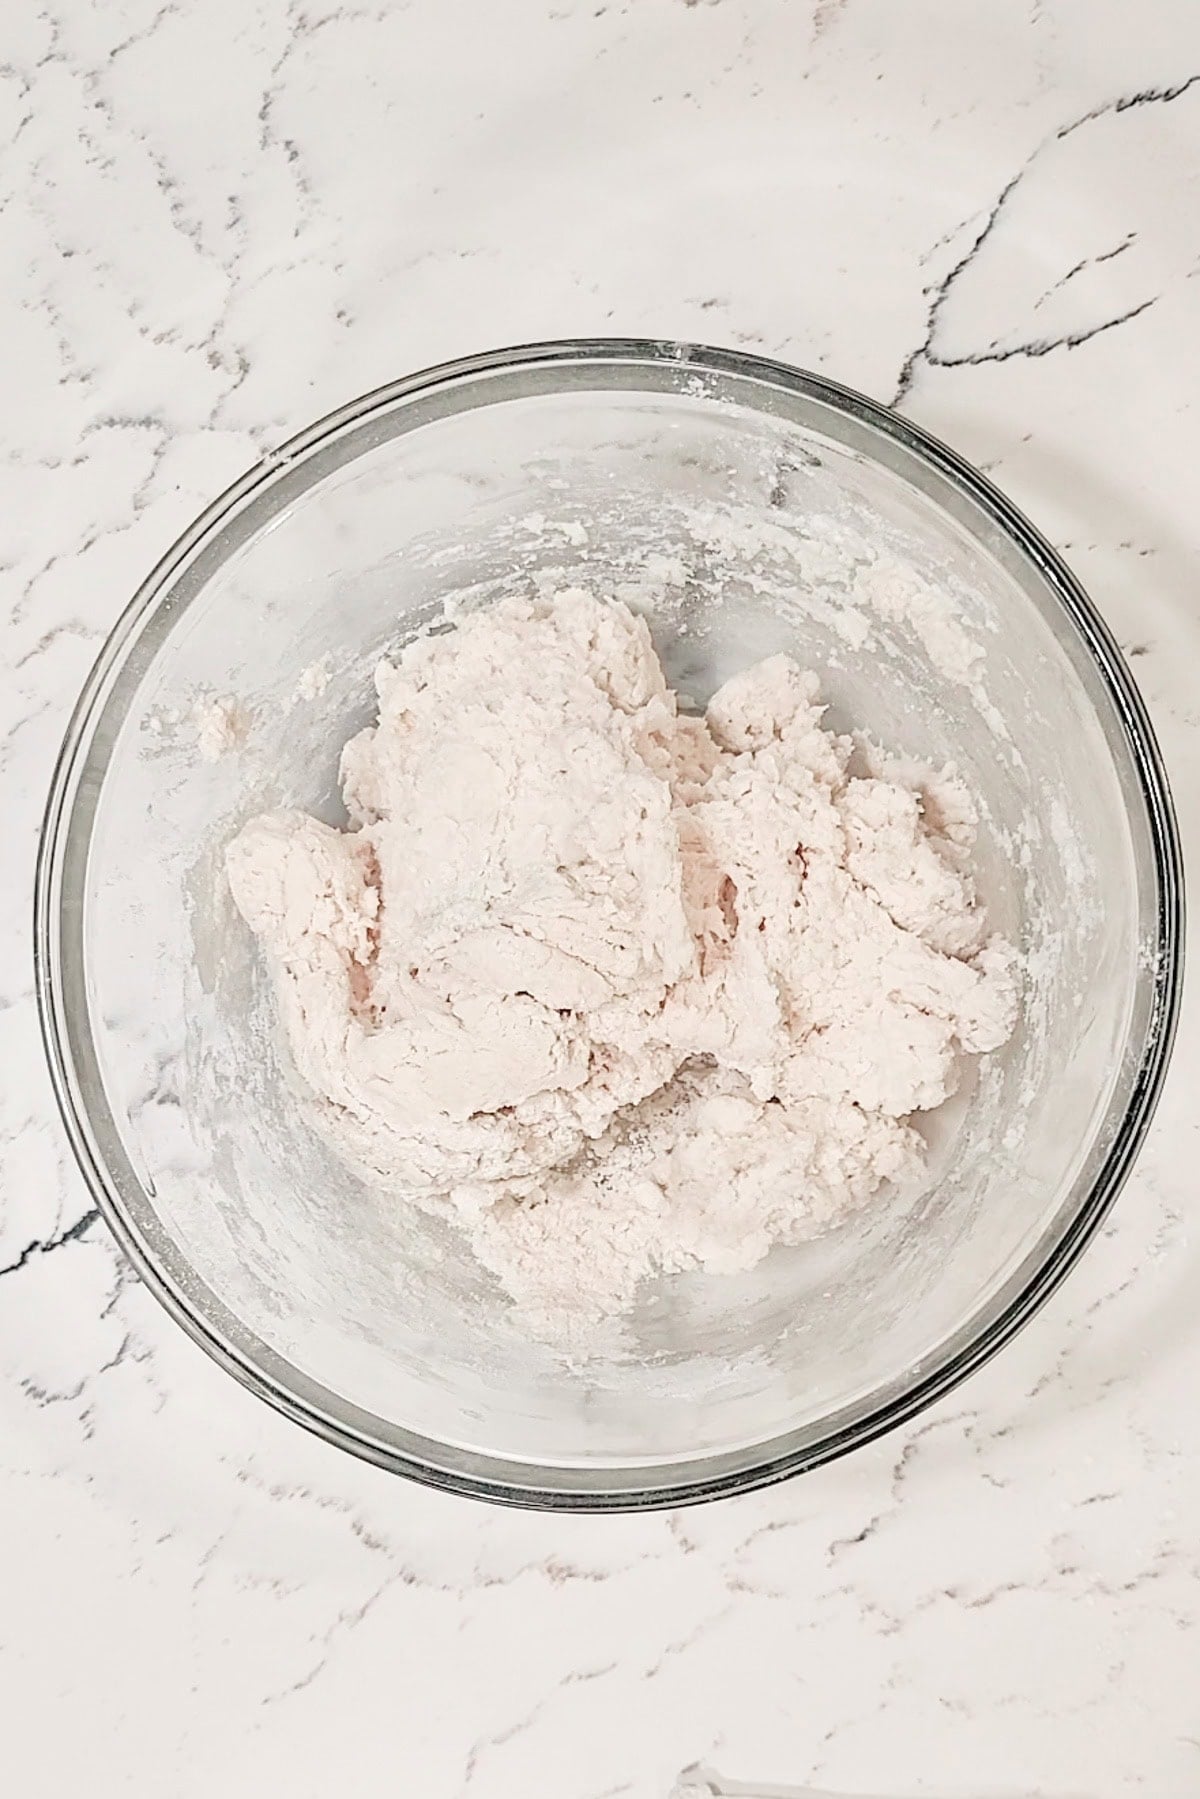
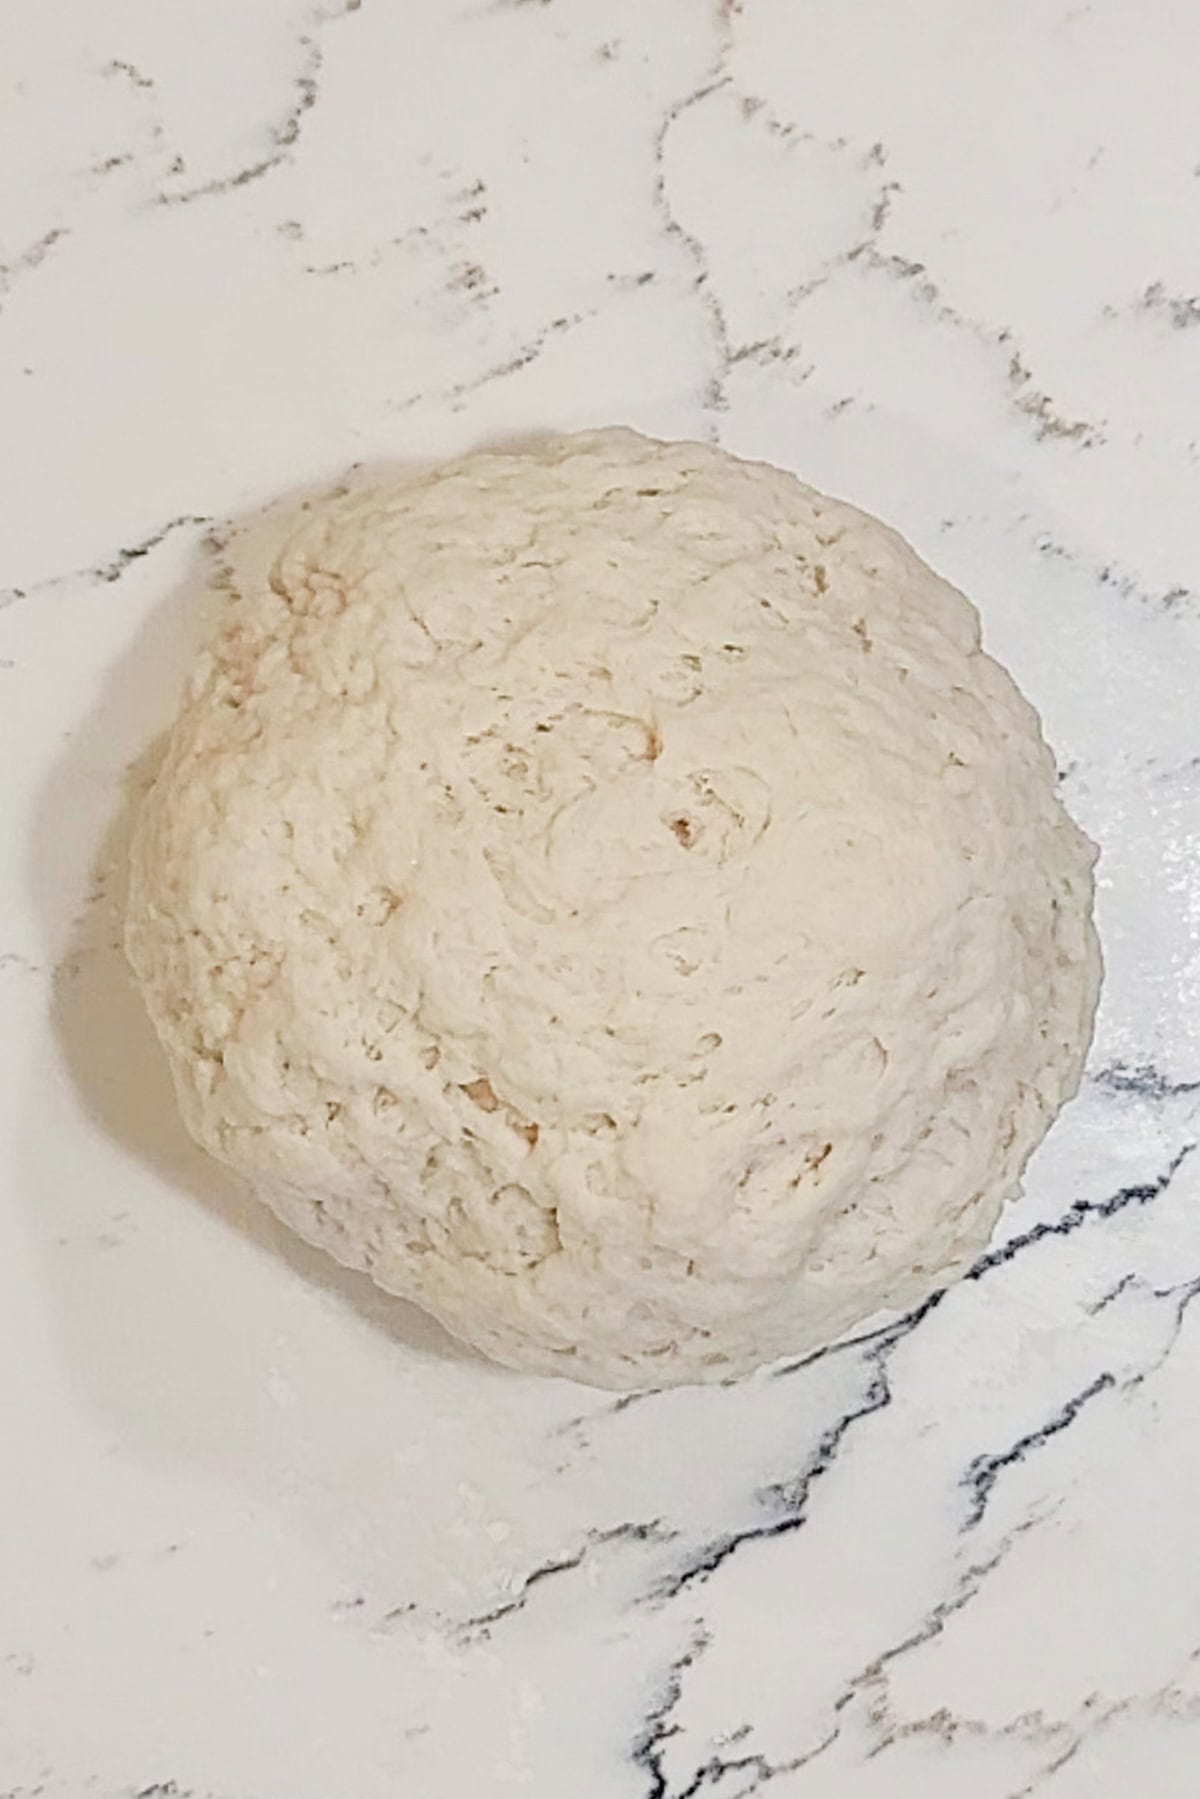
- Add a small handful of flour to a large dry, clean surface and then knead the dough with your hands for about 2 minutes. The dough should become less sticky and smoother and form into a ball. Poke your finger into the dough and if it bounces back the dough is ready to rest.
- Cover the dough with a clean tea towel or plastic wrap and let rest and rise for about an hour. Ideally you want to put it in a warm area for best results. I usually put it back in the warm microwave with the door closed.
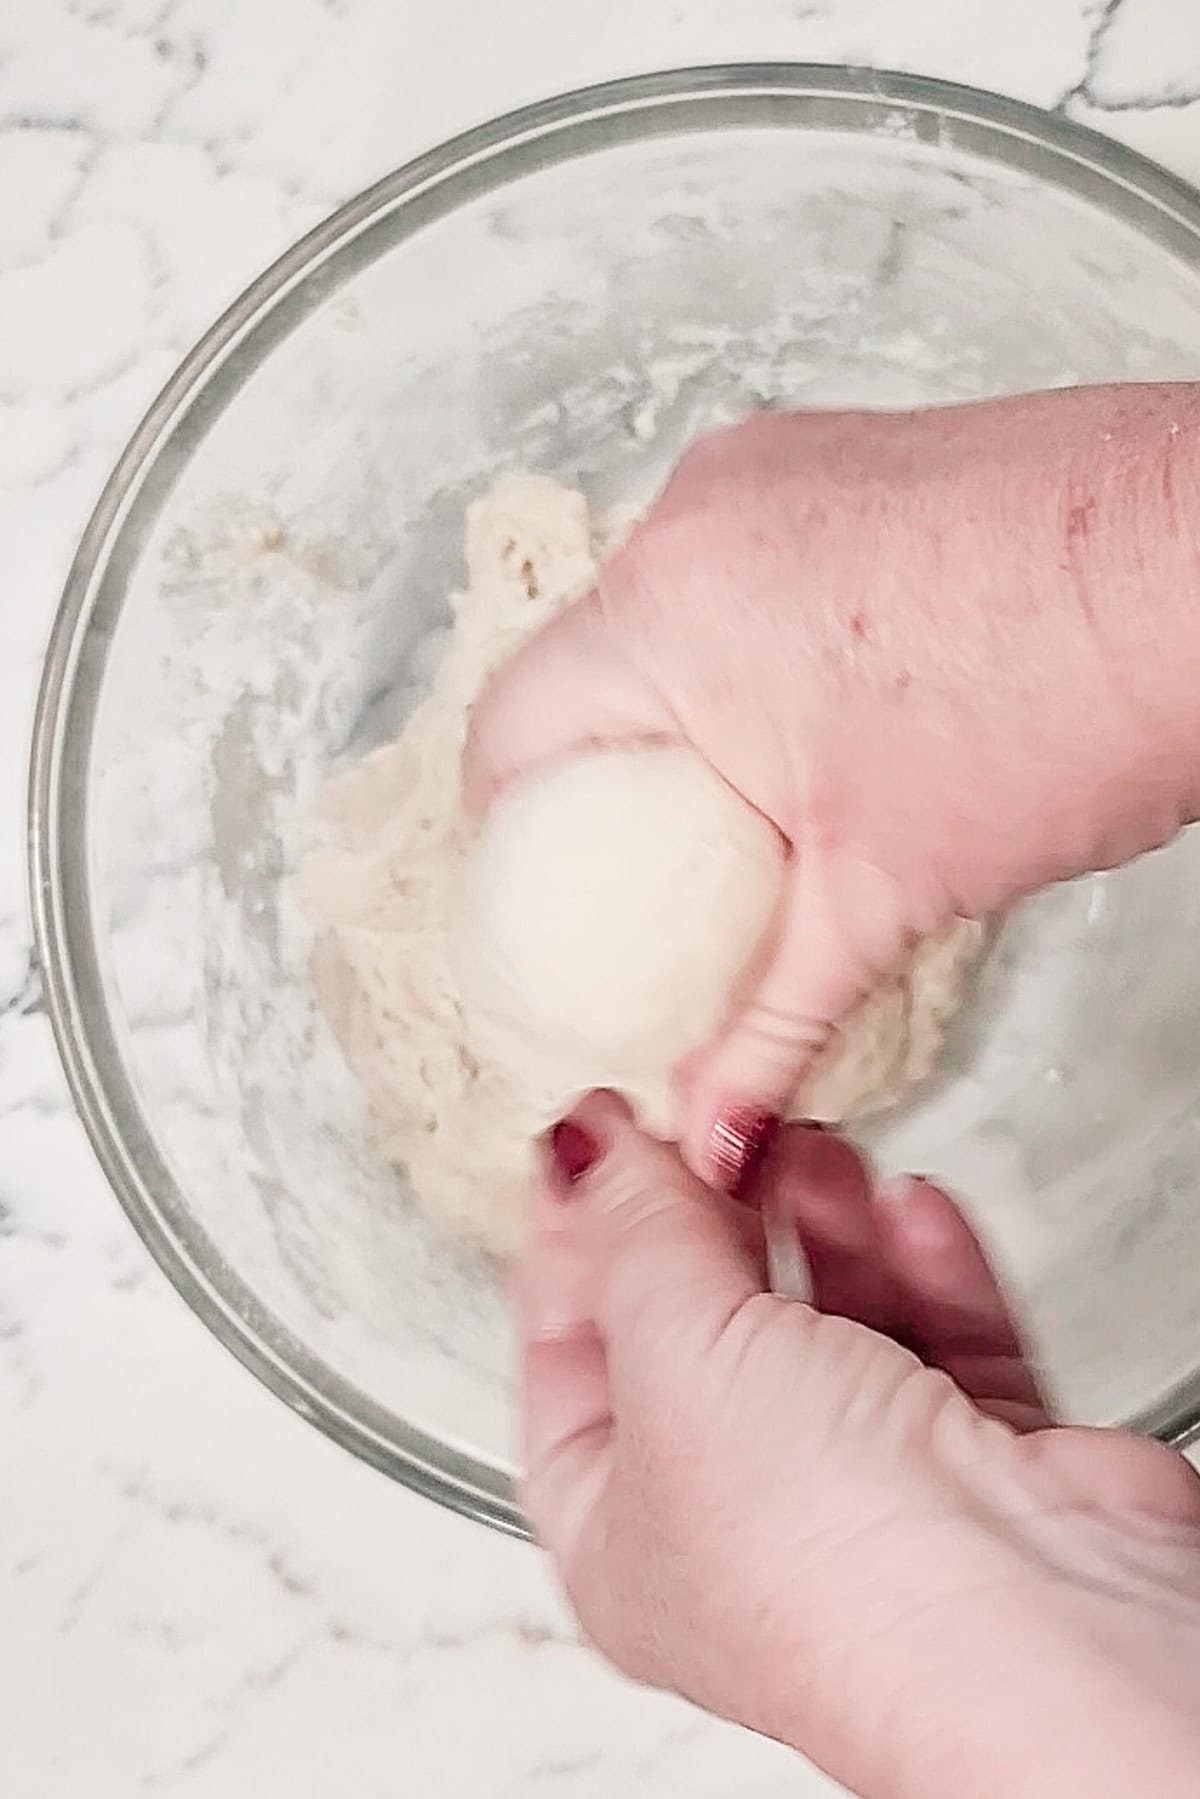
- Once the dough has rested, pull or cut a roughly quarter cup or small handful of dough off the larger ball of dough. Flatten with your hands to form a small disk and fold under to form a smooth ball. I make an “ok” sign by touching my index finger and thumb ends together and then push the dough under and through the circle. I find this the easiest way to make that smooth ball.
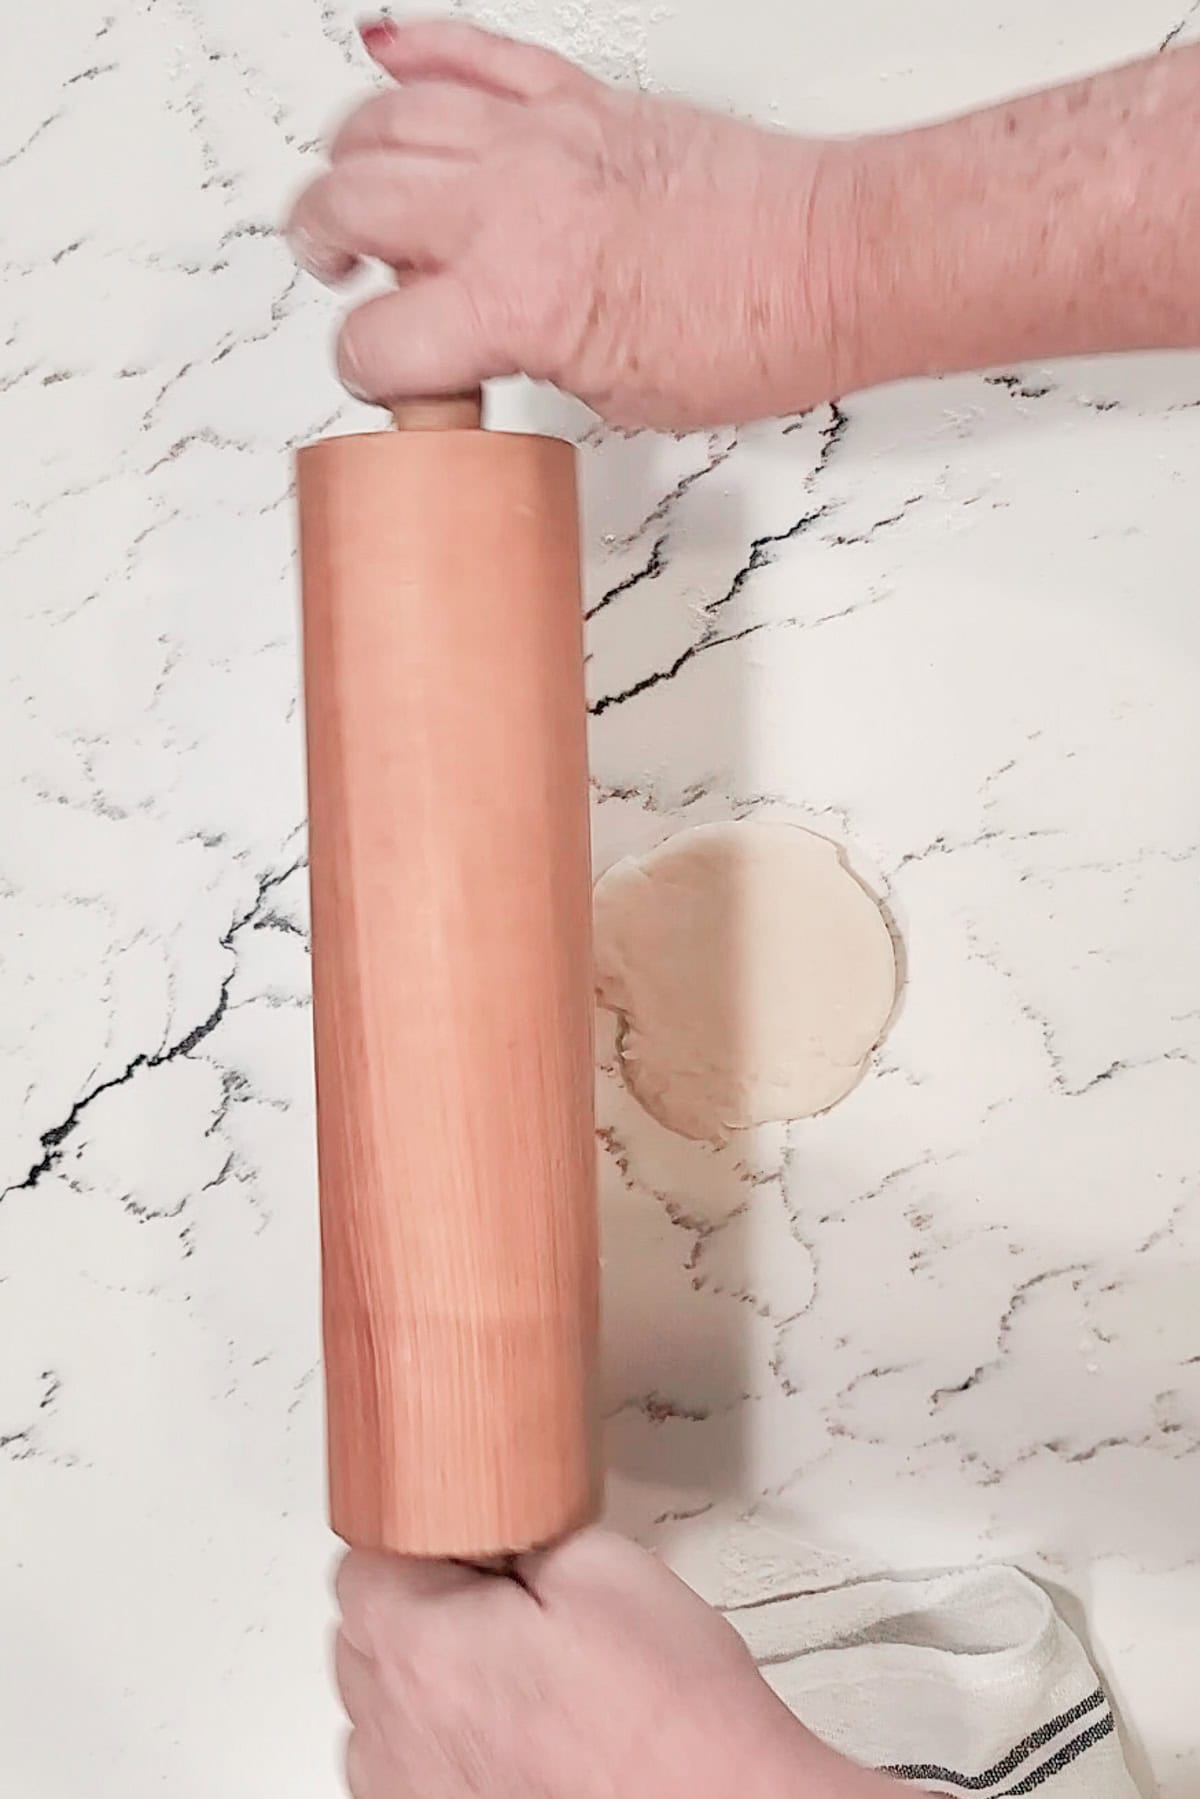
- Once you have formed the dough into balls, add more flour to your clean, dry, flat surface. Use a rolling pin to roll the dough ball flat once, flip it over, turn the dough 45 degrees and then roll out of the other side to form a flat round disk about a half-inch thick.
- Heat the vegetable oil to about 350°F. The way my grandma taught me to test when the oil is ready for frying is to toss a pinch of dough of flour into the vegetable oil and if it immediately starts to bubble and the dough rises to the top quickly it is ready. If the dough or flour just falls to the bottom and just sits you need to wait a little longer for the oil to heat up.
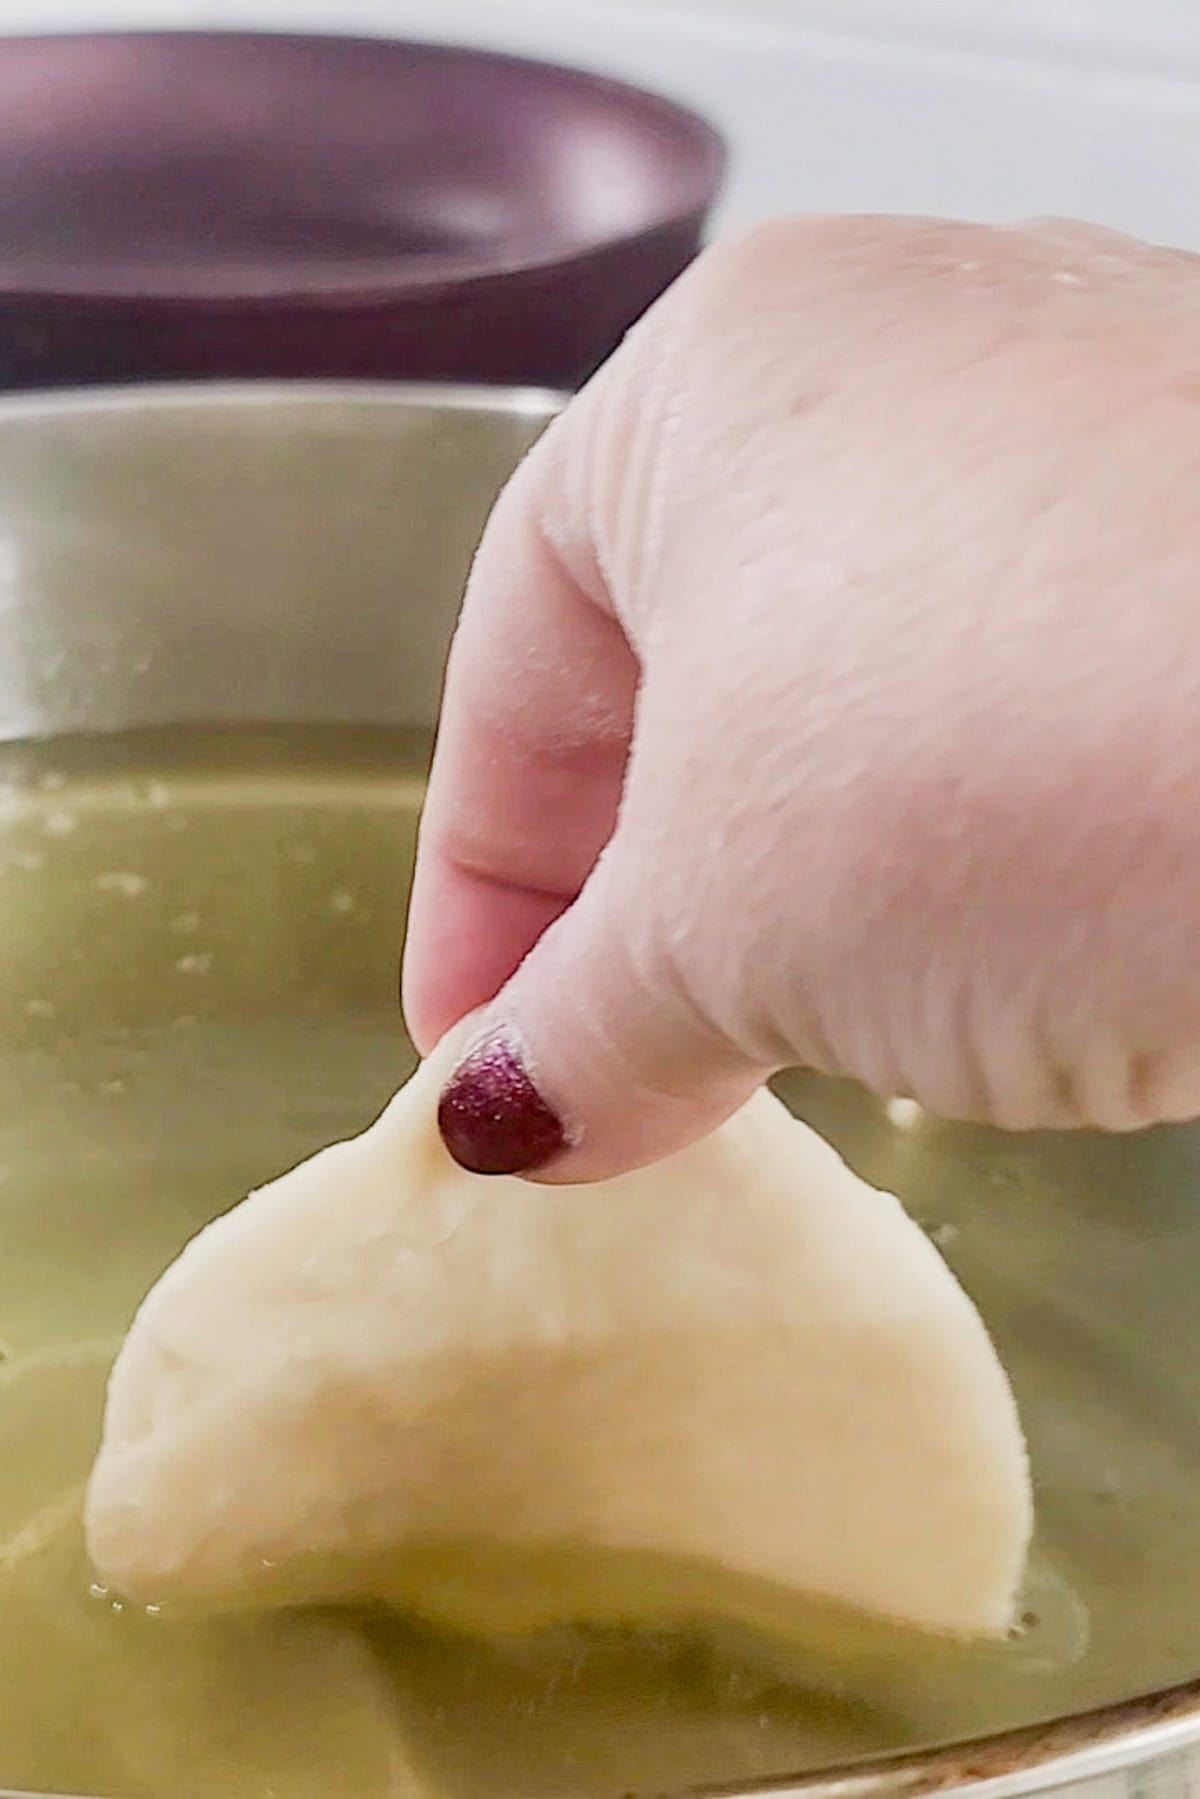
- Once the oil is heated, hold one of the round dough disks you rolled out int the oil half way and gently let it fall away from you. This will lessen the likely hood of the oil splashing in your direction and causing burns or ruining your shirt. Add another disk or two of dough to the oil so that you can cook more than one at a time but allow enough space so they can float around and not be crowded.
- Once the dough has fried on one side for about 30 seconds and has begun to turn golden brown. Use tongs to flip the Johnny cake again away from you and continue frying on the other side until both sides are golden brown.
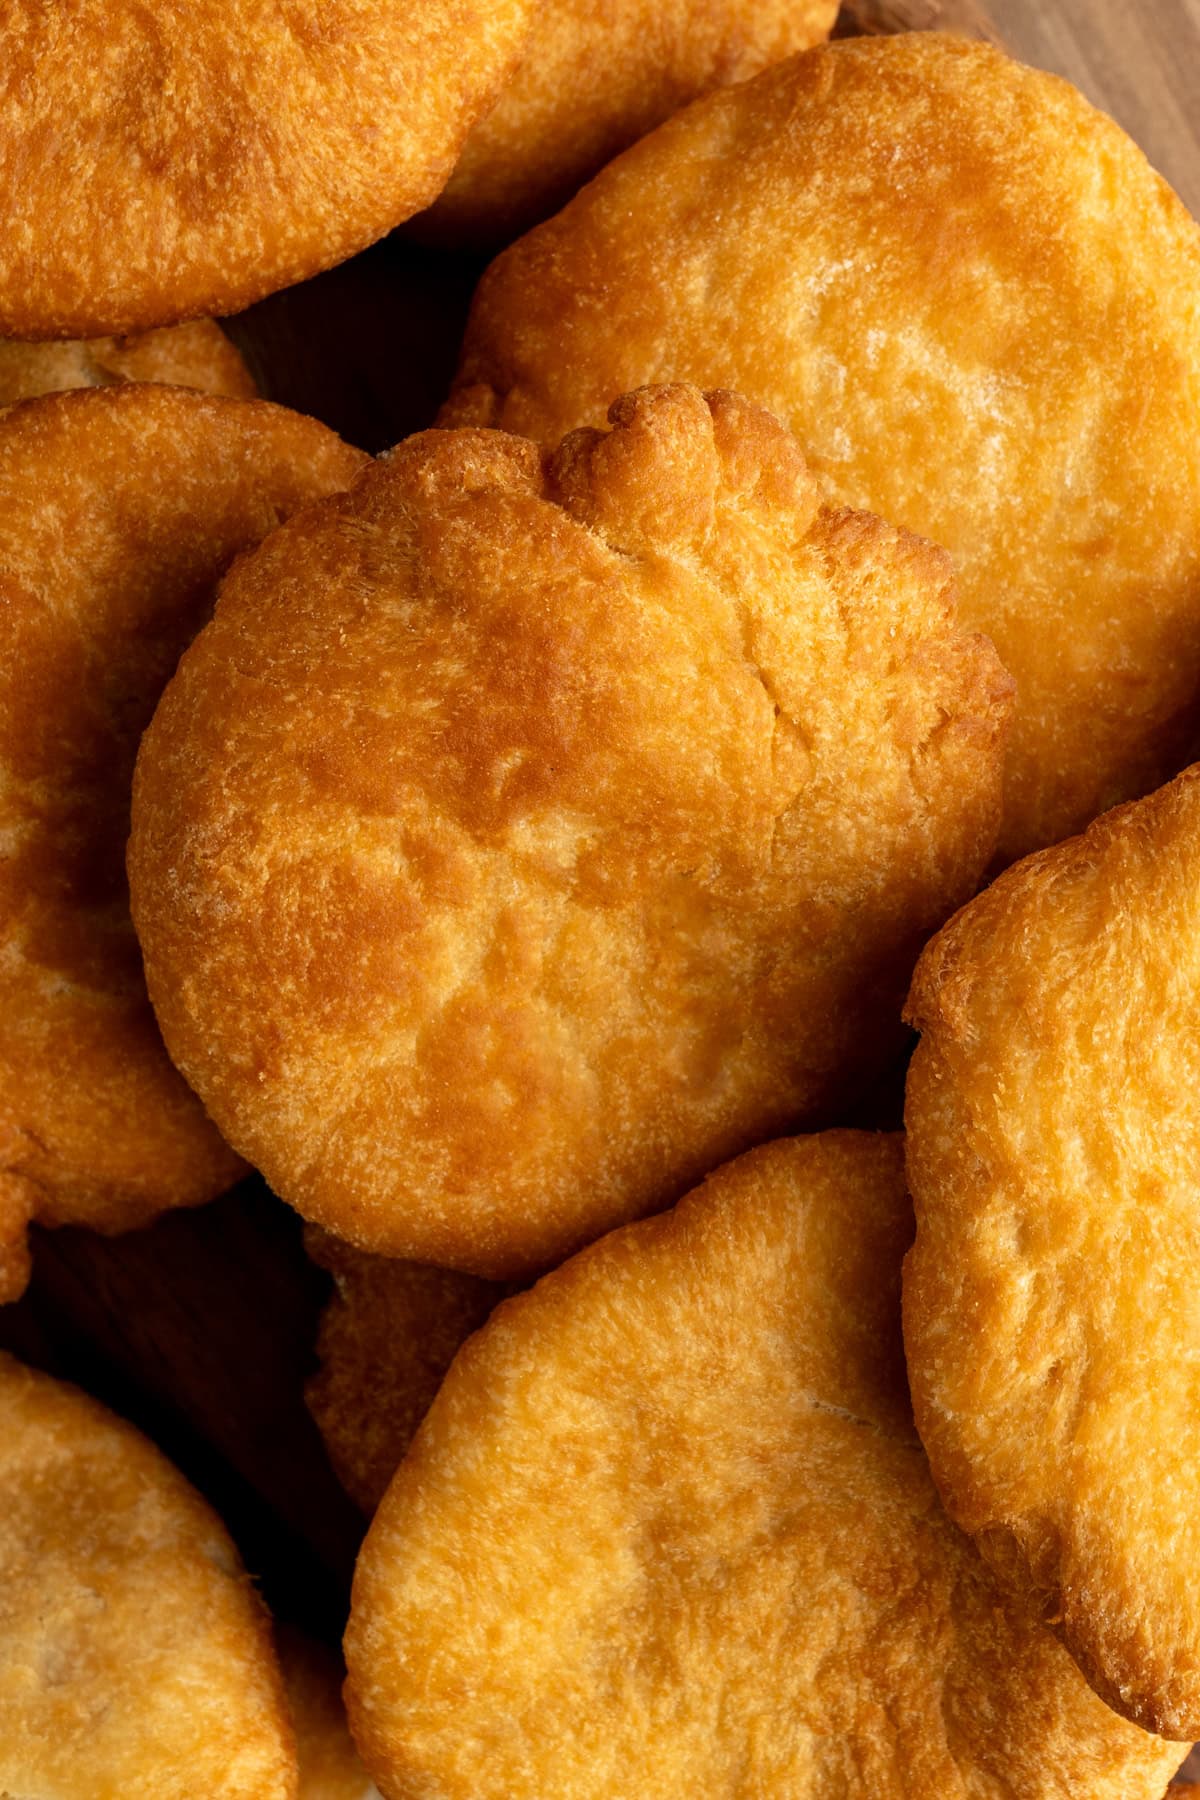
- When the Johnny Cakes are nice and golden, remove them from the oil with tongs. Place them on a plate with some paper towels underneath to catch any excess oil that drains off of them.
- Continue this process until all of the Caribbean Johnny Cakes are fried.
These Caribbean Johnny Cakes can also be turned into patties. I had them for lunch the day we went for a hike in St. Maarten or a “Journey” I should say. If you want to make them a bit more substantial just make the patties a little bigger and roll them a little thinner. Fill them with ground beef, cheese, fish or curry chicken and fold them over to a half moon. Pinch them tight to seal the edges and fry.
Serving Suggestions
- Eat them hot and fresh just as they are.
- Cut them in half and add a little butter.
- Fill them with meat, cheese, and fish. I had them turned into patties for lunch while I was there. They were filled with seasoned ground beef, cheese, ham, saltfish or tuna.
- Dip them in soup or stews.
- Spread them with a little jam.

Storage
Store this Caribbean Johnny Cake Recipe in a tightly sealed container for up to 5 days. Freeze them for up to one month.
After the first day, they will lose their crispy exterior from frying though so best to eat them hot.
More Bread Recipes
- Buttermilk Blackberry Scones
- Buttermilk Cheese Scones
- Spiced Butternut Squash Bread
- Chocolate Hot Cross Buns
- Korean Cream Cheese Garlic Bread
- One-Rise Cheddar Cheese Rolls

Caribbean Johnny Cakes Recipe
Ingredients
- 3 cups all-purpose flour (plus more for dusting)
- 3 tbsp sugar
- 2 tbsp baking powder
- 1 tsp salt
- ½ cup vegetable shortening
- 1 cup warm milk
- 1 liter vegetable oil (for frying)
Instructions
- Add 3 cups of flour, 3 tbsp sugar, 2 tbsp baking powder and 1 tsp of salt to a large bowl. Mix well.
- Cube 1/2 cup of vegetable shortening and add it to the bowl. Use your hands to pinch and blend the vegetable shortening into the flour mixture to create a fine meal texture.
- Make a shallow well in the center of the flour mixture and pour in the warmed milk.
- Use a spoon or your hands to mix the blend the milk into the flour. The dough will be sticky.
- Lightly flour your counter and knead the dough until the dough is no longer sticky and becomes smoother. Place the dough in back in the bowl and cover. Let it rest in a warm place to rise for about an hour.
- Tear or cut a roughly a quarter cup of dough off from the large dough ball. Use you hands to flatten the dough in to a disk and then fold the edges under to form a smooth ball. Repeat with the remaining dough.
- Once the dough is rested ounce again lightly flour your counter. Place on of the smaller dough balls on the floured counter and roll out with a floured rolling pin to form 1/2" thick rounds.
- Heat the vegetable oil to 350°F then dip half of one of the flattened patties into the oil gently dropping it away from you into the oil. Fry until the bottom is golden brown and then use tongs to gently flip the cake away from you. Fry the other side until it is also golden brown.
- Remove the fried Johnny Cake from the oil with tongs and place on a plate lined with paper towels. Repeat with the remaining flattened patties. You can fry more than one at a time just be sure not to crowd them so you have room for them to be flipped.
Nutrition
Notes
The information shown is an estimate provided by an online nutrition calculator. It should not be considered a substitute for a professional nutritionist’s advice.
Pin It For Later